Ever clicked on a course video only to mute it within ten seconds? The visuals might be crisp, but the audio is muddy, distant, or drowned out by background noise. In eLearning is an educational approach that uses technology to deliver learning content remotely, poor audio is the number one reason students drop out. You can have the most brilliant script and stunning graphics, but if your voice sounds like it’s coming from inside a cardboard box, learners will tune out.
Good audio doesn’t require a Hollywood budget. It requires strategy. Whether you are recording in a closet with blankets or a professional studio, the principles of capturing clean sound, selecting the right background tracks, and mixing them together remain the same. This guide breaks down the three pillars of eLearning audio: microphones, music, and mixing.
Choosing the Right Microphone for Voiceover
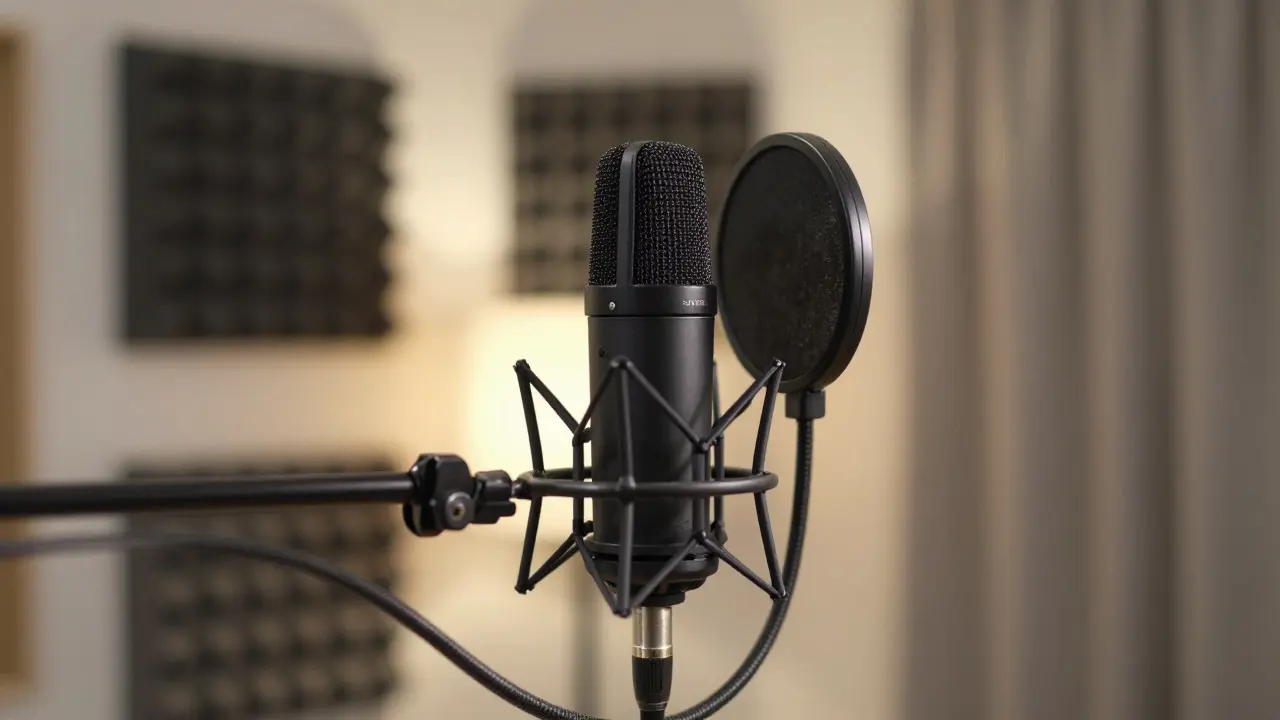
The microphone is where the magic starts-or stops. For eLearning, you aren't trying to capture the roar of a crowd; you need clarity, warmth, and intimacy. There are two main types of microphones you’ll encounter: dynamic and condenser.
Dynamic microphones are robust audio transducers that convert sound waves into electrical signals using electromagnetic induction. They are less sensitive to room noise and don’t require phantom power (external electricity). If you record in a noisy office or an untreated bedroom, a dynamic mic is your best friend. The Shure SM7B is a popular broadcast-style dynamic microphone known for its smooth frequency response is the gold standard here, though it often needs a preamp with high gain. A more budget-friendly option is the Samson Q2U is a USB/XLR dual-output dynamic microphone ideal for podcasting and voiceover.
Condenser microphones are sensitive audio transducers that use a capacitor to capture sound, requiring phantom power. They pick up more detail and higher frequencies, which can make your voice sound "airier" and more present. However, they also pick up the hum of your computer fan and traffic outside. If you have a quiet, treated space, a condenser like the Rode NT1 is a large-diaphragm condenser microphone renowned for its low self-noise will give you a polished, radio-ready tone.
Don’t forget about placement. Hold the mic 6 to 8 inches from your mouth, slightly off-axis (not directly pointing at the grille) to reduce plosives-the harsh "P" and "B" sounds. Using a pop filter is non-negotiable. It’s a cheap piece of mesh that saves hours of editing later.
Selecting Background Music That Enhances, Not Distracts
Music in eLearning serves a specific purpose: it sets the mood and keeps the learner engaged without competing with the narrator. The biggest mistake creators make is choosing music that is too loud or too complex. If the track has lyrics, heavy drums, or sudden volume spikes, it will clash with your voice.
You need Royalty-free music is audio content licensed for use without ongoing royalty payments, often via a one-time fee or subscription. Avoid downloading random MP3s from YouTube; the copyright strikes are real and can take down your entire course. Instead, use reputable libraries like Epidemic Sound, Artlist, or even free options like YouTube Audio Library and Free Music Archive.
When searching for tracks, look for keywords like "ambient," "corporate," "minimalist," or "background." These tags usually indicate music designed to sit behind other elements. Aim for a track with a consistent energy level. You want the listener to feel the emotion of the topic-upbeat for productivity tips, calm for mental health modules-but never notice the music itself.
Mixing Your Audio: The Secret Sauce
Recording is half the battle. Mixing is where you balance the levels so everything sounds cohesive. You don’t need to be an audio engineer to do this, but you do need to understand three key concepts: normalization, equalization (EQ), and compression.
Normalization is the process of adjusting the amplitude of an audio signal to a standard level. Start by normalizing your voiceover track. Most software will let you set a peak level, usually around -3dB to -1dB. This ensures your voice is as loud as possible without clipping (distorting).
Next, bring in your music. Here’s the rule of thumb: your voice should always dominate. Lower the music track until it sits comfortably underneath your narration. A good starting point is to lower the music by 15 to 20 decibels relative to your voice. If you’re watching the waveform, the music peaks should be significantly smaller than the voice peaks.
Equalization (EQ) is the process of adjusting the balance between frequency components within an audio signal. Use EQ to carve out space for your voice. Human speech primarily lives in the mid-range frequencies (around 200Hz to 4kHz). If your music is also strong in these frequencies, it will mask your words. Apply a "high-pass filter" to your music track to cut out low-end rumble below 100Hz. Then, try dipping the mid-range of the music slightly (around 1-2kHz) to create a "pocket" for your voice to sit in.
Compression is a technique used to reduce the dynamic range of an audio signal, making quiet parts louder and loud parts quieter. Compression helps even out your voice performance. If you whisper one sentence and shout the next, compression brings them closer together in volume. Set a ratio of 2:1 or 3:1 and adjust the threshold so that only the loudest parts of your voice are being reduced. This creates a professional, consistent listening experience.
| Feature | Dynamic Mic (e.g., Samson Q2U) | Condenser Mic (e.g., Rode NT1) | USB Headset (e.g., Jabra Evolve) |
|---|---|---|---|
| Sensitivity | Low (ignores room noise) | High (captures detail + noise) | Medium (optimized for close talk) |
| Setup Complexity | Low (Plug & Play USB) | High (Needs Interface + Phantom Power) | Very Low (Plug & Play) |
| Sound Quality | Warm, Broadcast-style | Bright, Detailed, Studio-quality | Functional, Phone-call quality |
| Best For | Noisy rooms, beginners | Treated studios, pros | Quick recordings, limited budget |
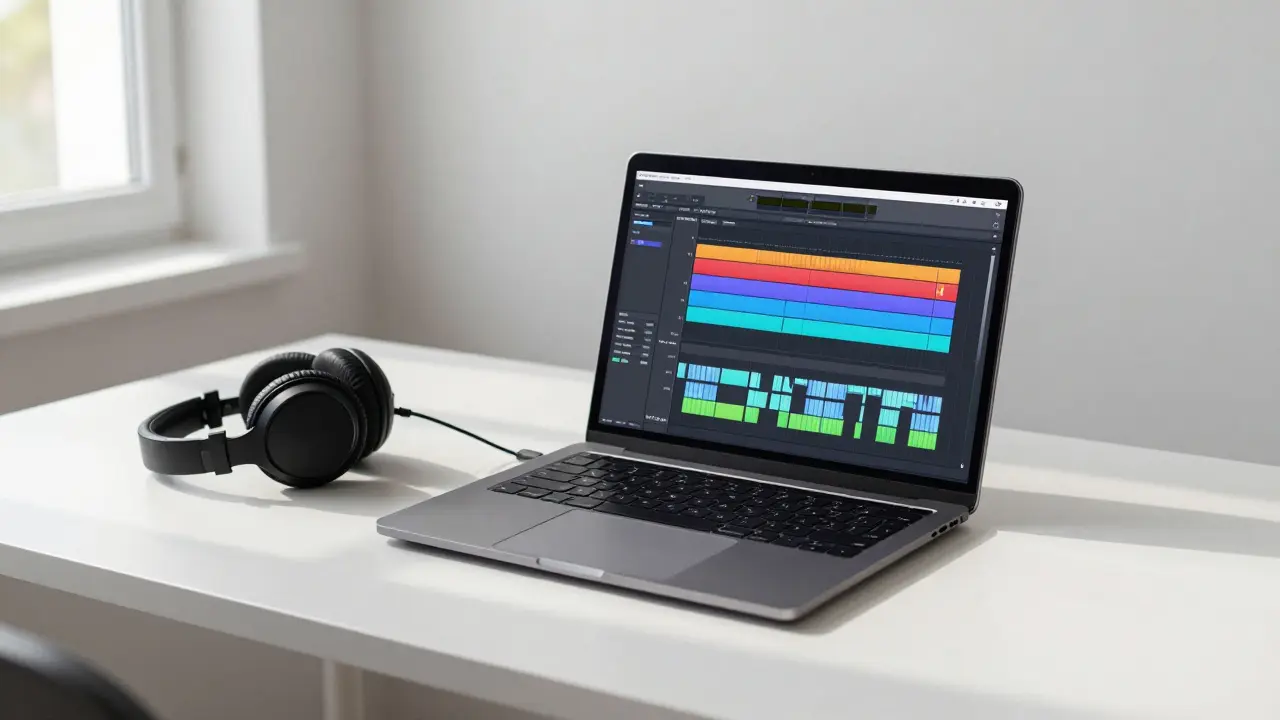
Software Tools for Editing and Mixing
You need a Digital Audio Workstation (DAW) or simple editor to stitch things together. You don’t need expensive software. Audacity is a free, open-source multi-track audio editor and recorder is perfect for beginners. It handles recording, basic EQ, noise reduction, and exporting. If you want more visual feedback and automation capabilities, Reaper is a compact, highly customizable digital audio workstation offers a generous trial and affordable license. For those already in the Adobe ecosystem, Adobe Audition is a professional audio editing and mixing software part of Creative Cloud provides spectral frequency displays that make removing specific noises (like a cough or keyboard click) incredibly easy.
Most video editors, like Premiere Pro, Final Cut Pro, or DaVinci Resolve, also have built-in audio tools. While they aren’t as deep as dedicated DAWs, they are sufficient for basic leveling and EQ. Just remember: it’s easier to fix audio problems in a dedicated audio program before bringing it back into your video timeline.
Common Pitfalls to Avoid
Even with great gear, bad habits can ruin your audio. Here are the most common mistakes:
- Ignoring Room Acoustics: Hard surfaces reflect sound, creating echoes and reverb. Record in a small room with soft furnishings-curtains, carpets, bookshelves. A closet full of clothes is actually one of the best places to record because the fabric absorbs reflections.
- Inconsistent Distance: Moving closer to the mic makes you louder and bassier (proximity effect); moving away makes you quieter and thinner. Keep your head still relative to the mic. Use a boom arm to position the mic comfortably.
- Skipping Noise Reduction: Always record a few seconds of "room tone" (silence in your recording space). You can use this sample in your editing software to profile and remove background hiss throughout the track.
- Loudness Wars: Don’t maximize every single sound. Leave some dynamic range. If everything is at maximum volume, nothing stands out. Let the pauses breathe.
Final Checklist Before Exporting
Before you render your final video, run through this quick audit:
- Voice Level: Is the average loudness around -16 LUFS (Loudness Units Full Scale)? This is the standard for online video platforms like YouTube and Vimeo.
- Music Balance: Can you clearly hear every word without straining? If not, lower the music further.
- Noise Floor: Listen during silent pauses. Is there a constant hum or hiss? If so, apply a noise gate or subtractive EQ.
- Pops and Clicks: Scan for any remaining plosives or mouth clicks. These are distracting and unprofessional.
- Format: Export your audio as a high-quality WAV file (24-bit/48kHz) if you’re mixing separately, or ensure your final video export maintains high bitrate audio (AAC 320kbps minimum).
Great audio builds trust. When your students hear you clearly, they focus on your message, not your equipment. Start with what you have, treat your space, and mix with intention. Your future self-and your learners-will thank you.
What is the best microphone for eLearning on a budget?
The Samson Q2U is widely considered the best budget option. It costs around $70-$90, connects via USB for easy setup, and uses dynamic capsule technology that rejects background noise, making it ideal for home environments without acoustic treatment.
Do I need an audio interface to record voiceovers?
Not necessarily. If you choose a USB microphone (like the Blue Yeti or Samson Q2U), you can plug directly into your computer. An audio interface is only required if you are using an XLR microphone (like the Shure SM7B or Rode NT1), which needs external power and conversion.
How loud should background music be in an instructional video?
Background music should generally sit 15 to 20 decibels below the voiceover. A good test is to listen to the track with the lights off; if you find yourself humming along or analyzing the instruments, it’s too loud. The music should feel like a texture, not a feature.
Can I use copyrighted music from Spotify or Apple Music in my course?
No. Streaming services like Spotify and Apple Music are for personal listening only. Using their tracks in commercial or public-facing eLearning content violates copyright law and can lead to your content being taken down or legal action. Always use royalty-free libraries or purchase specific licenses.
What is LUFS and why does it matter for eLearning?
LUFS (Loudness Units Full Scale) measures perceived loudness over time, rather than just peak volume. Platforms like YouTube and Vimeo normalize audio to approximately -14 LUFS. If your audio is much quieter, they will boost it (potentially causing distortion). If it’s louder, they will turn it down. Aiming for -16 LUFS ensures consistency across devices.