

You spent hours filming your latest module. The lighting is perfect, the slides are crisp, and you nailed the explanation of quantum entanglement (or maybe just basic algebra). But when you hit play to review the footage, something feels off. It sounds like you're recording in a bathroom. That hollow, ringing quality? That's flutter echo, and it kills credibility faster than a bad PowerPoint transition.
Viewers forgive a shaky camera or imperfect lighting. They do not forgive bad audio. If they have to strain to hear you, they click away. You don't need a million-dollar facility to fix this. You need smart audio treatment. This guide breaks down exactly how to stop sound bouncing around your room so your course videos sound professional, clear, and trustworthy.
Why Your Room Sounds Bad (It’s Not Your Mic)
Most beginners blame their microphone. "If I buy a $500 Shure SM7B, will my voice sound rich?" Maybe. But if you record that expensive mic in an untreated drywall box with hardwood floors, you’ll still get that annoying slapback echo. Sound waves leave your mouth, hit the wall behind you, bounce back, hit the wall in front of you, and return again. These reflections mix with your direct voice, creating phase cancellation and muddiness.
In a home studio context, especially for course videos, clarity is king. Viewers are trying to learn. If your words blur together because of reverberation, cognitive load increases. They spend energy decoding your speech instead of absorbing the lesson. Acoustic treatment isn’t about making the room silent; it’s about controlling reflections so your microphone captures only what matters: your voice.
The First Step: Finding Reflection Points
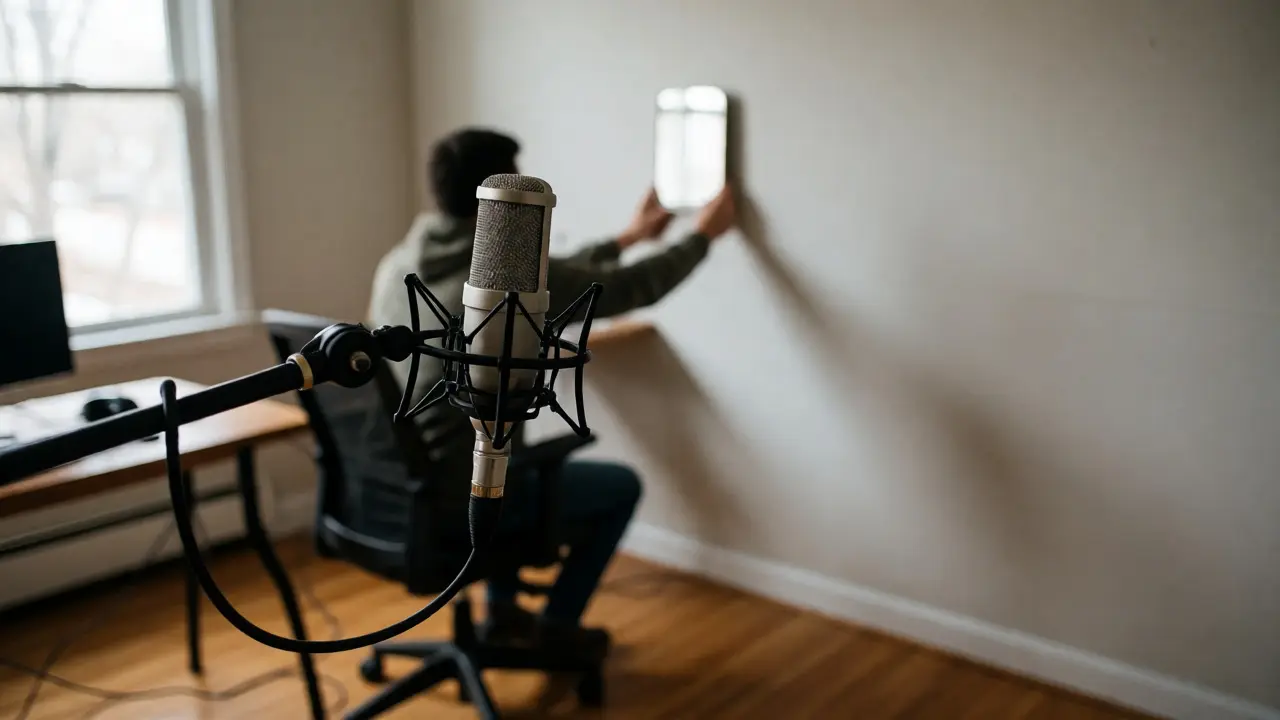
You can’t treat what you can’t see. Before buying foam squares, identify where sound bounces. Use the "mirror trick." Have a friend hold a mirror against the side walls while you sit at your desk (or standing position) facing the camera. Wherever you see your reflection in that mirror, that’s a first-reflection point. Sound behaves like light-it hits the surface and bounces directly into your mic.
- Side Walls: Usually the biggest culprits for stereo imaging issues, though less critical for mono vocal tracks. Still worth treating.
- Rear Wall: Critical. If your mic points away from the rear wall, reflections here cause comb filtering-a hollow, metallic sound.
- Ceiling: Often ignored. A bare ceiling acts like a giant reflector. If you’re on a budget, start here.
Once you mark these spots, you know exactly where to place absorption. Don’t cover every inch of the room. Over-damping makes your voice sound dead and unnatural, like you’re speaking inside a pillowcase. Aim for balance.
Absorption vs. Diffusion: Know Your Tools
Not all acoustic products do the same job. Understanding the difference prevents wasted money.
| Treatment Type | Function | Best Location | Cost Efficiency |
|---|---|---|---|
| Absorption Panels | Soaks up mid-to-high frequency energy, reducing echo and reverb tails. | First reflection points (side walls), rear wall, ceiling. | High. DIY rockwool panels offer best value per decibel absorbed. |
| Bass Traps | Absorbs low-frequency buildup (rumble, boominess) in corners. | Room corners, floor-ceiling junctions. | Moderate. Essential for small rooms under 12x12 feet. |
| Diffusers | Scatters sound waves in multiple directions, preserving liveliness without focusing echoes. | Rear wall (behind the listener/mic setup). | Low for beginners. Expensive and complex to place correctly. |
For most home studios recording spoken word, you need 80% absorption and 20% diffusion. Skip the fancy diffusers initially. Focus on thick, dense absorption. Thin egg-crate foam found on Amazon absorbs almost nothing below 1kHz. It stops high-pitched hiss but leaves the muddy low-mids untouched. You want material that works down to 250Hz-500Hz, which is where human speech intelligibility lives.
DIY Rockwool Panels: The Secret Weapon
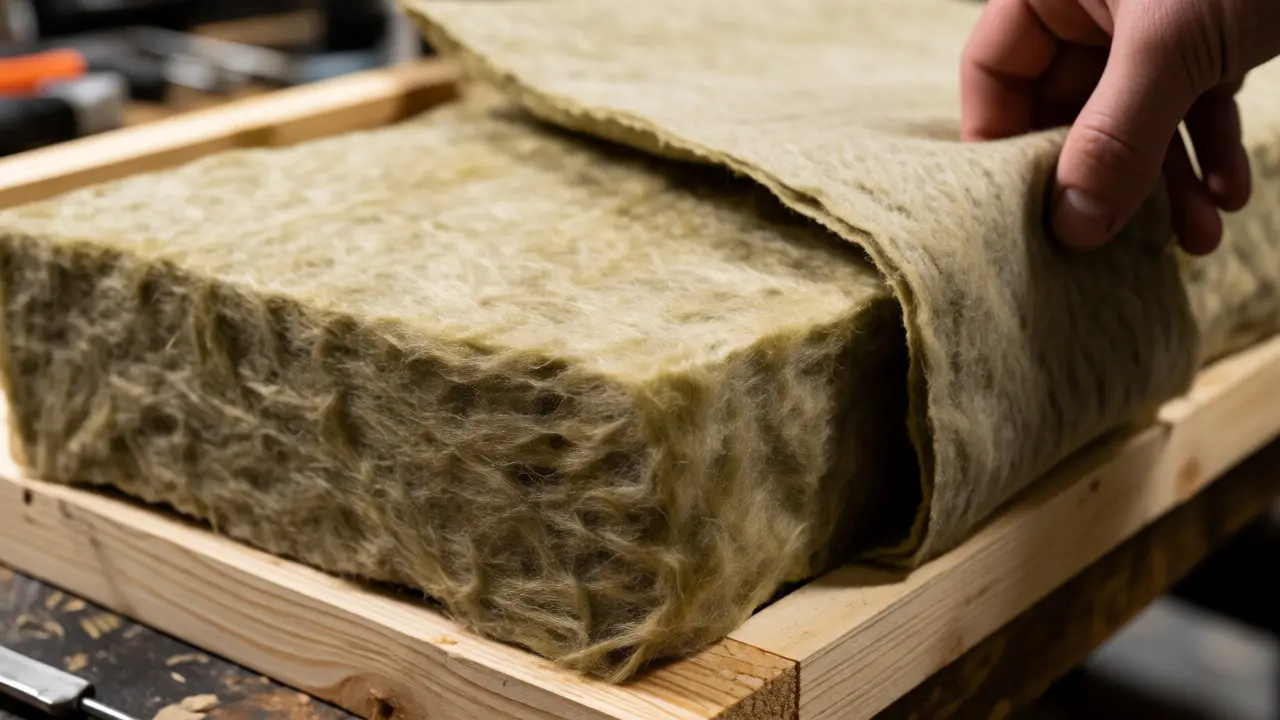
If you’re serious about acoustic treatment, skip the branded foam kits. Buy rigid mineral wool insulation (like Rockwool Safe'n'Sound or R13/R15 fiberglass batts). Build simple frames using 2x4 lumber, stuff them with the insulation, and wrap them in breathable fabric (polyester blend works well; avoid heavy velvet which blocks airflow).
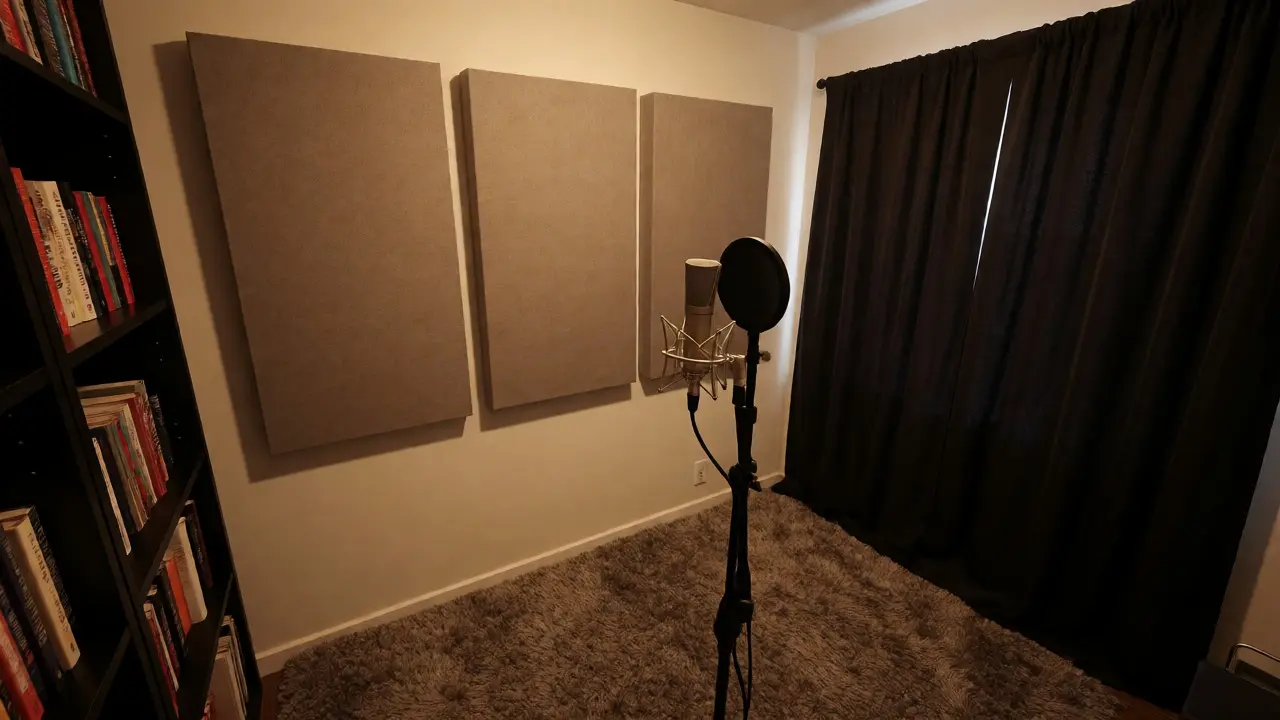
Why does this work better? Density and thickness. A 4-inch panel of mineral wool absorbs significantly more low-end energy than a 2-inch wedge of polyurethane foam. For a standard bedroom studio, three 2'x4' panels placed on the rear wall and two on the side walls at ear level will transform your sound. Total cost? Under $150 USD if you build them yourself.
Placement tip: Mount panels at ear height relative to your recording position. If you stand while teaching, raise the panels. If you sit, lower them. The goal is to intercept the path between your mouth and the nearest reflective surfaces.
Dealing with Hard Floors and Windows
Hard surfaces are enemies of clean audio. Glass windows reflect high frequencies sharply. Hardwood floors create strong early reflections that travel straight up into your mic.
- Windows: Hang heavy curtains or acoustic drapes. Even regular blackout curtains help significantly by adding mass and texture. Ensure they cover the entire glass area.
- Floors: Lay down a thick rug with a pad underneath. It doesn’t need to be fancy. A cheap shaggy rug from a discount store dampens floor reflections effectively. This also reduces footstep noise during takes.
Don’t underestimate the power of soft furnishings. Bookshelves filled with books act as natural diffusers. A couch covered in fabric absorbs sound. Clutter, ironically, is good for acoustics. An empty, minimalist room sounds terrible. A lived-in space with textiles, rugs, and furniture sounds warmer and more controlled.
Microphone Technique Matters Too
Treatment helps, but technique seals the deal. Get close to your microphone. The closer you are, the higher the ratio of direct sound to reflected sound (the inverse square law applies). Moving from 12 inches away to 4 inches away drastically reduces room influence.
Use a cardioid pattern on your mic. This pickup pattern rejects sound coming from the rear and sides, focusing on what’s in front. Position the mic slightly off-axis if you have plosive issues (hard 'P' and 'B' sounds), but keep it centered enough for consistent tone. A pop filter is non-negotiable-it protects the diaphragm and cleans up breath noises.
Also, check your gain staging. Recording too hot causes distortion; recording too quiet introduces noise floor hiss when you boost levels in post-production. Aim for peaks around -12dB to -6dB on your interface meters. Leave headroom for dynamic spikes.
Testing Your Progress
How do you know if your treatment worked? Do a clap test. Stand in your recording spot and clap loudly once. Listen to the tail. If you hear a distinct "ping" or rapid fluttering sound, you still have flutter echo. If it sounds like a short, dull thud, you’ve succeeded. No long decay means no lingering reflections.
Another method: Record a short clip saying "one-two-three-four-five-six-seven-eight-nine-ten." Play it back through headphones, not speakers. Speakers introduce room coloration; headphones let you hear the raw capture. If the numbers sound crisp and isolated, you’re good. If they sound distant or doubled, add more absorption near the mic.
Common Mistakes to Avoid
Many educators rush into buying gear before fixing the environment. Here’s what trips people up:
- Over-treating: Covering every wall in foam makes the room sound unnaturally dry. Keep some life in the space.
- Ignoring corners: Bass builds up in corners. If your voice sounds boomy, add bass traps there.
- Placing panels too high: Most reflections happen at ear level. Putting panels near the ceiling wastes potential.
- Using thin foam: As mentioned, thin foam is decorative, not functional. Invest in density.
Remember, consistency beats perfection. You don’t need a fully treated studio to start publishing. Treat the immediate area around your mic first. Expand later as your channel grows.
Do I need acoustic panels if I use a dynamic microphone?
Yes, but you might need fewer than with a condenser mic. Dynamic microphones are less sensitive to background noise and room reflections due to their lower output and tighter pickup patterns. However, severe flutter echo will still degrade clarity. Basic treatment like a rug and curtains often suffices for dynamic mics in small spaces.
Can I use moving blankets instead of acoustic panels?
Absolutely. Heavy moving blankets draped over stands or hung on walls provide excellent broadband absorption. They are cheaper than commercial panels and highly effective. Just ensure they are thick enough (at least 2-3 inches) and made of dense fabric. Avoid thin polyester sheets which offer minimal acoustic benefit.
How far should I stand from the wall behind me?
Aim for at least 3 to 4 feet of distance between you and the rear wall. This delays the reflection arriving at your microphone, making it easier to distinguish from your direct voice. If you must be close to the wall, place a thick absorption panel directly behind you to kill the reflection immediately.
Does carpeting affect audio treatment?
Carpeting alone rarely solves echo problems because it lacks sufficient mass to absorb mid-range frequencies where speech resides. However, it does help reduce high-frequency reflections and footsteps. Pairing carpet with a thick rug pad improves its effectiveness significantly compared to bare carpet.
Is it worth treating a closet for recording?
Recording in a clothes-filled closet is a classic hack for a reason. The hanging clothes act as irregular absorbers, breaking up standing waves and reducing echo. It’s not perfect-closets can sound boxy or boomy-but it’s far better than an untreated bedroom. Add a few portable panels if possible to tame low-end resonance.