Creating software tutorials isn’t just about knowing how to use a program-it’s about showing others how to use it clearly and smoothly. If your screen recording jumps, skips audio, or cuts off the cursor, learners tune out fast. You don’t need a studio. You don’t need a big budget. You just need the right tool for the job.
What Makes a Good Screen Recording Tool for Tutorials?
Not all screen recorders are built the same. For software tutorials, you need more than just a way to capture pixels. You need clean audio, smooth frame rates, easy editing, and the ability to highlight clicks and keystrokes. The best tools let you record your screen, your voice, and your mouse movements all at once-and then edit them without a learning curve.
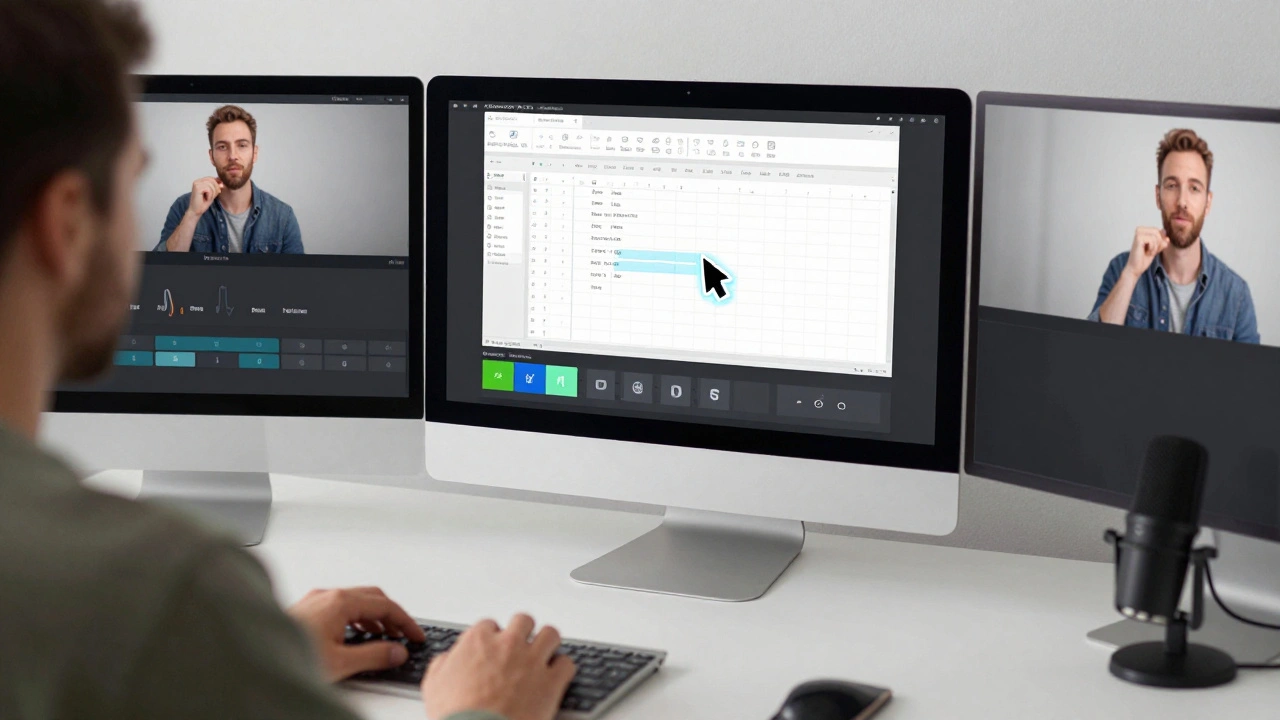
Think about it: if you’re teaching someone how to use Excel, you don’t want them squinting at a blurry cursor. You don’t want 10 seconds of silence while you fumble with the next step. You want crisp, paced, guided instruction. That’s what separates a decent recording from a great one.
Camtasia: The All-in-One Choice for Educators
Camtasia is the go-to tool for teachers, trainers, and corporate onboarding teams. It’s not free, but it’s designed for people who make tutorials regularly. It records your screen, webcam, and microphone in one click. It automatically syncs audio with video. And it has built-in tools to add callouts, zoom effects, and animated arrows that point exactly where the viewer should look.
One feature that saves hours: the SmartFocus tool. It tracks your mouse movements and automatically zooms in when you click, then pulls back when you move away. No manual trimming needed. You record naturally. Camtasia handles the pacing.
It also exports directly to MP4, YouTube, or LMS platforms like Moodle. If you’re making tutorials for a course or a company, Camtasia integrates smoothly. It’s used by universities, tech support teams, and freelance instructors worldwide. The price is $299 for a one-time license (as of 2025), which includes lifetime updates.
OBS Studio: Free, Powerful, and Open Source
If you’re on a tight budget-or you’re just starting out-OBS Studio is your best bet. It’s free, open source, and used by millions of streamers and educators. It doesn’t come with fancy animations or one-click effects, but it’s rock-solid for recording high-quality screen footage.
With OBS, you can set up multiple sources: your full screen, a browser window, a webcam, and even a microphone. You can switch between them live during recording. You can also add text overlays, like “Press Ctrl+S to save,” right on the screen.
The catch? OBS doesn’t have a built-in editor. You’ll need to export your video and use something like DaVinci Resolve or Shotcut to cut out mistakes, add background music, or adjust volume. That’s fine if you’re comfortable with basic editing. If you’re not, it adds time. But for pure recording quality, nothing beats OBS for free.
ScreenFlow: The Mac User’s Favorite
Mac users who make software tutorials swear by ScreenFlow. It’s made for macOS, so it feels native-no clunky interfaces or laggy performance. It records at up to 60fps, supports 4K, and has one of the best audio cleanup tools in any screen recorder.
ScreenFlow lets you record multiple screens at once, which is great if you’re comparing two apps or showing a desktop and a mobile preview side by side. It also has a built-in annotation library: arrows, shapes, text boxes, and even animated transitions that slide in smoothly.
Unlike Camtasia, ScreenFlow doesn’t require a subscription. It’s a one-time purchase of $129 (as of 2025), with free updates for life. If you’re on a Mac and want a tool that just works without fuss, ScreenFlow is the most polished option available.
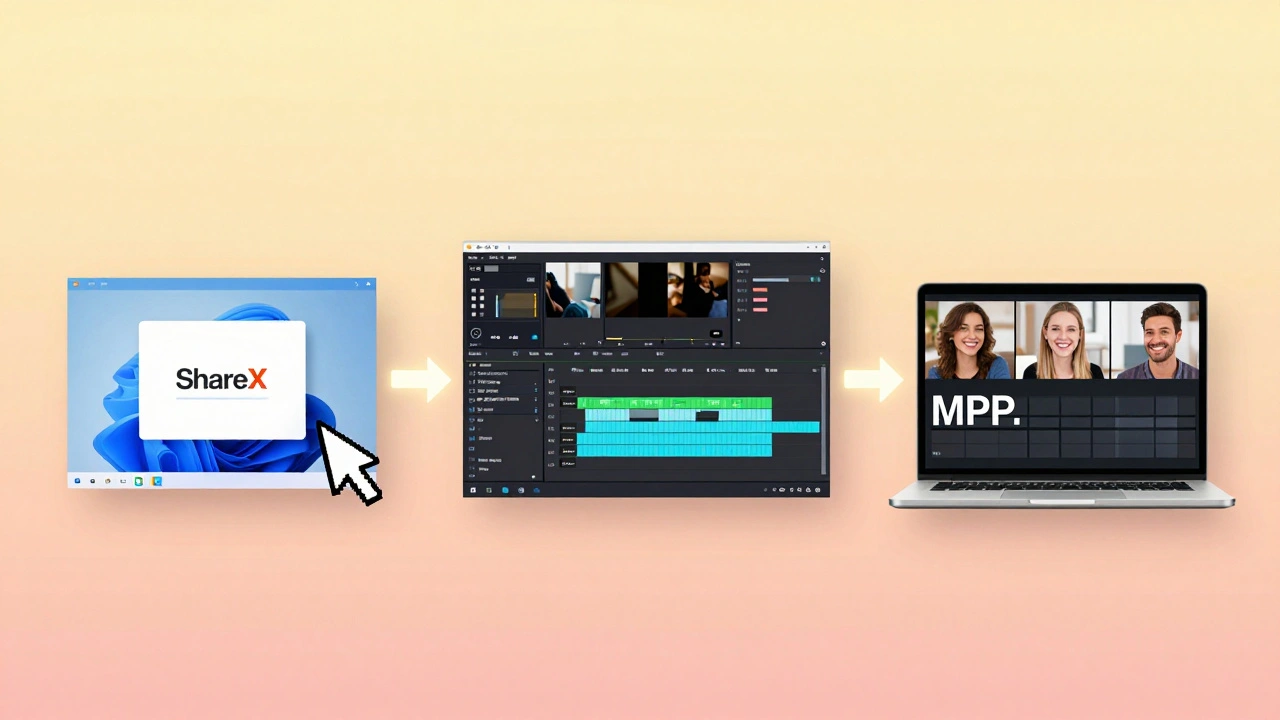
ShareX: The Hidden Gem for Windows Users
Most people don’t know about ShareX because it’s not marketed like the big names. But if you’re on Windows and want a lightweight, free tool that does more than just record, this is it. ShareX is open source and packed with features you won’t find in paid tools.
It can record your screen, capture screenshots, annotate them, upload them to cloud storage, and even auto-generate GIFs. For tutorials, its screen recording mode lets you choose exactly which region to capture, set frame rates, and include cursor effects like glowing clicks or key press indicators.
It doesn’t have video editing built in, but it exports to MP4 or AVI with zero compression. You can then drag the file into any free editor like Clipchamp or Shotcut. ShareX is perfect for quick, no-frills tutorials-like documenting a bug fix or showing a colleague how to fill out a form. It’s fast, reliable, and totally free.
Loom: Simple, Fast, and Cloud-Based
Loom is the easiest tool to get started with. Install the browser extension or desktop app, hit record, and in seconds you have a link you can share. No downloads, no exports, no editing needed unless you want to trim the beginning or end.
It’s ideal for quick walkthroughs-like explaining a feature to a teammate or answering a common question from students. Loom records your screen, camera, and mic simultaneously. It auto-saves to the cloud, so you can access it from any device.
The free plan lets you record up to 5 minutes per video and store 25 videos. For teams or educators, the paid plan ($8/month) removes limits and adds features like team libraries and analytics. If your tutorials are short, frequent, and meant for quick feedback, Loom is the most frictionless option.
QuickTime Player: The Free Option Already on Your Mac
Before you download anything, check if QuickTime Player can do the job. It’s pre-installed on every Mac. Open it, go to File > New Screen Recording, click the arrow next to the record button, and choose your microphone. Then drag to select the area you want to record.
It’s basic-no cursor highlights, no editing tools, no audio cleanup. But if you’re just recording a simple 3-minute demo and don’t need polish, it works. It saves as MOV, which you can easily convert to MP4 with free online tools.
It’s not for professional tutorials. But if you’re a teacher on a budget or just need to send a quick guide to a student, QuickTime is surprisingly capable.
Which Tool Should You Choose?
Here’s a quick guide based on your needs:
- Want everything in one place and don’t mind paying? Go with Camtasia (Windows/Mac).
- On a Mac and want the smoothest experience? ScreenFlow is worth every dollar.
- On Windows and want free, powerful, and flexible? ShareX is your secret weapon.
- Want to record fast and share instantly? Loom is the easiest.
- Want the best free option for any OS? OBS Studio is unmatched.
- Just need a quick 2-minute clip on a Mac? Use QuickTime Player.
Most people start with one of the free tools-OBS or ShareX-and upgrade later when they realize how much time they’re wasting editing. The right tool doesn’t just make your videos better. It makes your process faster.
Pro Tips for Better Software Tutorials
- Record in a quiet room. Background noise is the #1 reason tutorials feel unprofessional.
- Use a USB microphone. Even a $30 mic sounds better than your laptop’s built-in one.
- Plan your steps before recording. Write a 3-line script for each section. Don’t wing it.
- Record at 30fps or 60fps. Lower frame rates make motion look choppy.
- Always test your audio before starting. Listen back for clicks, pops, or echo.
- Keep videos under 5 minutes. Attention drops fast after that.
- Add captions. Even if you think your audience doesn’t need them, they do.
One last thing: don’t wait for perfection. Record your first tutorial today-even if it’s rough. You’ll learn more from making one bad video than from reading five guides.
What’s the best free screen recorder for software tutorials?
OBS Studio is the best free option for most users. It works on Windows, Mac, and Linux, records high-quality video and audio, and lets you customize what you capture. ShareX is a close second for Windows users who want a lightweight tool with built-in annotations.
Can I use my phone to record a software tutorial?
Not effectively. Phone cameras can’t capture computer screens clearly, and you can’t record your mouse clicks or keyboard input. You need a screen recording tool that captures your computer’s display directly. Even if you point your phone at the screen, the result will be blurry, poorly lit, and hard to follow.
Do I need to edit my tutorial videos?
You don’t have to, but you should. Even trimming out long pauses, removing mistakes, and adding a title slide makes your tutorial look professional. Tools like Camtasia and ScreenFlow include simple editors. If you use OBS or ShareX, pair them with free editors like DaVinci Resolve or Clipchamp.
How long should a software tutorial video be?
Aim for 2 to 5 minutes. Viewers lose focus after that. Break longer topics into smaller videos-like one video per feature or step. This also makes it easier for learners to find exactly what they need later.
Should I show my face in software tutorials?
Only if it adds value. For technical walkthroughs, your face isn’t necessary. But if you’re building trust-like in a course or a personal brand-showing yourself helps viewers connect. Use a picture-in-picture layout if you want both screen and face visible.
Comments
kelvin kind
Just use OBS. Done.
Denise Young
Look, I get it-OBS is free, open source, and technically superior to 90% of the bloated GUI tools out there-but let’s be real: if you’re trying to produce a tutorial that doesn’t look like it was recorded in a basement during a power outage, you’re gonna need more than just a source filter and a scene transition. Camtasia’s SmartFocus isn’t just a gimmick; it’s a productivity multiplier. You record at 1.2x speed, fumble through a step, and it auto-zooms and smooths the pacing like a seasoned editor’s ghost is guiding your mouse. That’s not software-that’s a co-pilot for instructional design. And don’t even get me started on the built-in annotation library that doesn’t require you to memorize 17 keyboard shortcuts just to draw a damn arrow.
ShareX? Cute. It’s like using a Swiss Army knife to perform open-heart surgery-technically possible, but why would you? And yes, I know you’re gonna say ‘but it’s free!’-so is breathing, but I still buy oxygen tanks when I’m diving.
ScreenFlow on Mac? Yes. Absolutely. It’s the only tool that makes editing feel like a conversation with your video, not a battle with a 1998 Adobe product. And Loom? Perfect for Slack DMs, terrible for anything that needs to survive beyond a week. If your tutorial is longer than 90 seconds and you’re not editing, you’re not teaching-you’re just recording noise.
And for the love of all that is holy, stop using QuickTime unless you’re recording a 30-second fix for your cousin who still thinks Ctrl+C means ‘copy the entire desktop.’
Pro tip: if your mic sounds like you’re whispering into a tin can, no amount of post-processing will save you. Spend $40 on a Shure MV7. Your learners will thank you. Your future self will cry tears of joy.
Sam Rittenhouse
I’ve spent years making tutorials for nonprofit staff who barely know how to use Excel. I’ve seen what happens when people try to use tools that feel like they were designed by engineers who hate humans. OBS is powerful, yes-but if your audience isn’t tech-savvy, the interface alone can trigger panic. Camtasia and ScreenFlow don’t just record-they guide. They make the process feel less like coding and more like teaching. And that’s the difference between a video that gets watched and one that gets abandoned halfway through.
I don’t care if it’s free. If it adds friction, it’s not the right tool. I’ve watched grown adults cry because they couldn’t figure out how to mute a track in DaVinci Resolve after recording for two hours. That’s not efficiency. That’s a failure of design.
Teaching isn’t about showing off your technical prowess. It’s about removing barriers. The best tool is the one your learner doesn’t even notice is there.
Peter Reynolds
Camtasia works well for corporate stuff
OBS is fine if you know what you're doing
ShareX is underrated
Loom good for quick things
ScreenFlow nice on Mac
Fred Edwords
Actually, it’s worth noting that Camtasia’s ‘SmartFocus’ feature is not an automated zoom algorithm-it’s a heuristic-based motion-tracking system that intelligently detects cursor velocity and dwell time to determine optimal zoom timing, thereby reducing cognitive load on the viewer by aligning visual emphasis with behavioral intent. Furthermore, the export pipeline to LMS platforms is compliant with Tin Can API (xAPI) standards, which is critical for tracking learner engagement metrics beyond mere completion rates. Additionally, ScreenFlow’s audio normalization engine employs a multiband compression algorithm derived from broadcast radio standards, which is why it outperforms even paid competitors in vocal clarity. And while ShareX is indeed open-source, its lack of native H.265 encoding support renders it suboptimal for 4K workflows, despite its otherwise impressive feature set. Finally, OBS Studio, while robust, requires manual configuration of audio latency buffers to avoid desynchronization-a non-trivial task for non-technical users.
Sarah McWhirter
Have you ever wondered why all these ‘free’ tools suddenly start asking for your email, your phone number, and your birth certificate after you download them? OBS? Yeah, right. It’s all a front. The real money is in the metadata they harvest from your tutorials-your keystrokes, your mouse patterns, your facial expressions if you use the webcam. They’re selling your teaching habits to edtech conglomerates who want to predict which learners will drop out before you even finish your third slide.
And Camtasia? Oh, sweetie. That $299 license? That’s just the entry fee. You think they don’t watermark your free trial videos with invisible tracking pixels? They know when you pause, rewind, skip. They know you watched 87% of your own tutorial and then deleted it because you hated your voice.
Loom? Cloud-based? Please. Your videos are sitting in a server farm in Ohio, being analyzed by AI trained on 12 million ‘how to use Excel’ clips. They’re building a behavioral map of every teacher on Earth. And you’re just happy you got a 5-minute limit.
QuickTime? That’s Apple’s way of keeping you locked in. You think they don’t know you’re using it because you’re too cheap to buy ScreenFlow? They’re waiting for you to break. Then they’ll offer you a ‘discount’ on Final Cut Pro. It’s all a pyramid scheme disguised as education.
And don’t get me started on ‘pro tips.’ ‘Use a USB mic?’ That’s what they want you to think. The real secret? Record in a Faraday cage. Silence isn’t just absence of noise-it’s absence of surveillance.
Ananya Sharma
Let me tell you something about all these ‘best tools’ lists-they’re written by people who’ve never actually taught anyone anything real. You think recording a screen is teaching? You think adding a glowing cursor and a zoom effect makes someone understand? No. You’re just making a fancy PowerPoint with sound. Real teaching requires patience, repetition, and human connection-not animated arrows and auto-synced audio tracks.
Camtasia? That’s for corporations who want to train people like robots. ScreenFlow? A luxury for Mac elitists who think their $2000 laptop makes them better educators. OBS? Sure, it’s free-but free is the most expensive thing you can pay, because you waste 20 hours configuring it instead of actually teaching.
And Loom? That’s not a tool. That’s a distraction. It encourages laziness. ‘Oh, I’ll just send a quick video’-but then you never follow up. You never check if they understood. You never answer questions. You just broadcast and disappear. That’s not teaching. That’s performance.
And don’t even get me started on ‘pro tips’ like ‘use a USB mic.’ That’s the same logic that says ‘if you want to be a writer, buy a fancy typewriter.’ The pen doesn’t make the writer. The mind does. The tool doesn’t make the teacher. The empathy does.
Stop chasing software. Start listening. Ask your learners what they need. Record nothing. Just talk to them. That’s the only tutorial that matters.
Ian Cassidy
OBS is the real MVP. Free, no ads, no login, no BS. You just record and go. The only downside is you gotta edit later-but that’s not a bad thing. Forces you to think about pacing. Camtasia’s too polished. Feels like a corporate ad. ShareX is cool for quick wins. Loom’s great for Slack. But if you wanna control everything? OBS. Period.
Kenny Stockman
Man, I started with QuickTime, then moved to OBS, then got sucked into Camtasia after a few frustrating edits. The truth? It’s not about the tool-it’s about how much you care. I used to rush tutorials because I hated hearing my own voice. Then I realized: my learners don’t care if I sound awkward. They care if I helped them fix their problem. So now I just hit record, say what I need to say, and edit out the ‘umms.’ Doesn’t matter if it’s free or paid. What matters is you showed up.
Zach Beggs
Just use what’s already on your computer. No need to overthink it.
Antonio Hunter
I’ve been training new hires in tech support for over a decade, and I’ve tried every tool on this list. What I’ve learned isn’t about the software-it’s about consistency. If you use a different tool for every tutorial, your team gets confused. They start asking, ‘Why is this one edited differently?’ or ‘Why does that cursor look weird?’ So I standardized on Camtasia across the board. Even though it’s expensive, the ROI isn’t in the features-it’s in the clarity. Everyone knows what to expect. The videos feel like part of the same system. That’s the real magic: not the zoom effects, not the keystroke highlights-but the predictability. When your learners know what the experience will be like before they even hit play, they relax. And when they relax, they learn.
Also, I don’t use a webcam unless I’m doing leadership training. For technical stuff, your face is a distraction. Your voice, your screen, your pacing-that’s the curriculum. Everything else is decoration.
And yes, I do use a $150 Shure mic. Because if you can’t hear the difference between ‘Ctrl+S’ and ‘Ctrl+Shift+S,’ you’re not teaching-you’re guessing.
Peter Reynolds
Yeah I think you're right about Camtasia being good for teams
But OBS still wins for solo creators