Most people think you need to be a designer to make professional-looking graphics. That’s not true anymore. With tools like Canva and other no-code design platforms, anyone can create social media posts, presentations, logos, and even full brand kits-no Photoshop skills required. You don’t need a degree in graphic design. You don’t even need to know what a layer is. All you need is a clear goal and five minutes to start.
Why No-Code Design Tools Are Changing Everything
Five years ago, if you wanted a flyer for your local bakery, you either hired a designer or spent weeks learning Adobe Illustrator. Today, you open Canva, pick a template, swap out the text, drag in a photo, and hit download. Done. In under ten minutes.
This shift isn’t just about convenience. It’s about access. Small business owners, teachers, nonprofit staff, and content creators who never had the budget or time for design help now have full control. Canva alone has over 135 million monthly active users. That’s not just designers. That’s moms running Etsy shops, high school teachers making lesson posters, and church volunteers designing event flyers.
No-code tools like Canva, VistaCreate, Snappa, and Crello don’t replace designers-they empower people who never thought they could design at all. And that’s the real win.
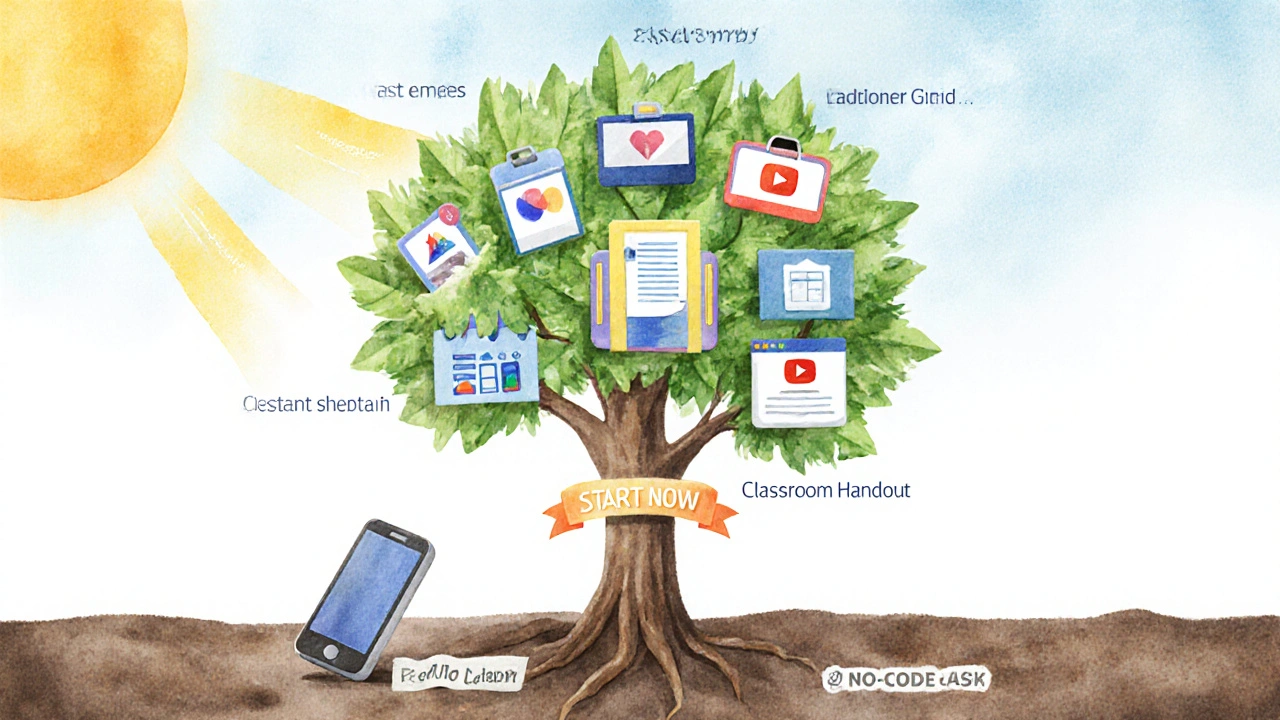
What You Can Actually Build With These Tools
Let’s be real: templates aren’t magic. But used right, they’re your secret weapon. Here’s what you can build with just a few clicks:
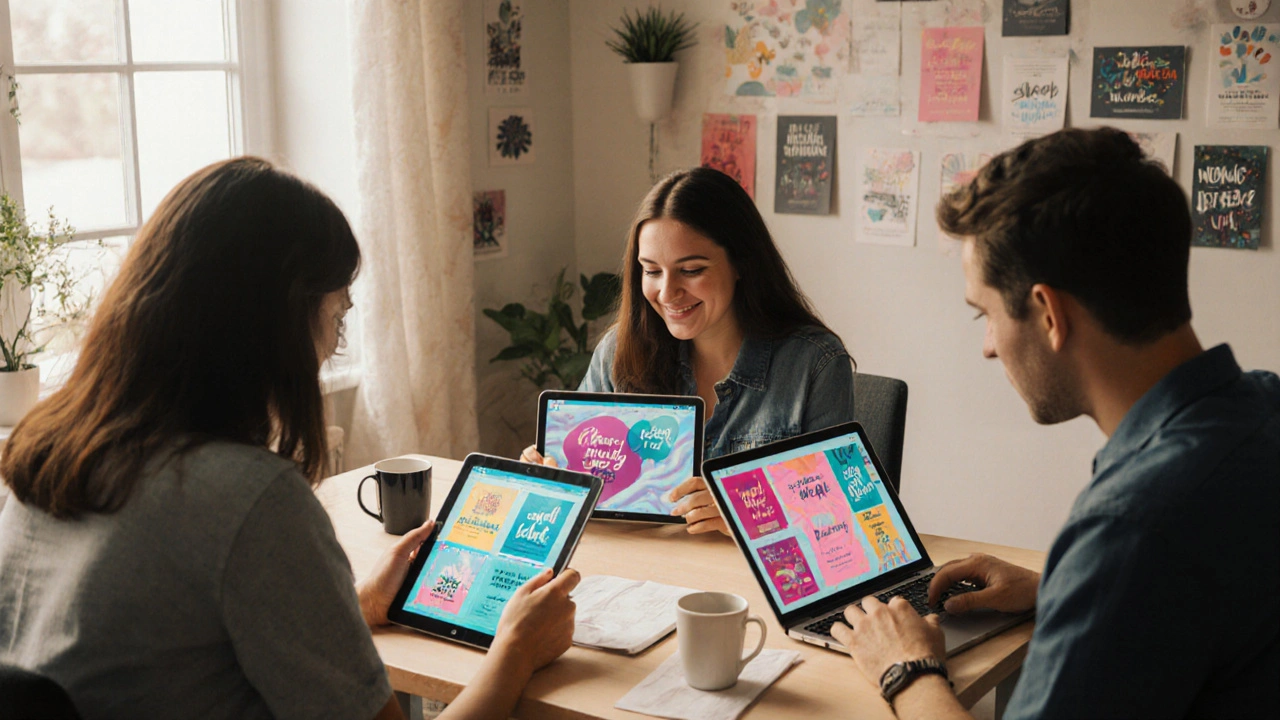
- Social media posts (Instagram carousels, Facebook ads, TikTok thumbnails)
- Printable planners, worksheets, or classroom handouts
- Simple logos and brand color palettes
- Google Slides presentations that actually look professional
- Email headers and newsletter banners
- YouTube channel art and video end screens
One teacher in Wellington used Canva to create a 12-slide visual guide for her Year 8 science class on ecosystems. She didn’t know how to use grids or alignment rules. She just copied a template, changed the colors, and added her own photos of local birds. Her students’ engagement jumped 40%.
You don’t need to be creative to be effective. You just need to know how to pick the right template and tweak it.
How to Start Learning-Without Getting Overwhelmed
There are hundreds of Canva tutorials online. Most are too long. Too technical. Too focused on advanced features like masking and gradient overlays. You don’t need those yet.
Here’s how to actually learn, step by step:
- Choose one project. Not ten. One. Maybe a Facebook event banner or a simple Instagram post.
- Go to Canva.com and search for that type of design. Type “Instagram post” into the search bar. Pick one of the top templates.
- Replace the placeholder text with your own words. Use clear, short sentences.
- Swap the image. Click “Uploads” and add a photo from your phone. Don’t overthink it.
- Change the font. Pick one font for headings, one for body text. Stick to that. No more than two.
- Click “Share” and download it as a PNG. Done.
That’s it. That’s the whole course. Repeat this five times with different projects. After that, you’ll start noticing what works and what doesn’t. You’ll know when a layout feels “off.” That’s design intuition building-without ever touching a pen tool.
Common Mistakes (And How to Fix Them)
Even simple tools have traps. Here are the five mistakes most beginners make-and how to avoid them:
- Too much text. If you’re trying to fit a paragraph into a square graphic, you’re doing it wrong. Cut it in half. Or better yet, turn it into bullet points.
- Using too many fonts. Three fonts max. One for headlines, one for body, one for accents. If you’re using more, you’re making it harder to read.
- Ignoring alignment. Canva has smart guides. Turn them on. Click “View” > “Show Smart Guides.” Now when you move an element, it snaps to the center or edge of others. That’s how pros keep things tidy.
- Using low-res images. If your photo looks blurry when you download it, it was too small to begin with. Use Canva’s free stock photos-they’re high-res and free to use.
- Not saving a brand kit. Once you pick your colors and fonts, save them. Click “Brand Kit” in the left menu. Add your logo, primary colors, and fonts. Next time you start a new design, they’ll be one click away.
These aren’t rules. They’re shortcuts. They keep your work looking clean without needing years of training.
What Comes After Canva?
Canva is the easiest place to start. But once you’re comfortable, you might want to expand. Here’s what to try next:
- VistaCreate - Great for video templates. If you want to make short clips for Instagram Reels or YouTube Shorts, this is easier than editing in Premiere Pro.
- Snappa - Cleaner interface. Fewer distractions. Good if you hate scrolling through endless templates.
- Crello - Stronger animation tools. You can make simple motion graphics without coding.
- Adobe Express - If you ever want to dip into Adobe’s ecosystem, this is the no-code version of Photoshop. Still simple, but with more professional options.
You don’t need all of them. Pick one that fits your next project. Most people stick with Canva. And that’s fine.
How to Practice Without a Client
If you’re learning to cook, you don’t wait for someone to invite you over for dinner. You make something for yourself. Same with design.
Here’s a 30-day challenge:
- Day 1-5: Make one Instagram post per day. Use different templates. Try different colors.
- Day 6-10: Design five different Facebook event banners. Pretend you’re promoting a fake yoga retreat or book club.
- Day 11-15: Create a simple one-page PDF resume using Canva’s resume templates.
- Day 16-20: Build a Google Slides deck about your favorite hobby. Add images, icons, and animations.
- Day 21-25: Design a logo for a business you love (real or made up). Use only two colors.
- Day 26-30: Make a branded email header and signature for yourself. Use your brand kit.
At the end, you’ll have a portfolio of 15+ real designs. No client needed. Just you, your phone, and 10 minutes a day.
Can You Really Make Money With This?
Yes. And people are doing it right now.
One woman in Christchurch started offering Canva social media templates for small cafes. She made 10 templates, uploaded them to Etsy, and priced them at $12 each. In three months, she made $2,400. She didn’t design from scratch. She customized templates and sold them as “done-for-you” packs.
Another guy in Dunedin started helping local real estate agents design their Instagram posts. He charged $50 per week per client. He had six clients. That’s $300 a week. He did it in his spare time.
You don’t need to be the best designer. You just need to be reliable. Fast. Consistent. That’s what clients pay for.
What to Do Next
You don’t need a course. You don’t need a certificate. You just need to start.
Open Canva right now. Create a new design. Pick “Instagram Post.” Choose any template. Replace the text with your name and one sentence about what you do. Change the background color to something you like. Download it. Save it to your phone.
That’s your first design. You’re a designer now.
Do it again tomorrow. And the day after. In a week, you’ll be amazed at how much you’ve learned. In a month, you might be helping someone else do the same.
Do I need to pay for Canva to use it?
No. Canva has a free plan that gives you access to thousands of templates, basic fonts, and millions of free stock photos. You only need to upgrade if you want premium elements like advanced animations, video templates, or brand kit features. Most beginners never need to pay.
Can I use Canva for commercial projects?
Yes. Canva’s free assets can be used commercially, including for selling products or running ads. Just don’t resell Canva’s templates as-is. You need to modify them significantly. Always check the license on individual elements-some photos or icons may have restrictions.
Is Canva better than Photoshop for beginners?
For almost everyone starting out, yes. Photoshop is powerful but complicated. Canva is built for people who want to create quickly without learning layers, masks, or color modes. If your goal is to make social media graphics, flyers, or presentations, Canva is faster and easier. Save Photoshop for when you need pixel-perfect control.
How long does it take to get good at Canva?
You’ll feel confident in about a week if you practice for 10-15 minutes a day. You won’t be an expert, but you’ll know how to make clean, professional-looking designs without help. Mastery takes months, but usefulness starts after your first five designs.
Are there free alternatives to Canva?
Yes. VistaCreate, Snappa, and Adobe Express are all free to start. Piktochart is good for infographics. Fotor is strong for photo editing. Try two or three for a week. You’ll quickly see which one feels most natural to you.
Comments
TIARA SUKMA UTAMA
Just made my first Canva post. Changed one word. Downloaded. Done. I’m a designer now.
Angelina Jefary
Wait-so you’re telling me I don’t need to know what a ‘layer’ is? That’s what they’ve been hiding from us since 2007? Photoshop is a cult. Canva is the revolution. I’m not mad, I’m just disappointed in my life choices.
Jasmine Oey
OMG I JUST REALIZED I’VE BEEN USING 3 FONTS IN EVERYTHING?? I’M A DESIGN CRIMINAL. I’M SO SORRY TO EVERYONE WHO’S SEEN MY TIKTOK THUMBNAILS. I’M GOING TO REDESIGN MY ENTIRE LIFE. ALSO I BOUGHT A CANVA PREMIUM SUBSCRIPTION JUST TO FEEL SPECIAL. I’M SORRY I’M NOT A BETTER PERSON.
Cynthia Lamont
Let me guess-you’re one of those people who think ‘drag and drop’ is design? You didn’t learn anything. You just clicked buttons. Real designers spend years understanding color theory, typography hierarchy, negative space. You’re not creating-you’re assembling clipart. And you call that empowerment? Please. This is design for people who think ‘aesthetic’ is a verb.
Aimee Quenneville
lol at the ‘design intuition’ part. I made a flyer for my cat’s birthday party. It looked like a rainbow threw up on a Walmart receipt. I thought it was ‘art.’ Turns out, it was just chaos with a font. I’m proud.
Jennifer Kaiser
This isn’t about tools. It’s about permission. For so long, we were told only ‘artists’ could create. That only ‘professionals’ had the right to make things that look good. But here’s the truth: beauty doesn’t belong to a degree. It belongs to anyone who dares to try. That teacher in Wellington? She didn’t fix a template. She gave her students a reason to care. That’s not design. That’s love. And no algorithm can measure that.
James Winter
Canva? That’s a Canadian scam. We have real design tools up here. You think this is progress? In my day, we used pencils. And we liked it. This is just another way Americans outsource thinking.
Dmitriy Fedoseff
When I was growing up in Moscow, we didn’t have Canva. We had ink, paper, and a teacher who made us redraw the same poster 17 times until the lines were perfect. You call this ‘access’? I call it laziness. But maybe I’m just old. Maybe I miss the pain. Maybe the pain was the point.
Antwan Holder
YOU’RE ALL MISSING THE POINT. This isn’t about design. It’s about control. The system wants you to believe you need experts. They want you to pay for services. They want you to feel powerless. But Canva? It’s a rebellion. It’s a middle finger to the gatekeepers. You don’t need a degree. You don’t need permission. You just need to click. And that’s terrifying to people who built empires on your dependence. So they call it ‘lazy.’ But it’s not lazy. It’s liberation.
I’ve seen people cry when they made their first design. Not because it was perfect. But because for the first time, they felt like they could create something that mattered. That’s not a tool. That’s a revolution. And you’re all just arguing about fonts while the world changes.
Morgan ODonnell
I used Canva to make a poster for my kid’s school play. Got a standing ovation. My wife cried. My dog licked the screen. I didn’t know what a grid was. But I knew what love looked like. That’s all that mattered.
Kirk Doherty
Canva saved my business. I run a small bookstore. Used to pay $200 for every flyer. Now I do it in 15 minutes. Saved $3k last year. I’m not a designer. I’m just someone who didn’t want to go broke.
Marissa Martin
I tried this. Made a logo for my Etsy shop. It looked like a toddler drew it with ketchup. I deleted it. Then I cried. Then I tried again. Now I have 12 designs. I still hate them. But I’m proud. That’s progress, right?
Meghan O'Connor
Canva’s free plan has a watermark on videos? Oh wait no, it doesn’t. You’re lying. I checked. This entire post is misinformation. I’m reporting it. Also, you misspelled ‘aesthetic.’ It’s with an ‘h.’ You’re embarrassing us all.
Liam Hesmondhalgh
Canva? That’s for people who can’t spell ‘Photoshop.’ I’m a real designer. I use Illustrator. I don’t need templates. I don’t need your pity. Go back to your 10-minute crafts.