Why go faceless in your online course?
You don't need a high-end studio or a perfect makeup routine to launch a successful online program. In fact, many of the most profitable courses on the internet are completely faceless. Whether you're shy, want to protect your privacy, or simply want to keep the focus on the material rather than your expressions, no-face course videos are a powerful way to scale your knowledge. The biggest advantage? You can record and update your content without worrying about lighting, wardrobe, or the 'camera jitters' that slow down most creators.
When you remove yourself from the frame, the burden of engagement shifts to your visual aids and audio quality. You aren't relying on charisma or body language; you're relying on the clarity of your message and the quality of your assets. This approach allows you to produce content faster and keep it relevant longer, as you can swap out a slide or a clip without having to re-film an entire scene.
Главные выводы (Key Takeaways)
- Faceless videos reduce production time and remove the need for expensive lighting and camera gear.
- Visual engagement depends on the strategic mix of slides, B-roll, and stock footage.
- High-quality audio is non-negotiable since it carries the emotional weight of the lesson.
- Structured storytelling prevents learners from getting bored when there's no human face to watch.
Mastering the Art of Presentation Slides
Slides aren't just bullet points on a screen; they are the skeleton of your course. If your slides are boring, your students will tune out within three minutes. To avoid the 'death by PowerPoint' trap, treat your slides as visual cues rather than scripts. Your students can read faster than you can talk, so if you put your entire script on the slide, they'll stop listening to you.
Use Canva is a graphic design platform that allows users to create professional presentations and social media graphics using a drag-and-drop interface. It has become the industry standard for course creators because it offers pre-made educational templates that look modern and clean. For those who need more data-heavy visuals, Google Slides is a free, web-based presentation program that enables real-time collaboration and seamless integration with the Google ecosystem.
A pro tip for slide design: use the 6x6 rule. No more than six bullet points per slide, and no more than six words per bullet. Instead of a list of features, use a high-quality icon or a simple diagram. For example, if you're teaching a module on "Financial Planning," don't list "Savings, Investments, Insurance" in text. Use three distinct icons with a single word beneath each. This keeps the brain engaged and prevents cognitive overload.
Integrating Stock Footage and B-Roll
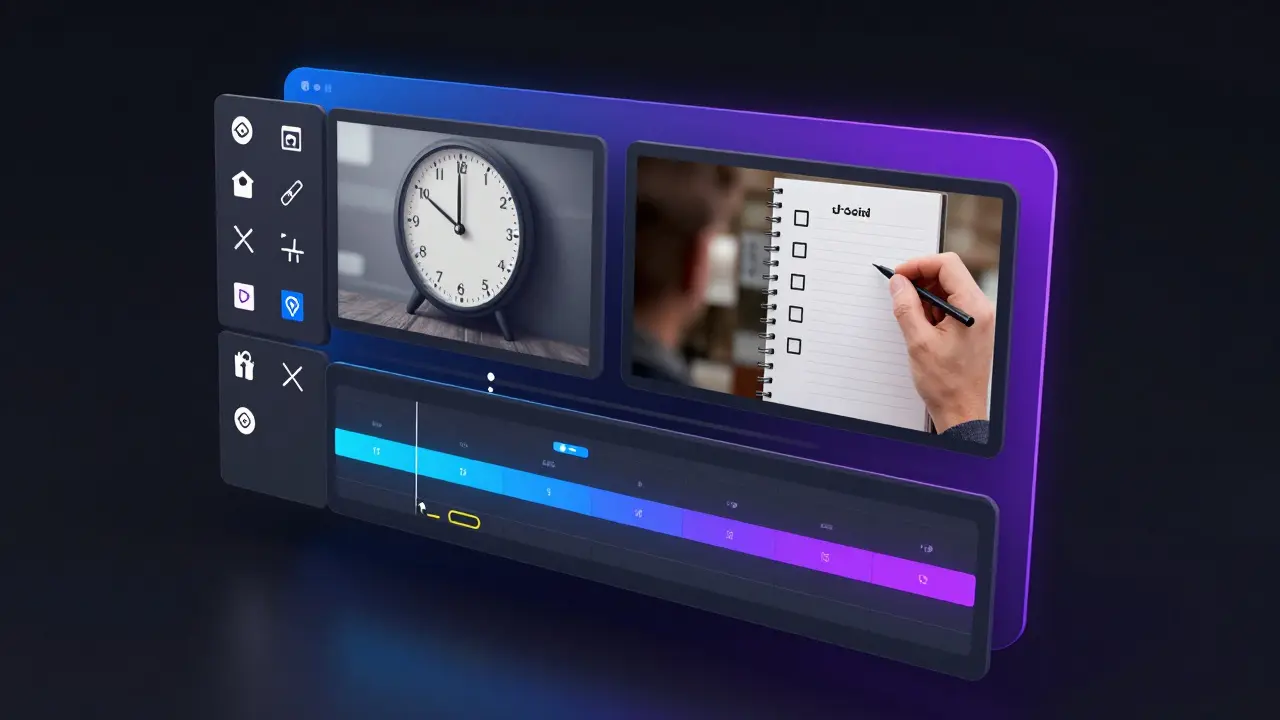
If you only use slides, your course will feel like a corporate meeting. To make it feel like a professional production, you need to layer in stock footage. This is known as B-roll-supplemental footage that plays while the narrator is speaking. B-roll breaks the monotony and provides a visual metaphor for the concepts you're discussing.
Where do you find this footage? Pexels is a provider of free stock photos and videos that are licensed under the Pexels License, allowing for commercial use without attribution. For a more premium feel, Storyblocks is a subscription-based service offering an unlimited library of high-definition stock video, audio, and backgrounds.
The secret to using stock footage is avoiding the "generic" look. If you're talking about "productivity," don't just show a person typing on a laptop in a bright white office. That's a cliché. Instead, look for more specific imagery: a close-up of a ticking clock, a hand crossing an item off a physical list, or a time-lapse of a city street. The goal is to evoke a feeling or illustrate a point, not just fill space.
| Tool | Cost | Best For | License Type |
|---|---|---|---|
| Canva | Free / Paid | Slide Design & Graphics | Proprietary/Commercial |
| Pexels | Free | Quick B-Roll Clips | Custom Free License |
| Storyblocks | Subscription | High-End Cinematic Footage | Royalty-Free |
| Google Slides | Free | Collaborative Outlines | Open Access |
Voiceover Strategies for Maximum Engagement
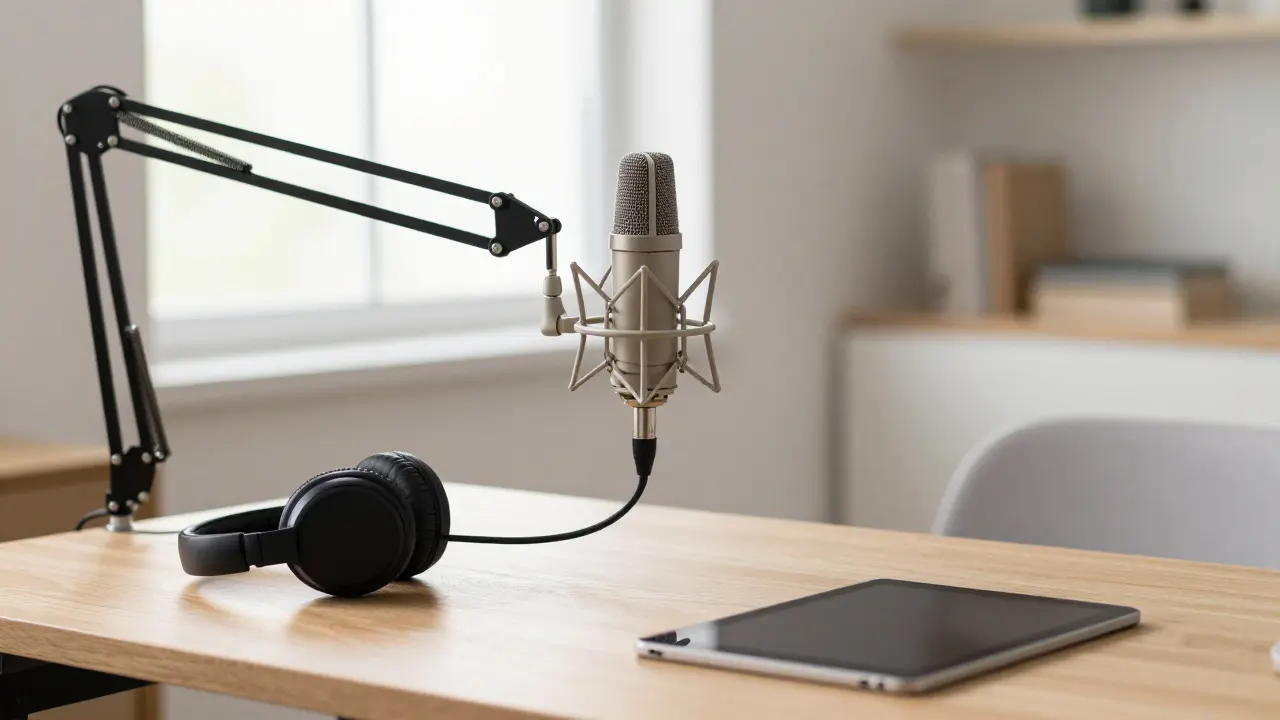
In a faceless video, your voice is your only tool for building trust. If the audio is tinny, echoes, or sounds robotic, people will leave. You don't need a professional recording studio, but you do need a dedicated setup. Start with a decent USB microphone. Avoid using the built-in mic on your laptop or headphones, as they capture too much background noise and lack low-end warmth.
When recording, focus on your "vocal energy." It's a known quirk of audio recording that a normal speaking voice often sounds bored or flat on tape. To sound engaging, you need to speak with slightly more energy and emphasis than you would in a one-on-one conversation. Smile while you talk; it sounds strange, but the listener can actually "hear" a smile in your tone, which makes you sound more approachable and confident.
For those who aren't comfortable recording their own voice, ElevenLabs is an AI audio platform that uses deep learning to generate highly realistic synthetic speech and voice cloning. While AI voices have improved drastically, they can still feel detached. If you go this route, choose "narrator" style voices rather than "commercial" styles, and spend time adjusting the stability and clarity settings to avoid unnatural pauses.
Putting it All Together: The Editing Workflow
The magic of no-face videos happens in the edit. You want to avoid long stretches of a single static slide. A good rule of thumb is to change something on the screen every 7 to 15 seconds. This could be a transition to a new slide, a zoom-in on a specific piece of text, or a cut to a stock video clip. This constant visual movement keeps the student's brain from switching to "autopilot."
Use CapCut is a user-friendly video editing app that provides a wide range of tools for cutting, adding transitions, and inserting automated captions. It is particularly effective for course creators because it allows you to easily overlay stock footage on top of your slide recordings. For those seeking more professional-grade control, Adobe Premiere Pro is a professional timeline-based video editing software used by filmmakers and content creators worldwide.
Don't forget the power of captions. Even if your audio is crystal clear, adding on-screen text for key terms or summaries helps with retention. When you mention a core concept-like "Compound Interest"-pop that text up on the screen. It reinforces the learning point and provides a visual anchor for the student.
Common Pitfalls to Avoid
One of the biggest mistakes creators make is over-using stock footage. If every single sentence is accompanied by a random clip, the video starts to feel like a generic advertisement rather than an educational course. Stock footage should support the point, not distract from it. If a simple slide explains the concept better, stick with the slide.
Another trap is the "monotone drone." Without a face to provide non-verbal cues, the rhythm of your speech becomes everything. Use pauses for emphasis. When you've just delivered a complex idea, stop talking for two seconds. This gives the student time to process the information before you move on to the next point. It's the digital equivalent of a nod or a knowing look.
Lastly, beware of poor audio leveling. There is nothing more frustrating for a learner than having to turn their volume up to hear the voiceover, only to be blasted by a loud piece of background music. Ensure your voice tracks are significantly louder than any background music you use. The music should be a whisper in the background, not a competing voice.
Do I really need a professional microphone for faceless courses?
While you can start with a smartphone, a dedicated USB microphone is highly recommended. Poor audio quality is the number one reason students drop out of online courses. A basic condenser mic will remove the 'room echo' and make your voice sound more authoritative and professional.
How often should I switch visuals to keep students engaged?
Aim for a visual change every 7 to 15 seconds. This doesn't mean you need a whole new clip; a simple zoom-in on a slide or a text pop-up is enough to reset the viewer's attention span and prevent boredom.
Is using AI voices like ElevenLabs acceptable for paid courses?
Yes, but with caution. Modern AI voices are very realistic, but they can lack the emotional nuance of a human. If you use AI, ensure the script is written for natural speech (with contractions and pauses) to avoid a robotic feel.
Where can I find the best free stock footage?
Pexels and Pixabay are the gold standards for free, high-quality stock footage. Just be careful to avoid the most common 'corporate' clips to keep your course feeling authentic and unique.
Can I use Canva for both slides and video editing?
Absolutely. Canva now has a robust video editor that allows you to animate your slides and add music and clips. It's a great all-in-one tool for beginners, though you may eventually outgrow it as you need more precise timing and advanced effects.
Next Steps for Your Course Production
If you're just starting, don't try to produce a 10-hour course in one go. Start by creating a "micro-lesson"-a 3 to 5 minute video. This allows you to test your voiceover energy, your slide pacing, and your editing workflow without committing to a massive project. Record one module, watch it back, and identify where it feels slow. That's where you need more B-roll or a punchier slide.
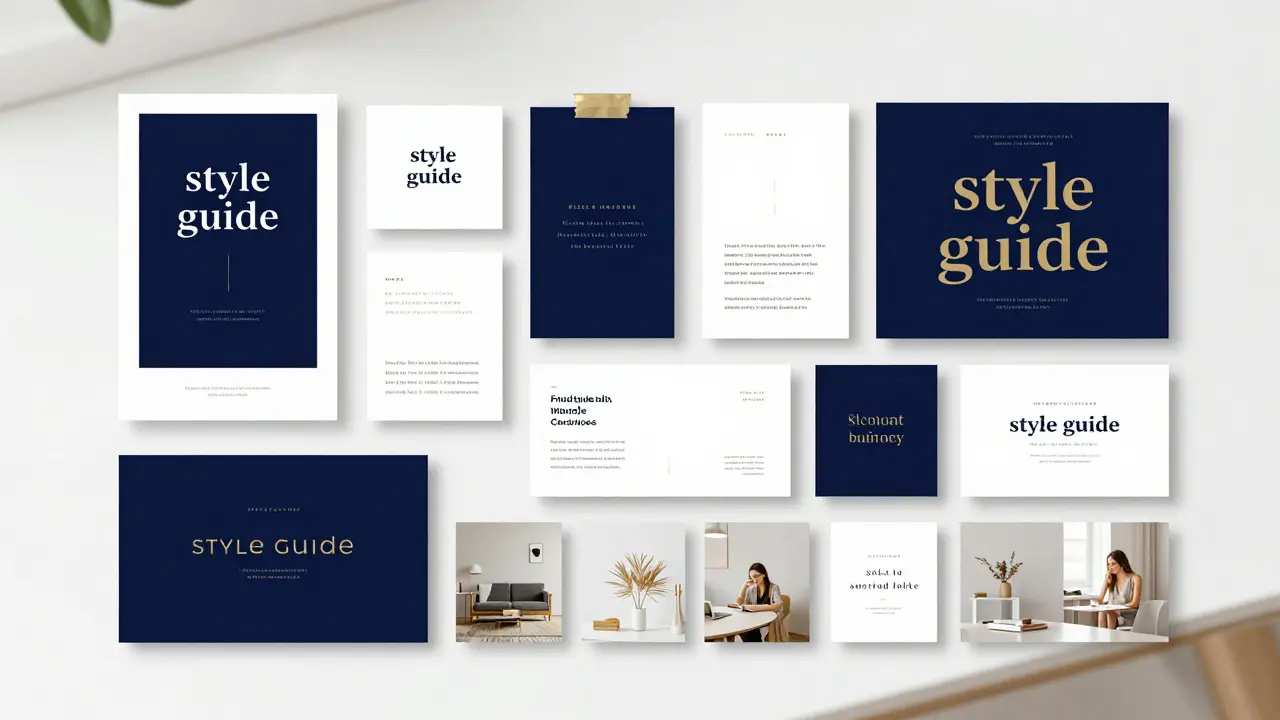
Once you've nailed the style, create a "style guide" for yourself. Decide on your primary colors, your favorite fonts, and the specific vibe of the stock footage you'll use. This ensures that your course feels cohesive from the first lesson to the last, regardless of whether you recorded the videos over a week or six months.