Recording and archiving virtual classroom sessions isn’t just about saving a video. It’s about giving students a second chance to learn, helping absent students catch up, and giving teachers a way to reflect on their own teaching. If you’re running online classes-whether for K-12, university, or corporate training-you need a system that actually works. Not just something that clicks ‘record’ and leaves you with a 2GB file you’ll never open again.
Choose the Right Tool for the Job
Not all platforms handle recording the same way. Zoom, Microsoft Teams, Google Meet, and Blackboard Collaborate all have built-in recording features, but they vary in quality, storage, and ease of access. Zoom is the most popular for education because it lets you record locally or to the cloud, and it automatically splits audio and video into separate files. That’s useful if you want to edit the audio later or upload just the audio to a podcast platform.Microsoft Teams saves recordings to OneDrive or SharePoint, which is great if your school already uses Microsoft 365. But if your students don’t have Microsoft accounts, they can’t access the files unless you share a link. Google Meet saves to Google Drive, which is simple-but only if you’re on a G Suite for Education account. Free Google accounts don’t get meeting recording.
For schools with limited budgets, OBS Studio (Open Broadcaster Software) is free and open-source. You can record your screen, webcam, and audio all at once. It doesn’t integrate with your LMS, but it gives you full control over file format, bitrate, and compression. Use it if you want to avoid platform lock-in.
Set Up Before You Start
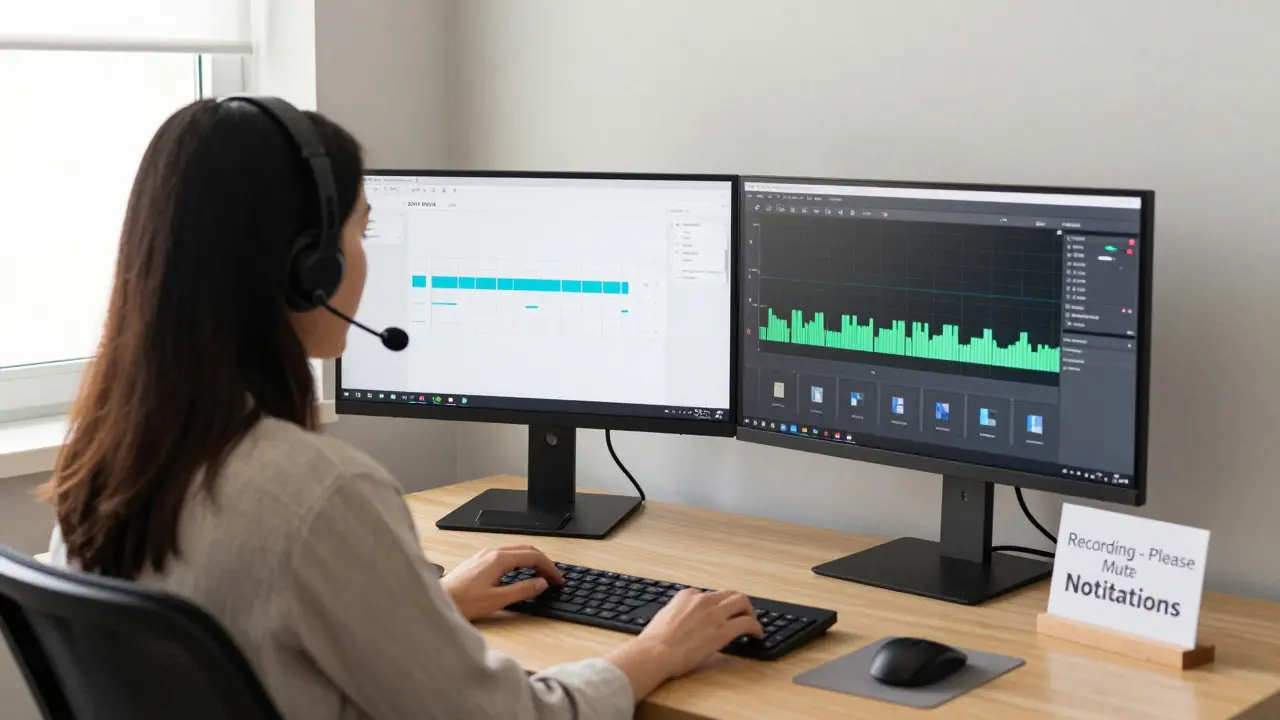
Never hit record without checking a few things first. A bad recording is worse than no recording at all.- Test your microphone. Background noise from fans, traffic, or kids in the next room ruins audio. Use a headset mic if you can.
- Check your internet connection. Upload speeds matter if you’re saving to the cloud. Aim for at least 5 Mbps upload. Run a speed test before class.
- Close unnecessary apps. Streaming and recording use a lot of RAM and CPU. Chrome tabs with videos or downloads can crash your session.
- Turn off notifications. Nothing breaks focus like a Slack ping or email alert during a lecture.
- Set the recording quality. 720p is fine for most classes. 1080p uses twice the storage. Don’t record in 4K unless you’re filming a demo with fine details.
Pro tip: Always record the screen and the speaker separately. That way, if the audio glitches, you can replace it later using the screen recording as a visual guide.
Organize Files Like a Pro
You’ll record dozens of sessions over a semester. Without a system, you’ll end up with files named:- Meeting_20260103_1015.mp4
- Recording (1).mov
- Final_lecture_FINAL_v2.mp4
That’s chaos. Use a clear naming convention:
CourseCode_Date_Time_Description.mp4
Example: EDU101_20260103_1015_IntroToCalculus.mp4
Put all files in a folder named after the course. Inside that, create subfolders for each week:
- EDU101/
- Week 1/
- Week 2/
- Week 3/
Use Google Drive, OneDrive, or a local NAS drive-not your desktop. Cloud storage lets you access files from anywhere and share them easily. Set up automatic backups. If your laptop dies, you don’t want to lose three months of lectures.

Archive for Long-Term Use
Recording is step one. Archiving is step two. Most people forget this. A recording stored in a personal folder for a year is useless. Students won’t find it. You won’t remember where it is.For long-term archiving, use your institution’s Learning Management System (LMS). Canvas, Moodle, and Blackboard all let you upload videos and tag them by course, week, and topic. Once uploaded, students can find them in the right place, alongside readings and assignments.
If your school doesn’t have an LMS, use YouTube (unlisted) or Vimeo (private). Upload your videos there and share the link in your course portal. YouTube handles transcoding automatically, so the video plays smoothly on phones, tablets, and slow connections. Just make sure privacy settings are set to “unlisted” so only people with the link can watch.
For legal and accessibility compliance, always add captions. Most platforms like Zoom and YouTube can auto-generate them. But they’re often wrong-especially with names, technical terms, or accents. Spend 10 minutes editing the auto-captions. It makes a huge difference for students who are deaf, non-native speakers, or learning in noisy environments.
Give Students Access, Not Just Files
Don’t just dump a video link into an email. That’s not teaching. It’s file sharing.Structure your archive like a library. Create a page in your LMS called “Past Lectures” or “Recorded Sessions.” List them by date and topic. Add a short description for each:
- January 3, 2026 - Intro to Calculus
Covers limits, derivatives, and the power rule. Includes worked examples from homework set 2.
Link each video directly to the relevant assignment or reading. If students are working on Problem Set 3, show them the video where you solved Problem 2. That kind of context turns passive viewing into active learning.
Respect Privacy and Permissions
Recording students without consent can break laws. In New Zealand, the Privacy Act 2020 requires you to inform participants if they’re being recorded. In the U.S., some states require two-party consent. Even if it’s legal, it’s ethical to ask.Start every class with: “Today’s session will be recorded for students who can’t attend. The recording will be shared only with enrolled students and archived in our course portal. If you don’t want to be on camera or audio, please turn off your mic and camera, or join via phone.”
Also, avoid recording group discussions unless you have permission. Students speak more freely when they know they’re not being recorded. If you need to capture a discussion, pause the recording, then restart after.
Use Recordings to Improve Your Teaching
The best reason to record isn’t for students-it’s for you. Watch your own recordings. Notice how you pause. Do you say “um” too much? Do you speak too fast when explaining hard topics? Do students look confused at a certain point?After watching three recordings, you’ll spot patterns. Maybe you always explain the same concept three different ways. Maybe you forget to check for understanding after 15 minutes. That’s not failure-that’s data.
Teachers who review their recordings improve faster than those who don’t. It’s like a coach watching game film. You don’t need to be perfect. You just need to get better.
What to Do When Things Go Wrong
Recordings fail. Sometimes the file is corrupted. Sometimes the upload times out. Sometimes the audio is just silence.If the recording doesn’t save:
- Check your storage space. Cloud services have limits. Zoom gives you 10GB free. Google Drive gives you 15GB shared across all apps.
- Try recording locally instead of to the cloud. Local files are more reliable.
- If the file is corrupted, try opening it with VLC Media Player. It can play files that Windows Media Player or QuickTime can’t.
- If you lost the audio, but have the screen recording, use a tool like Audacity to record your voiceover while watching the video. Then sync it manually.
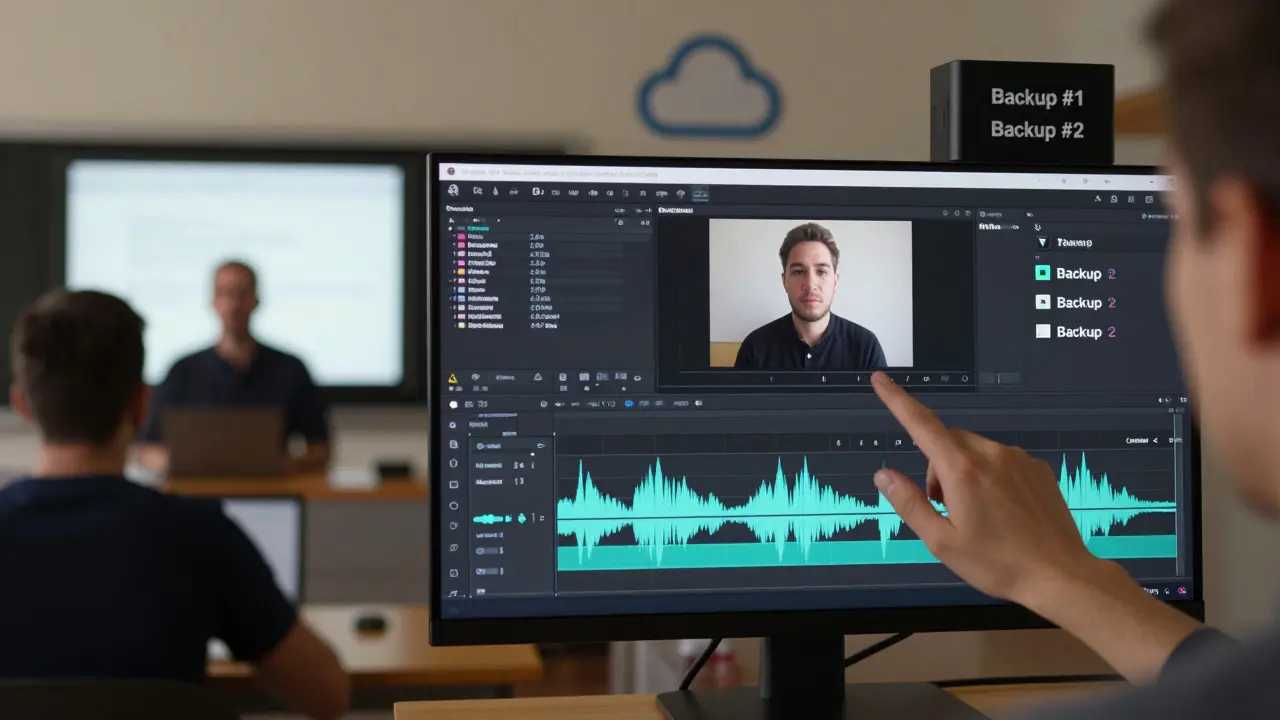
Always keep a backup copy on two different devices. One on your computer. One in the cloud. That’s the golden rule.
What Not to Do
Don’t:- Record without telling students
- Store files on your desktop or USB stick
- Use public YouTube links
- Upload without captions
- Archive without organizing
- Assume students will find the files on their own
These mistakes are common. They’re also avoidable.
Can I record a virtual class without asking students?
No. Even if your country’s laws allow it, ethical teaching requires informed consent. Always announce at the start of class that the session will be recorded. Give students the option to turn off their camera and mic if they don’t want to be included. In New Zealand, the Privacy Act 2020 requires transparency around data collection, including audio and video recordings.
How much storage do I need for virtual classroom recordings?
A one-hour video at 720p resolution uses about 400-600 MB. At 1080p, it’s closer to 1.2 GB. If you teach three 90-minute classes a week, you’ll need around 15-20 GB per month. Cloud services like Zoom and Google Meet offer limited free storage-usually 10-15 GB. For long-term use, upgrade to a paid plan or use your school’s LMS, which often has unlimited storage for educators.
Should I upload recordings to YouTube?
Only if you set them to unlisted or private. Public uploads risk violating student privacy and copyright. Unlisted videos don’t show up in search results but can still be shared with students via direct link. YouTube automatically generates captions and adapts video quality based on the viewer’s internet speed, which helps accessibility and playback reliability.
What’s the best format to save recordings in?
MP4 with H.264 video and AAC audio is the most universally compatible format. It plays on almost every device-phones, tablets, computers, smart TVs. Avoid AVI, MOV, or WMV unless you’re sure your students’ devices support them. Most recording tools export in MP4 by default, so stick with that unless you have a specific reason to change.
How long should I keep archived recordings?
Keep recordings for at least two academic years. That covers students who need to review material for exams, transfer students, or those retaking the course. After two years, archive older files to low-cost cloud storage (like AWS Glacier or Google Coldline) or delete them if they’re no longer relevant. Always check your institution’s data retention policy-some require records to be kept for legal or accreditation reasons.
Recording virtual classes is a simple act-but doing it well takes planning. The goal isn’t just to save a video. It’s to build a learning resource that lasts, helps students, and improves your teaching over time. Start small. Get organized. Protect privacy. And never underestimate the power of a well-archived lecture.
Comments
Tyler Durden
Just recorded my first lecture using OBS and holy crap it was smoother than Zoom. No lag, no weird buffering, and I got full control over the bitrate. Also, I named my files like the post said - EDU205_20260315_1400_DifferentialEquations.mp4 - and now I can actually find them. Game changer.
Pamela Tanner
I appreciate the emphasis on accessibility. Auto-captions are a start, but they’re often riddled with errors - especially with technical terms or non-native speakers. I spend 15 minutes per video editing captions. It’s tedious, but a student with hearing loss told me it’s the difference between passing and failing. Never skip this step.
Aafreen Khan
bruh why are we even doing this? 🤡 just send the zoom link and call it a day. who even watches these? my students are on tiktok. also i use google meet and dont even care about naming files. its 2026, not 2006 😂
Pamela Watson
Wait wait wait - you’re telling me I can’t just save everything on my desktop? But that’s where I keep all my cat pics and memes! 😱 Also, why do I need to back up? My laptop’s brand new! And why do I have to ask students? They’re just kids, they don’t mind! I mean… right? 😅
Abert Canada
As a Canadian educator in a rural district with spotty internet, I can’t stress enough how crucial local recording is. Cloud fails constantly here. OBS saved my semester. Also - unlisted YouTube is genius. My students in Nunavut watch lectures on phones with 3G. YouTube’s adaptive bitrate is a lifesaver. Thanks for the tip.
Xavier Lévesque
So you’re telling me I’m supposed to watch my own lectures? Like… on purpose? And not just to see if I accidentally said ‘um’ 47 times? 🤔 I mean… I guess if I want to be a better teacher. But honestly, I’d rather just pretend I’m flawless and let the students figure it out.
Thabo mangena
Esteemed colleagues, I must commend the meticulous attention to detail in this comprehensive guide. The adherence to ethical protocols regarding student consent, the structured archival methodology, and the commitment to inclusive pedagogy through captioning represent not merely best practices, but moral imperatives in the modern educational landscape. May we all strive for such conscientiousness.
Karl Fisher
OMG I literally cried when I read the part about ‘not storing files on your desktop’ - I’ve been doing that for YEARS. 😭 My laptop is basically a shrine to chaos. But now I’m going to fix it. I’m gonna make a whole ‘Lecture Archive’ folder. With subfolders. And color-coded icons. I’m basically a digital Marie Kondo now. 🙌✨