

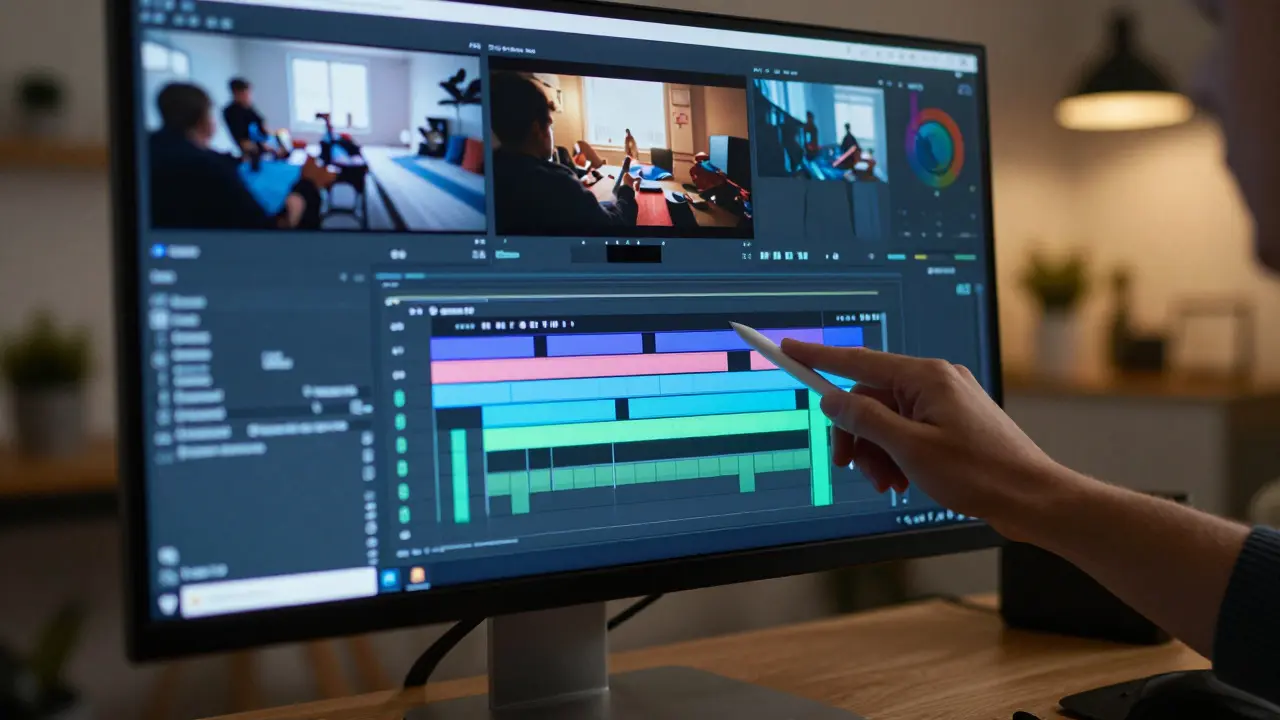
You spent two hours answering questions, debugging code, or untangling complex concepts during your live session. Now that the camera is off, you might feel like that valuable interaction has vanished into the void. But here is the truth: your office hours replays are often more valuable than your pre-recorded lectures because they capture real-time problem solving. The challenge isn't creating value; it's packaging that raw footage into a format students actually want to watch.
Most creators treat these sessions as an afterthought, dumping unedited files into a folder and hoping someone clicks play. Instead, think of every live Q&A as a mining operation. You have ore (the raw video), and your job is to refine it into gold (specific, searchable, high-impact lessons). By transforming these interactions into structured micro-content, you extend the shelf life of your teaching by months, if not years.
Why Raw Replays Fail Without Strategy
Raw office hour recordings suffer from three major issues: length, distraction, and lack of context. A typical one-hour session contains maybe twenty minutes of actual teaching, with the rest filled by dead air, technical glitches, or tangential conversations between students. If you upload this directly to your Learning Management System (LMS), students will rarely watch past the first five minutes.
The goal of repurposing is not just to archive the video; it is to create a library of specific solutions. When a student struggles with a particular concept weeks later, they don't want to scrub through an hour of chat to find the answer. They want a four-minute clip that solves their exact problem. This shift in mindset changes how you edit and organize your content.
| Feature | Raw Replay | Repurposed Asset |
|---|---|---|
| Average Watch Time | 3-5 minutes | 100% completion rate |
| Searchability | Poor (no timestamps) | High (keyword-tagged segments) |
| Student Effort | High (must hunt for info) | Low (direct access to solution) |
| Lifespan | Course duration only | Reusable across cohorts |
The Three-Tier Packaging Model
To make this process manageable, use a tiered approach. Not every question deserves a full video essay. Sort your clips into three categories based on their utility and complexity.
- Tier 1: The Quick Fix (Under 2 minutes). These are simple clarifications, syntax errors, or common misunderstandings. Keep them snappy. Add a text overlay at the start stating the specific error or question. These work perfectly as "micro-lessons" embedded directly next to relevant assignments in your LMS.
- Tier 2: The Deep Dive (3-7 minutes). These involve multi-step processes or conceptual breakdowns. For example, explaining why a specific algorithm fails under certain conditions. These should be standalone videos with clear titles like "Debugging Loop Logic: A Step-by-Step Guide."
- Tier 3: The Case Study (8+ minutes). Occasionally, a student presents a complex project issue that requires a thorough walkthrough. These are rare but high-value. Treat them like mini-tutorials. Include an introduction, the problem statement, the solution, and a summary of key takeaways.
This model ensures you spend editing time where it matters most. You don't need to polish every single sentence; you just need to ensure the core value is delivered clearly and concisely.

Editing for Clarity, Not Perfection
When editing these clips, resist the urge to add flashy graphics or background music. Students are looking for answers, not entertainment. Your editing focus should be on clarity and navigation.
- Cut the Dead Air: Remove long pauses where you are thinking or waiting for audio. Use jump cuts to keep the pace brisk.
- Add Context Overlays: At the beginning of each clip, display the specific question asked. This helps viewers immediately identify if the clip is relevant to their current struggle.
- Use Chapter Markers: Even in short clips, if you address multiple sub-points, add chapter markers. This allows users to skip ahead if they only need part of the explanation.
- Normalize Audio: Live sessions often have inconsistent volume levels. Ensure your audio is normalized so the viewer doesn't have to adjust their speakers constantly.
Tools like Descript or Adobe Premiere Pro can automate much of this. Descript, in particular, allows you to edit video by editing the transcript, which significantly speeds up the removal of filler words and dead air.
Structuring Your Digital Library
Creating the videos is only half the battle. If students can't find them, they are useless. Structure your repository logically. Avoid dumping all clips into a single "Office Hours" folder.
Instead, organize your assets by topic or module. If you teach web development, create folders for "HTML/CSS," "JavaScript Basics," and "API Integration." Within each folder, name your files descriptively. Instead of "Office_Hours_Week_3.mp4," use "Fixing_Flexbox_Alignment_Issues.mp4." This naming convention makes the content searchable within your platform and sets clear expectations for the viewer.
Consider adding a "Frequently Asked Questions" section to your course homepage that links directly to your Tier 1 quick fixes. This reduces the load on your future live sessions because many recurring questions will already be answered in the library.
Measuring Impact and Iterating
How do you know if this strategy is working? Look at your analytics. Most modern LMS platforms track video completion rates. If your repurposed clips have a higher completion rate than your main lectures, you are on the right track. Additionally, monitor your support channels. If students stop asking the same basic questions via email or chat, it means your quick-fix library is effective.
Keep a log of the questions you answer in live sessions. After a few months, you will notice patterns. Certain topics may require more detailed explanations than others. Use this data to improve your future live sessions or to decide which topics deserve Tier 3 treatment in your next batch of edits.
Common Pitfalls to Avoid
Even with a solid plan, mistakes happen. Here are the most common traps that reduce the value of your repurposed content:
- Ignoring Privacy Concerns: If other students appear on screen or speak, get their permission to reuse their footage. Blurring faces or cropping the screen can solve this quickly.
- Over-Editing: Spending ten hours polishing a two-minute clip is inefficient. Aim for "good enough" quality that prioritizes clarity over production value.
- Static Content: Don't set it and forget it. If a software update changes the interface shown in your video, update the clip or add a note warning viewers about the change.
By treating your live interactions as a source of reusable assets, you transform a temporary event into a permanent resource. Your students benefit from immediate, targeted help, and you save time in the long run by reducing repetitive questioning. Start small: pick your last live session, identify the top three questions, and turn them into polished, searchable clips. That is all it takes to begin building a library that works for you, even when you're offline.
How long should office hour replay clips be?
Aim for under 2 minutes for simple fixes and 3-7 minutes for deeper explanations. Shorter clips generally have higher completion rates because they respect the student's time and focus on a single problem.
Do I need professional editing software to repurpose these videos?
No. Free tools like DaVinci Resolve or user-friendly platforms like Descript are sufficient. The priority is clear audio and concise editing, not visual effects or cinematic transitions.
Should I include the entire live session or just the highlights?
Include only the highlights. While the full session has value for some, most students prefer targeted solutions. You can keep the full recording in a separate archive folder for those who want the complete context, but promote the edited clips as the primary resource.
How do I handle student privacy in these replays?
Get explicit consent from any student who appears or speaks prominently. Alternatively, crop the video to show only your screen and voice, or blur other participants' faces using built-in video editing tools.
What is the best way to organize these videos in my course platform?
Organize by topic or module rather than by date. Use descriptive file names that include keywords related to the problem being solved. This makes the content easy to search and discover when students encounter specific issues.