

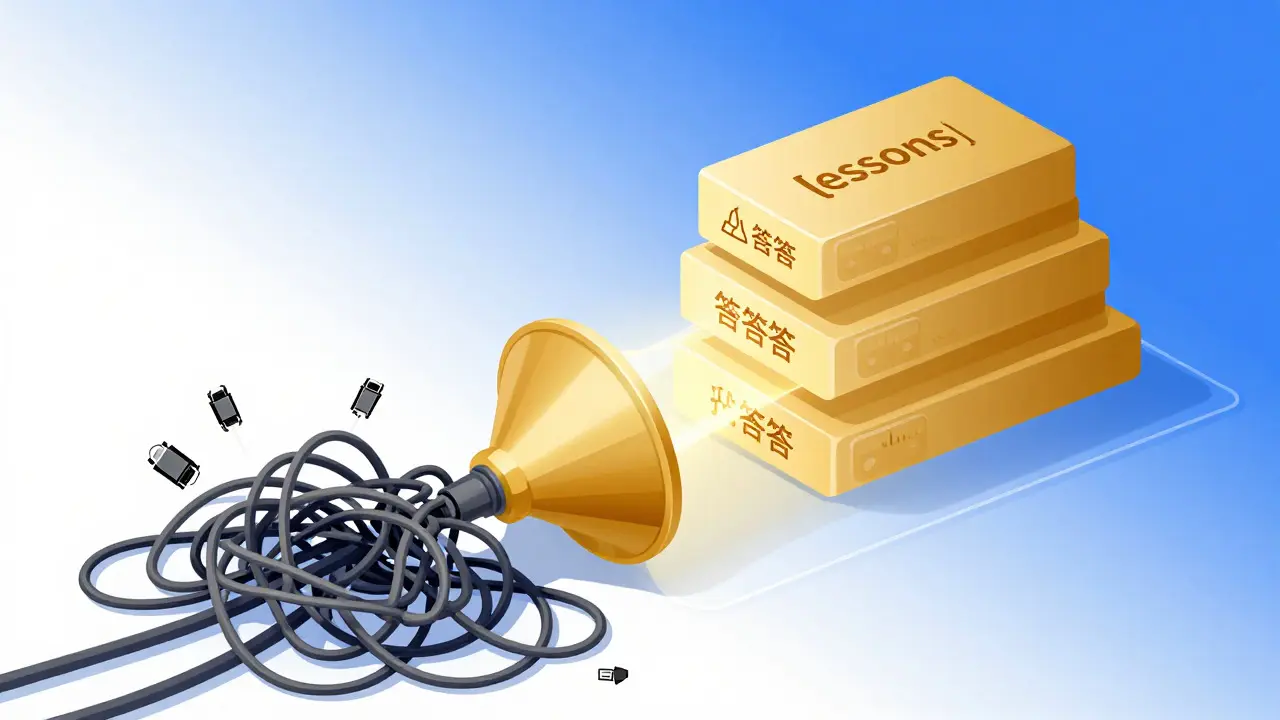
Most educators treat Office Hours is a live Q&A session where instructors clarify doubts and provide real-time feedback. as a disposable utility. It happens, students ask questions, the chat scrolls, and then everyone logs off. But you are leaving money on the table. Those unpolished, raw interactions contain the exact friction points that cause students to drop out or feel confused later. By packaging these live sessions into structured course content, you transform a temporary support channel into a permanent asset library.
The shift from "live help" to "evergreen resource" changes how your audience consumes information. Instead of waiting for a specific Tuesday at 4 PM, they get instant access to answers that solve their current problems. This approach boosts retention because it meets learners where they are, not where your calendar says they should be. Here is how to stop letting those recordings gather dust in your cloud drive and start using them to build a more robust educational experience.
Why Raw Replays Fail Without Structure
You might think uploading the full two-hour recording is enough. It isn't. A raw replay is like a grocery list without categories; technically, everything is there, but finding what you need takes forever. Students rarely have the patience to scrub through 90 minutes of silence or small talk to find the one answer about a specific coding error or essay structure.
When you leave replays unedited, you create three main problems:
- Searchability issues: If the question was asked verbally in minute 43, no one will find it unless they remember exactly when it happened.
- Context loss: Live sessions often rely on shared screens or whiteboards that disappear after the call ends. Without visual context, verbal explanations become vague.
- Perceived value drop: Learners associate polished content with quality. A shaky webcam angle and background noise can make even great advice feel low-effort.
To fix this, you need to treat the replay not as a final product, but as raw material. Think of it like mining ore. You aren't selling the rock; you're extracting the gold inside it. The goal is to isolate the high-value moments and wrap them in a format that stands on its own.
Identifying the Gold: Selecting Key Segments
Not every minute of an office hour is worth keeping. In fact, most of it isn't. Your job is to identify the segments that solve recurring problems. As you watch the recording, look for patterns. Did three different students ask variations of the same question? That’s a prime candidate for a standalone lesson.
Use this simple filter to decide what to keep:
- Recurring Themes: If the same concept causes confusion across multiple sessions, clip it. This indicates a gap in your main curriculum.
- Complex Explanations: If you spent five minutes drawing a diagram or walking through a complex logic step, save that entire block. These are hard to replicate in text.
- Myth-Busting Moments: When you correct a common misconception, capture it. These clips work well as quick "myth vs. reality" posts.
Avoid keeping chit-chat, technical troubleshooting (like "can you see my screen?"), or highly specific personal anecdotes that don’t apply to the broader audience. Keep the signal, cut the noise.
| Feature | Live Office Hours | Packaged Replay Content |
|---|---|---|
| Accessibility | Time-zone dependent | 24/7 Global Access |
| Content Depth | Linear, single-threaded | Modular, searchable snippets |
| Production Quality | Variable, often raw | Edited, captioned, branded |
| Student Effort | High (must attend live) | Low (on-demand consumption) |
| Lifespan | Temporary (session-based) | Evergreen (long-term asset) |
The Editing Workflow: From Chaos to Clarity
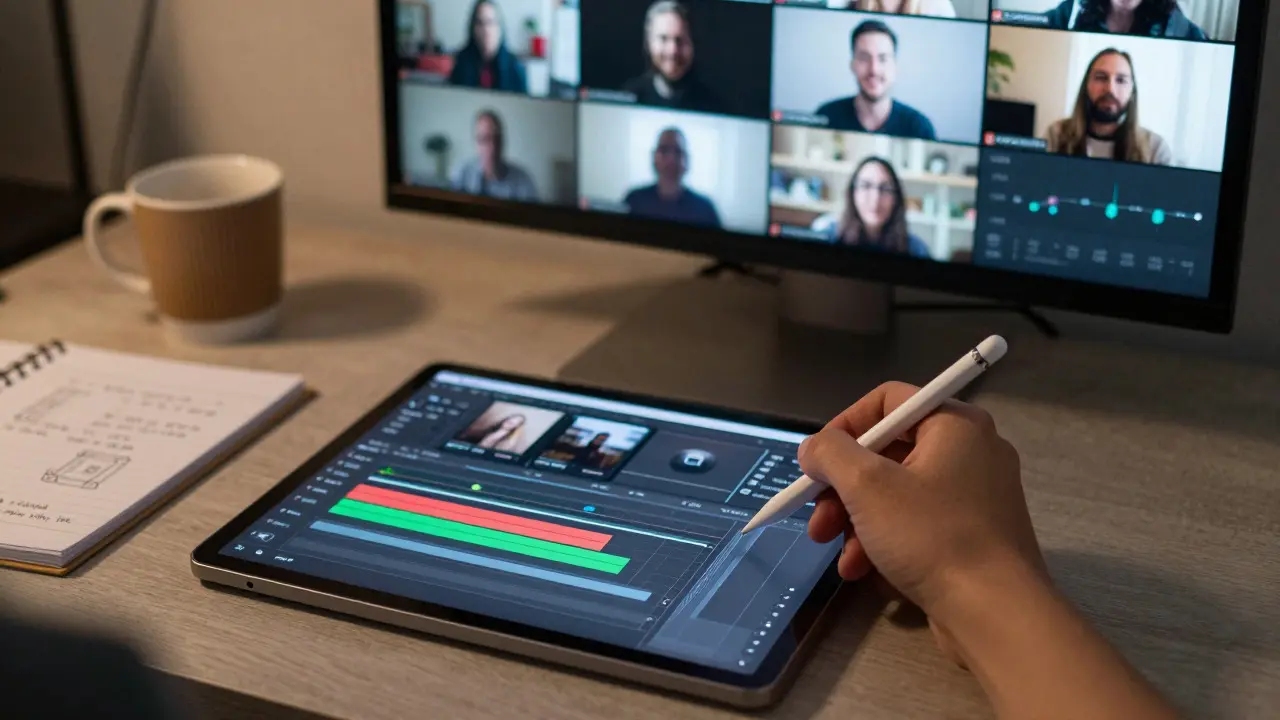
Once you’ve selected your clips, the editing process needs to be efficient. You don’t want to spend more time editing than you did teaching. Use automated tools to transcribe the audio first. Tools like Otter.ai or built-in features in platforms like Zoom can generate timestamps instantly. This allows you to jump directly to the relevant question without listening to the whole file.
Here is a streamlined workflow for processing a single replay:
- Transcribe and Tag: Import the video into your editor. Use the transcript to mark in-points and out-points for each valuable segment. Add tags like "#PythonDebugging" or "#EssayStructure" to organize your project files.
- Cut and Clean: Trim the fat. Remove long pauses, accidental double-takes, and irrelevant side conversations. Keep the pacing tight. If a sentence doesn’t add value, cut it.
- Add Context Headers: Start each clip with a 10-second intro. State the problem clearly. For example: "Struggling with CSS Flexbox alignment? Here’s the quick fix we discussed in our last session." This sets expectations immediately.
- Enhance Visuals: If the original session had a blurry screen share, re-create the key diagram or code snippet in a clean graphic. Overlay this on top of your talking head or use it as a full-screen insert. Visual clarity beats audio clarity when explaining technical concepts.
Don’t overthink the aesthetics. Consistency matters more than cinematic flair. Use the same font, color palette, and intro style for all your packaged replays so students recognize the series instantly.
Integrating Replays into Your Course Architecture
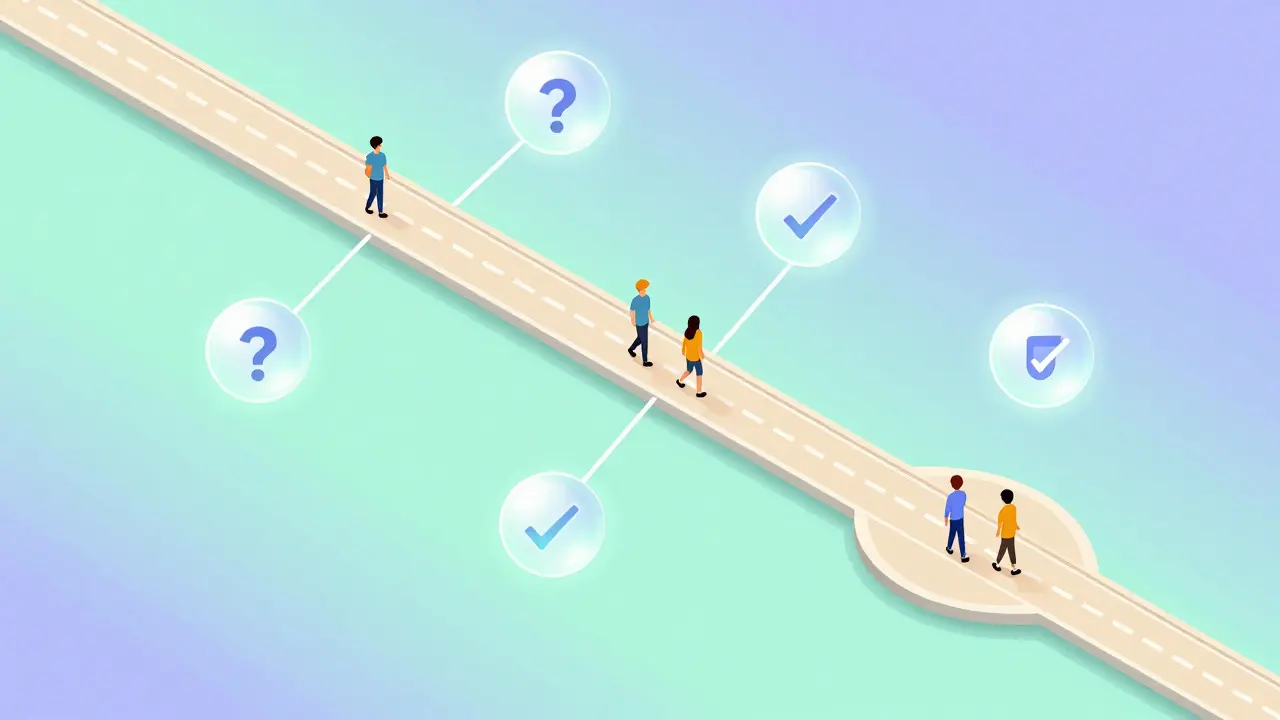
Creating the clips is only half the battle. You have to place them where students will actually find them. Hiding them in a generic "Resources" folder is a mistake. Integrate them directly into the learning path.
Consider these placement strategies:
- Post-Lesson Supplements: After a module on a difficult topic, add a link to the related office hour clip. Frame it as "Need a deeper dive? Watch how we broke this down in live Q&A."
- Troubleshooting Hub: Create a dedicated page for common errors or confusions. List the symptoms (e.g., "Error 404," "Blank Page") and link to the specific replay segment that solves it.
- Onboarding Boosters: New students often feel overwhelmed. Include a "Top 5 Questions from Our First Month" playlist in their welcome sequence. This normalizes their confusion and shows them that help is available.
This integration turns passive viewers into active learners. They aren’t just watching a video; they are solving a specific problem they encountered in the main curriculum. This contextual relevance significantly increases watch time and completion rates.
Measuring Success: Beyond View Counts
How do you know if this strategy is working? Don’t just look at total views. That metric is vanity. Look at behavioral data instead.
Track these specific KPIs:
- Support Ticket Volume: If you package a replay about "Setting up Git," does the number of emails asking about Git setup decrease? If yes, the content is working.
- Quiz Performance: Compare quiz scores before and after releasing a new batch of replay clips. If scores improve on topics covered in the replays, the content is clarifying concepts effectively.
- Engagement Rate: Monitor how many students click on the replay links from the course modules. Low clicks suggest poor placement or unclear labeling.
Adjust your strategy based on this data. If a particular type of question keeps generating support tickets despite having a replay, maybe the explanation wasn’t clear enough. Record a follow-up clarification or refine the existing clip.
Common Pitfalls to Avoid
Even with the best intentions, educators often stumble. Here are the traps to watch out for:
Over-Editing: Trying to make every clip look like a commercial wastes time. If the audio is clear and the point is made, ship it. Perfectionism kills consistency.
Ignoring Accessibility: Always add captions. Many students learn better by reading along, and captions make your content accessible to non-native speakers and those with hearing impairments. Most editing software now offers auto-captioning that requires minimal correction.
Dating Your Content: If you mention a specific software version or a news event, note the date in the description. Otherwise, students may get confused why the interface looks different. Adding a "Recorded on [Date]" stamp manages expectations.
Neglecting Updates: Technology and trends change. Review your replay library quarterly. If a tool has been discontinued or a method is outdated, archive or update the clip. Stale content erodes trust faster than no content at all.
Frequently Asked Questions
How long should packaged office hour clips be?
Aim for 3 to 5 minutes per clip. This length is short enough to maintain attention but long enough to explain a concept thoroughly. If a topic requires more time, break it into multiple smaller clips linked in a sequence.
Do I need to get permission from students who appear on camera?
Ideally, yes. If a student’s face is visible and identifiable, send a brief email asking for permission to use their question and image in future materials. If they prefer anonymity, blur their face or crop the video to show only the screen share. This builds trust and respects privacy.
What is the best tool for automating the transcription process?
Tools like Otter.ai, Rev, or the built-in transcription features in Zoom and Microsoft Teams are excellent starting points. They provide accurate text with timestamps, which speeds up the editing phase significantly. Choose one that integrates easily with your existing video hosting platform.
How often should I review and update my replay library?
Review your library every quarter. Check if any clips reference outdated software versions, incorrect facts, or expired promotions. Archiving old content is just as important as adding new content to keep your library relevant and trustworthy.
Can I repurpose these clips for social media?
Absolutely. Extract the most engaging 60-second moments from your longer clips and post them on LinkedIn, Instagram, or Twitter. Add subtitles and a hook in the first three seconds. This drives traffic back to your full course while showcasing your expertise to potential new students.