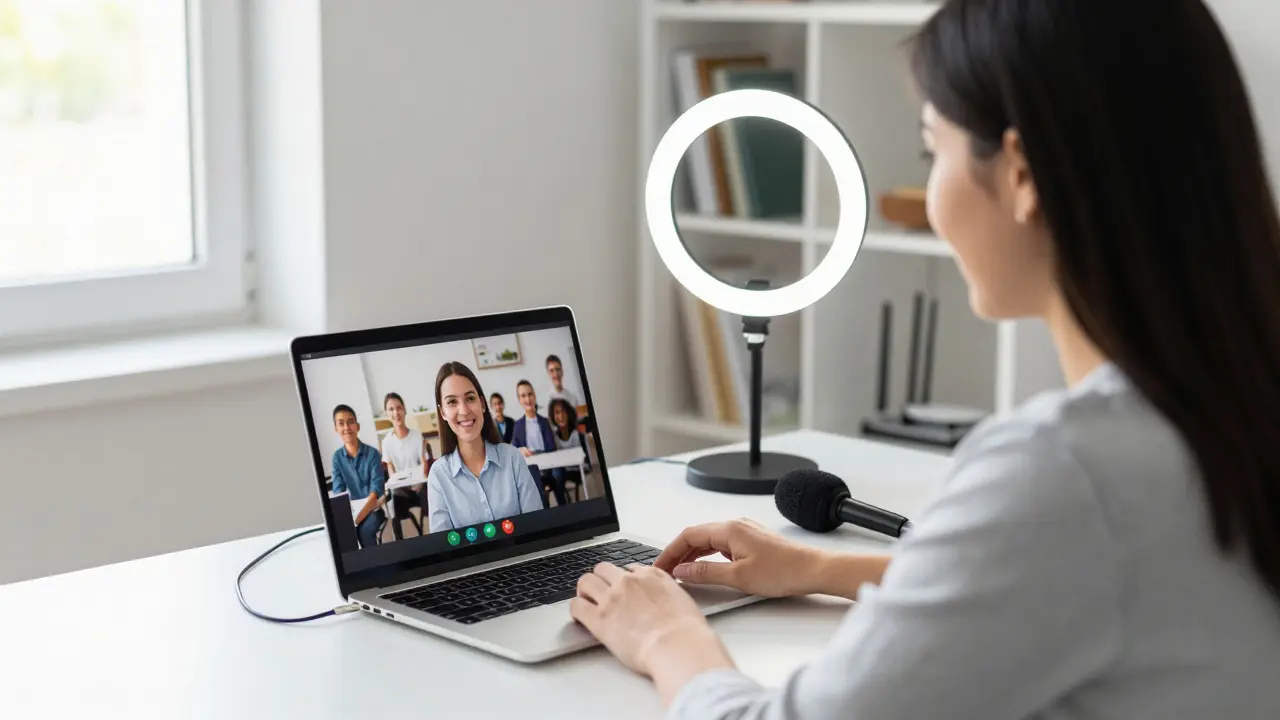
When you’re teaching from home and your students are scattered across the city-or the country-your live video stream becomes your classroom. It’s not just a video call. It’s where lessons happen, questions get asked, and connections are made. But if your stream freezes, your mic cuts out, or the audio echoes like you’re in a cave, learning stops. Setting up live video streaming for virtual classrooms isn’t about fancy gear. It’s about making sure your students can hear you, see you, and stay engaged-without frustration.
What You Actually Need to Start Streaming
You don’t need a studio. You don’t need a $1,000 camera. Most teachers get by with what they already have: a laptop, a smartphone, or a basic webcam. The real key is reliability. A stable internet connection matters more than resolution. If your upload speed is below 5 Mbps, you’ll see lag, pixelation, or dropped connections. Test it with a site like Speedtest.net before class. Aim for at least 8 Mbps upload for smooth 720p streaming. If you’re using Wi-Fi, move closer to the router. Or better yet, plug your laptop into an Ethernet cable. Wi-Fi is convenient. Ethernet is dependable.Your microphone is just as important. Built-in laptop mics pick up keyboard clicks, fan noise, and your dog barking from the next room. A simple USB microphone like the Audio-Technica AT2020 or even a $30 lavalier mic from Amazon makes a huge difference. Plug it in, test it in your streaming app, and speak at a normal volume. If your voice sounds muffled or too quiet, adjust the input level. Don’t crank it to 100%-that causes clipping and distortion.
Choose the Right Platform
Not all video platforms are made for teaching. Zoom, Google Meet, and Microsoft Teams are popular, but they’re built for meetings, not lessons. For virtual classrooms, look for tools designed for education. Platforms like Google Classroom is a learning management system that integrates with Google Meet for live streaming lessons and managing assignments and Canvas is a learning management system used by schools and universities to deliver content, host live sessions, and track student progress let you schedule sessions, assign breakout rooms, and record lessons for later review. StreamYard is a browser-based live streaming tool that lets educators broadcast to YouTube, Facebook, and LinkedIn simultaneously with screen sharing and guest invites is great if you want to stream to YouTube or Facebook while still interacting with students in real time. It’s simple, no software install needed, and lets you add your school logo or a custom background.Avoid platforms that require students to download apps or create accounts. The fewer steps between them and your lesson, the better. If your students are under 13, make sure the platform complies with COPPA. Google Meet with a school account is usually the safest bet.
Lighting That Doesn’t Make You Look Like a Ghost
Poor lighting is the silent killer of virtual lessons. If you’re sitting with a window behind you, your face turns into a shadow. If you’re under a single overhead bulb, your nose casts a creepy shadow on your cheeks. Natural light is best. Face a window during the day. If that’s not possible, get a cheap LED ring light or a desk lamp with a daylight bulb (5000K color temperature). Place it slightly above eye level and angled toward your face. Don’t point it straight at you-that creates harsh glare. A second light behind you, aimed at the wall, helps separate you from the background and reduces the "floating head" effect.Backgrounds and Distractions
Your background should say "learning space," not "messy laundry pile." A plain wall works. A bookshelf looks professional. A virtual background can hide clutter, but only if your camera and software handle it well. Many platforms now offer background blur or replacement, but they often cut off your head or turn your sleeves into glitchy pixels. Test it before class. If it looks weird, go simple. Tidy up. Hang a solid-colored sheet or use a portable backdrop. Students focus better when they’re not distracted by moving objects or chaotic visuals.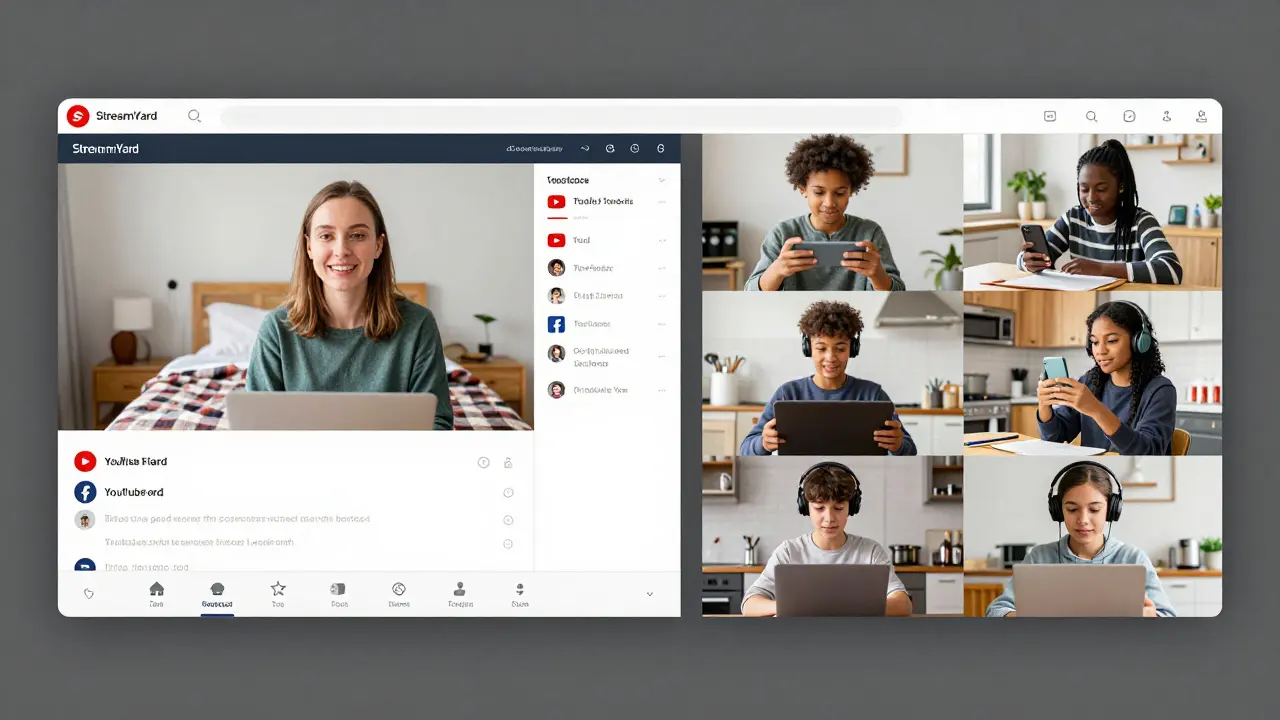
Engagement Isn’t About Fancy Tools
Streaming isn’t just broadcasting. It’s teaching. Students zone out faster online than in person. Keep sessions under 45 minutes. Break up lectures with polls, quick questions, or one-minute journal prompts. Use the chat feature. Ask students to type one thing they learned. Call on them by name. "Maria, what did you think about that example?" Even if they don’t answer, they’re more likely to stay tuned.Use screen sharing to show slides, documents, or live demos. But don’t just stare at your screen. Look at the camera. That’s where your students’ eyes are. Eye contact builds connection. If you’re using a second monitor, put your student list or chat window there. Don’t look down at your laptop screen-your gaze drops, and students feel ignored.
Record Everything
Not every student can make every live session. Maybe they’re sick. Maybe they’re in a different time zone. Maybe their internet crashed. Record your streams. Most platforms let you save locally or to the cloud. Upload the recording to your learning management system the same day. Add timestamps so students can jump to the part they missed. Include a short summary or key points in the description. This turns one live lesson into multiple learning moments.Test Before You Teach
Never go live without a dry run. Do a 5-minute test stream the day before class. Check your mic. Check your camera angle. Check your internet. Invite a colleague or a friend to watch and give feedback. "Can you hear me clearly?" "Is my face too dark?" "Is the background distracting?" Fix what’s broken. Even small tweaks-like moving your chair two inches closer to the light-can make a big difference.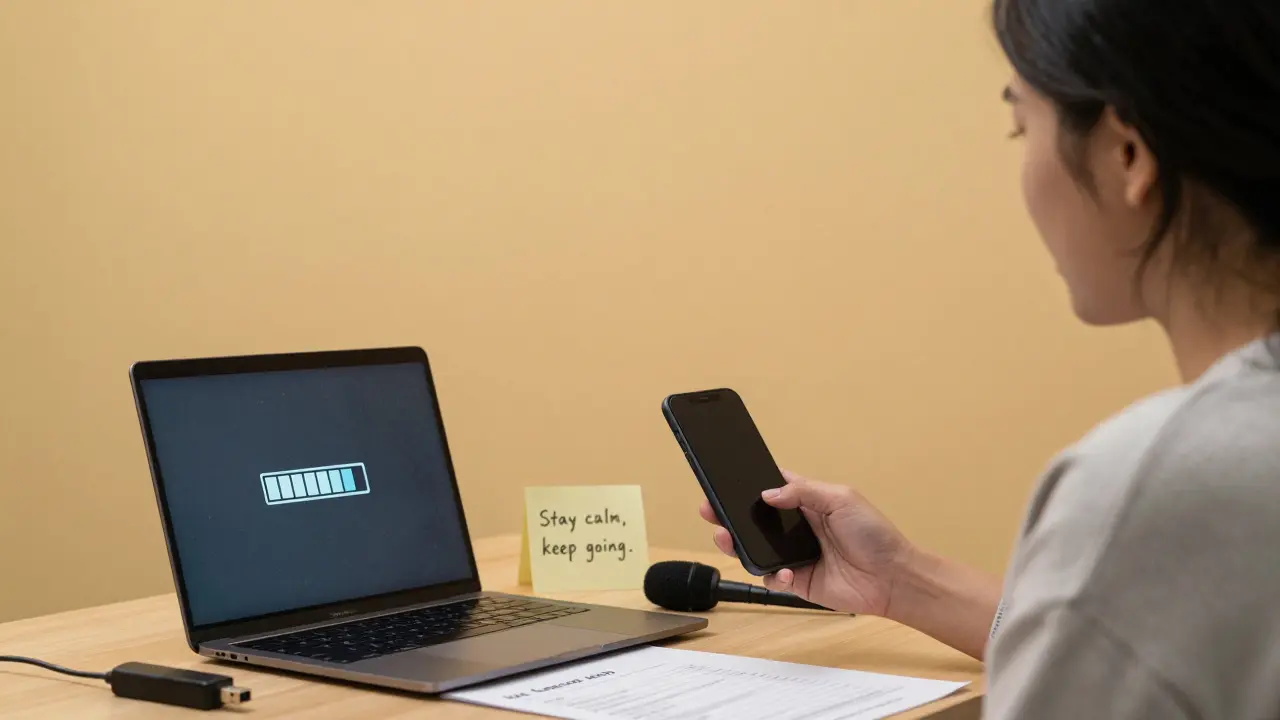
What to Do When Things Go Wrong
Tech fails. It happens. If your stream freezes, don’t panic. Have a backup plan. Keep your phone nearby with the same app open. If your laptop dies, jump to your phone and share the link again. If your mic stops working, type a message in chat: "Audio issue-switching to phone. One moment." Most students are understanding. They just want to know you’re still there.Keep a printed copy of your lesson plan. If the video cuts out completely, you can still teach from your notes. Send a quick email or message with the key points. Follow up the next day with a recap video or a short quiz. The goal isn’t perfection. It’s persistence.
Students’ Needs Are Different Than You Think
Some students have shared devices. Others are streaming from a phone in their bedroom while siblings play video games. Some don’t have headphones. They’re listening through tinny laptop speakers in a noisy house. Don’t assume they can hear subtle cues. Speak clearly. Slow down slightly. Use visual cues-on-screen text, arrows, highlights-to reinforce what you’re saying. Offer captions if your platform supports them. Even auto-generated captions help students who are hard of hearing, non-native speakers, or just struggling to focus in a loud environment.Keep It Simple. Keep It Consistent.
Students thrive on routine. Start each class the same way: a quick greeting, a reminder of the day’s goal, a check-in question. End the same way: a summary, a preview of next time, and a quick thank you. Use the same lighting, the same background, the same microphone. Familiarity builds comfort. And comfort helps learning stick.Live video streaming for virtual classrooms isn’t about having the best tech. It’s about showing up, being clear, and making students feel seen-even through a screen. You don’t need to be perfect. You just need to be consistent. And that’s enough.
What internet speed do I need for live streaming a classroom?
For smooth 720p streaming, aim for at least 8 Mbps upload speed. If you’re streaming in 1080p, you’ll need 10-12 Mbps. Test your connection with Speedtest.net before class. If you’re on Wi-Fi, switch to Ethernet if possible-it’s far more stable.
Do I need a special camera for teaching online?
No. Most built-in laptop cameras work fine for teaching. If you want better quality, a $50 USB webcam like the Logitech C920 offers sharper video and better autofocus than a laptop camera. But focus on lighting and framing first-those matter more than the camera itself.
Which platform is best for live classroom streaming?
For schools using Google Workspace, Google Meet with Google Classroom is the easiest. For more control over branding and multi-platform streaming, StreamYard works well. Microsoft Teams is good if your school already uses it. Avoid platforms that require students to sign up or download apps-simplicity keeps attendance high.
How can I keep students engaged during live streams?
Keep sessions short-under 45 minutes. Use polls, chat questions, and quick breaks. Call students by name. Ask them to type one thing they learned. Use screen sharing to show visuals. And always look at the camera, not your screen-that builds eye contact and connection.
What should I do if my stream freezes during class?
Stay calm. Switch to your phone if possible, or send a quick message in chat: "Audio/video issue-switching now." Have a backup plan ready: email the lesson summary, post a recap video later, or reschedule. Students appreciate honesty more than perfection.
Should I record my live lessons?
Yes. Record every session and upload it to your learning platform. Students miss class for many reasons-illness, time zones, tech issues. A recorded lesson gives them a second chance to learn. Add timestamps and a short summary to make it even more useful.
Next time you start a live stream, ask yourself: Is my student able to hear me? Can they see what I’m showing? Do they feel like they’re part of the class? If the answer is yes, you’re doing it right.
Comments
Seraphina Nero
Just wanted to say this post saved my semester. I was struggling with echo and my dog barking every 3 minutes. Got a $25 USB mic and now my kids’ parents actually say they can understand me. No more ‘can you repeat that?’
Rahul U.
Love the emphasis on consistency 👍 Same background, same lighting, same intro every day. Students start recognizing your rhythm-it’s calming. Also, Ethernet over Wi-Fi is non-negotiable. My school’s Wi-Fi is a joke.
Sagar Malik
Let’s be real-the pedagogical hegemony of Zoom and Teams is a capitalist surveillance apparatus disguised as ‘education tech.’ The real liberation lies in decentralized, peer-to-peer WebRTC networks, encrypted via Matrix protocol, with end-to-end metadata obfuscation. But no, we’re stuck with Google’s data-mining behemoth because ‘it’s easy.’ Pathetic. And don’t get me started on COPPA compliance as a corporate smokescreen.
Meanwhile, the 720p recommendation? Archaic. We should be pushing 4K HDR with spatial audio via Dolby Atmos for immersive learning ecosystems. But no, teachers are told to ‘make do’ with laptop cams. Capitalism reduces pedagogy to bandwidth constraints.
And virtual backgrounds? A dystopian illusion. You’re not ‘hiding clutter,’ you’re erasing your material reality-the very conditions under which teaching occurs. The pedagogical act should embrace the mess, not sanitize it into algorithmic sterility.
Also, ‘look at the camera’? That’s just performative eye contact engineered by corporate UI design. Real connection happens in the silence between words, not in the gaze of a lens.
And don’t even mention ‘recordings.’ That’s just pedagogical necromancy-resurrecting dead lessons for algorithmic consumption. Learning is ephemeral. It should die with the moment.
selma souza
‘A $30 lavalier mic from Amazon makes a huge difference.’ That’s not a recommendation, that’s a crime against audio engineering. A proper condenser mic with a pop filter and shock mount is the bare minimum. And ‘daylight bulb at 5000K’? Please. Use a 6500K bulb if you want true color rendering. Also, ‘streaming to YouTube’? That’s a public broadcast. Are you aware of FERPA violations? You’re potentially recording minors without consent. This article is dangerously irresponsible.
E Jones
Okay, but have you considered that all these ‘live streaming’ tools are just Trojan horses for corporate data harvesting? Google Meet doesn’t care if your kid learns algebra-it cares if they click on an ad disguised as a ‘classroom poll.’ And those ‘simple’ USB mics? Probably made in a factory that uses child labor in Bangladesh. And the ‘Ethernet cable’? That’s a physical tether to the old world. What if the government shuts down the internet? What then? You’re still stuck with your laptop and your fake ‘learning space’ while the real world burns. This whole setup is a distraction from the real crisis: education is being turned into a product. And you’re just optimizing the packaging.
Also, who decided ‘45 minutes’ is the limit? That’s not pedagogy, that’s corporate attention span engineering. Kids need 90-minute deep dives. But no, we’re trapped in the 30-second TikTok brain.
And don’t even get me started on ‘recordings.’ That’s not accessibility-that’s surveillance capitalism with a bow on it. They’re storing your voice, your face, your teaching style, your classroom layout. And one day, AI will use it to replace you. You’re training your own replacement. Wake up.
Barbara & Greg
While the intent of this article is commendable, the casual tone and lack of scholarly rigor are deeply concerning. The normalization of ‘$30 mics’ and ‘cheap LED ring lights’ reflects a dangerous commodification of pedagogy. True educational equity cannot be achieved through consumer-grade hardware. Furthermore, the suggestion to ‘use Google Meet with a school account’ disregards the ethical implications of data privacy in K-12 environments. One cannot teach with integrity while relying on platforms whose terms of service permit the monetization of student biometrics. This is not merely a technical guide-it is a moral failure disguised as pragmatism.
Frank Piccolo
Ugh, another ‘tips’ article from a teacher who thinks ‘Ethernet’ is a luxury. Meanwhile, in the real world, people are teaching from their cars because their apartments have no Wi-Fi. You talk about ‘8 Mbps upload’ like it’s a given. Try doing that when your internet is slower than dial-up because you live in a trailer park. This whole thing feels like rich people telling poor people to ‘just buy a better mic.’ Newsflash: not everyone can afford a ‘$50 webcam.’ Some of us are using phones from 2015 with cracked screens. And don’t get me started on ‘virtual backgrounds’-those only work if your device isn’t a toaster.
Also, why is everyone always talking about ‘eye contact’? What if you’re shy? What if you’re autistic? What if you just don’t want to stare into a camera like it’s a therapist? This article is tone-deaf.
James Boggs
Great summary. I’ve been using StreamYard for six months now-super reliable. One tip: always mute your mic when not speaking. Even the quietest keyboard clicks can be loud on audio. And yes, record everything. Students appreciate it more than you know.
Addison Smart
I teach in rural Montana where half my students are on satellite internet. I’ve had lessons where the audio cuts out every 40 seconds. I’ve learned to speak slower, use bigger text on slides, and send written summaries via text message. It’s not ideal, but we make it work. What struck me most is how the students who struggle the most with tech are often the ones who show up the most emotionally. They write me notes: ‘Thank you for not giving up on us.’ That’s what matters. Not the mic. Not the lighting. Just showing up.
Also, I’ve started using my phone as a backup camera. I prop it up on a stack of books. It’s not pretty, but when the laptop dies, it’s the difference between ‘we’re done’ and ‘we’re still here.’
And yes, recordings. I upload them to a private YouTube link. No login needed. One link. Done. Students in different time zones? They watch at 3 a.m. I know because I see the analytics. They’re trying. We owe them the same effort.
David Smith
Ugh, another ‘simple tips’ post. I’ve been teaching virtual for 8 years. NONE of this matters. The real problem? The district won’t give us a budget. The real problem? My principal thinks ‘just use Zoom’ is a solution. The real problem? My students have no headphones, no quiet space, and no adult supervision. This article reads like a BuzzFeed list written by someone who’s never set foot in a low-income classroom. Stop pretending this is about tech. It’s about systemic neglect. And you’re all just optimizing the illusion.
Also, ‘look at the camera’? What if I’m crying? What if I’m having a panic attack? What if I’m not ‘on’? Do you still want me to fake eye contact? No. I’m not performing. I’m surviving.
Lissa Veldhuis
Okay but who even cares about 8 Mbps? My internet is 3 Mbps and I still stream. I just turn off my video and go audio-only. Problem solved. Also, why are we still talking about ‘microphones’? Everyone’s got earbuds with mics now. Just use those. And stop with the ‘natural light’ nonsense. I work nights. My ‘lighting’ is a flashlight taped to my monitor. It works. Stop judging. And recording? That’s just asking for trouble. What if a kid says something they shouldn’t? Now it’s on the cloud forever. This whole thing is a liability minefield.
Michael Jones
It’s not about the gear it’s about the heart you show up you care you make space you listen that’s all that matters the rest is just noise
allison berroteran
I’ve been teaching remotely since 2020 and I can say this: the biggest shift wasn’t the tech-it was the mindset. I used to think I needed to be ‘perfect’-no glitches, no pauses, no awkward silences. But students started telling me they loved it when I laughed at my own mistakes. ‘That’s when I knew you were real,’ one wrote. So now I let the mic cut out. I let the dog bark. I say, ‘Oops, my internet’s being weird again.’ And somehow, the class feels closer. We’re not just teaching content-we’re teaching humanity. And that’s the real curriculum.
Also, I started asking students to send me one word that describes how they’re feeling before class. Sometimes it’s ‘tired.’ Sometimes it’s ‘hopeful.’ Sometimes it’s ‘scared.’ I don’t fix it. I just say, ‘Thank you for telling me.’ And we begin. That’s connection. Not the camera. Not the mic. Just presence.
And recordings? I don’t just upload them-I add a voice note at the start: ‘Hey, if you’re watching this at 2 a.m. because you’re lonely or overwhelmed, I see you. You’re not alone.’ That’s the part they replay.
Gabby Love
Just a quick note: if you’re using a USB mic, make sure your audio driver is up to date. I had a weird delay issue for weeks until I updated the ASIO driver. Also, test your stream with a friend using the same internet plan as your students-not your neighbor with fiber. You’d be surprised how different it is.
Seraphina Nero
Also, if you’re using a phone as backup, turn on airplane mode first. Then turn Wi-Fi back on. Stops the notifications from ruining your audio.
Megan Ellaby
That’s a great tip! I didn’t think of that. I had a kid say last week, ‘Your voice sounded weird last time, like you were underwater.’ Turns out it was a text alert. Ugh. Thanks for the fix!