Most people start a podcast by hitting record on their phone and hoping for the best. Then they realize that a loud air conditioner in the background or a slight echo makes their professional insights sound like they were recorded inside a cardboard box. The gap between having a great idea and producing a high-quality show isn't just about the gear; it's about understanding the physics of sound and the art of storytelling through audio. If you want to move from an amateur hobbyist to a creator whose audio sounds like it belongs on a major network, you need a systematic approach to podcasting and audio production course principles.
Key Takeaways for Aspiring Audio Creators
- Prioritize room treatment over expensive microphones to eliminate echo.
- Use a "Gain Staging" workflow to prevent digital clipping and distortion.
- Focus on "Subtractive EQ" to remove muddy frequencies before boosting the good ones.
- Implement a consistent loudness standard (typically -16 LUFS for stereo) for a professional listener experience.
The Core Foundations of Audio Engineering
Before you touch a fader, you have to understand what sound actually is. In a professional setting, we treat audio as a series of waves. Audio Production is the process of capturing, manipulating, and mixing sound to create a polished final product. For a creator, this means managing the signal chain-the path your voice takes from your mouth, through the air, into the microphone, and eventually into your computer.
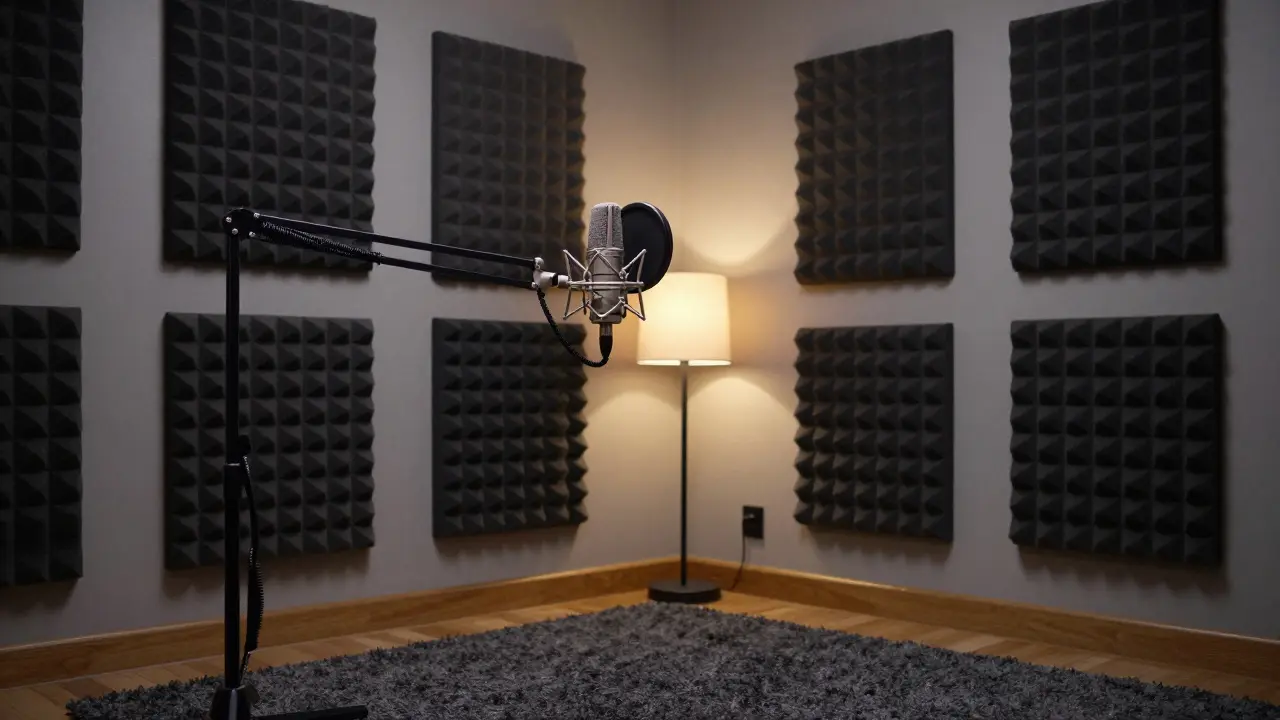
One of the biggest mistakes beginners make is ignoring the environment. You can buy a $1,000 microphone, but if you're recording in a room with hardwood floors and white walls, the sound will bounce everywhere. This is why pro studios use Acoustic Treatment, which consists of materials like bass traps and acoustic foam designed to absorb sound waves and prevent reverberation. If you're at home, a walk-in closet full of clothes is actually a world-class vocal booth because the fabric kills the echo instantly.
Choosing Your Signal Chain: Gear That Actually Matters
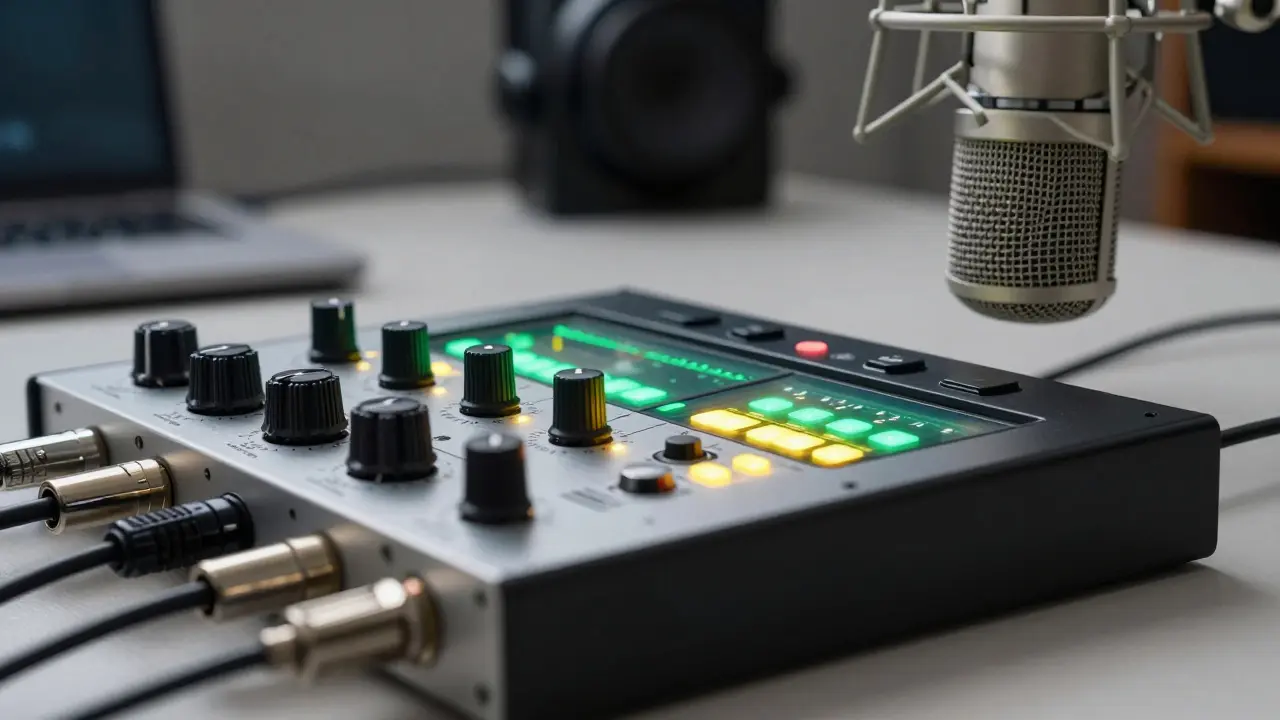
You don't need a massive console to sound professional. The goal is to maintain a clean signal. Most creators start with the choice between two main types of microphones: dynamic and condenser. Dynamic Microphones are mics that are less sensitive to background noise, making them ideal for untreated rooms. Think of the Shure SM7B-it's the industry standard for a reason; it ignores the hum of your computer fan while focusing on your voice.
On the other hand, Condenser Microphones are highly sensitive mics that capture a wider frequency range, often used in quiet studios. While they sound "crisper," they will pick up everything from a distant dog barking to the click of your keyboard. To get these signals into your computer, you'll need a Audio Interface, which is a piece of hardware that converts analog audio signals into a digital format (ADC) that your software can understand. A popular entry point is the Focusrite Scarlett series, which provides clean preamps without adding unwanted noise.
| Feature | Dynamic Mic | Condenser Mic |
|---|---|---|
| Sensitivity | Low (Good for noisy rooms) | High (Best for treated studios) |
| Durability | Very High | Fragile |
| Power Req. | None/Low | Requires +48V Phantom Power |
| Best Use Case | Podcasting, Interviews | Voiceovers, Music Recording |
The Art of Post-Production: From Raw Audio to Polished Show
Recording the audio is only half the battle. The real magic happens in the DAW, or Digital Audio Workstation, which is the software used for recording, editing, and mixing audio files. Whether you use Audacity for its simplicity, Adobe Audition for its powerful spectral editing, or Reaper for its customization, the workflow remains similar.
First, you tackle the "cleaning" phase. This involves using a Noise Gate to automatically mute the audio when you aren't speaking, which kills the low-level hiss between sentences. Then comes Equalization (EQ). Instead of just "boosting the bass" to sound like a radio DJ, use a High-Pass Filter to cut out everything below 80Hz. This removes the low-end rumble from air conditioners or table bumps without affecting your voice.
Next is the most critical step for professional sound: Compression. Compression is the process of reducing the dynamic range of a signal. It makes the loudest parts of your speech quieter and the quietest parts louder. This prevents the listener from having to constantly adjust their volume knob. A common setting for voice is a ratio of 3:1 with a medium attack, which keeps the speech punchy but controlled.
Sound Design and Storytelling
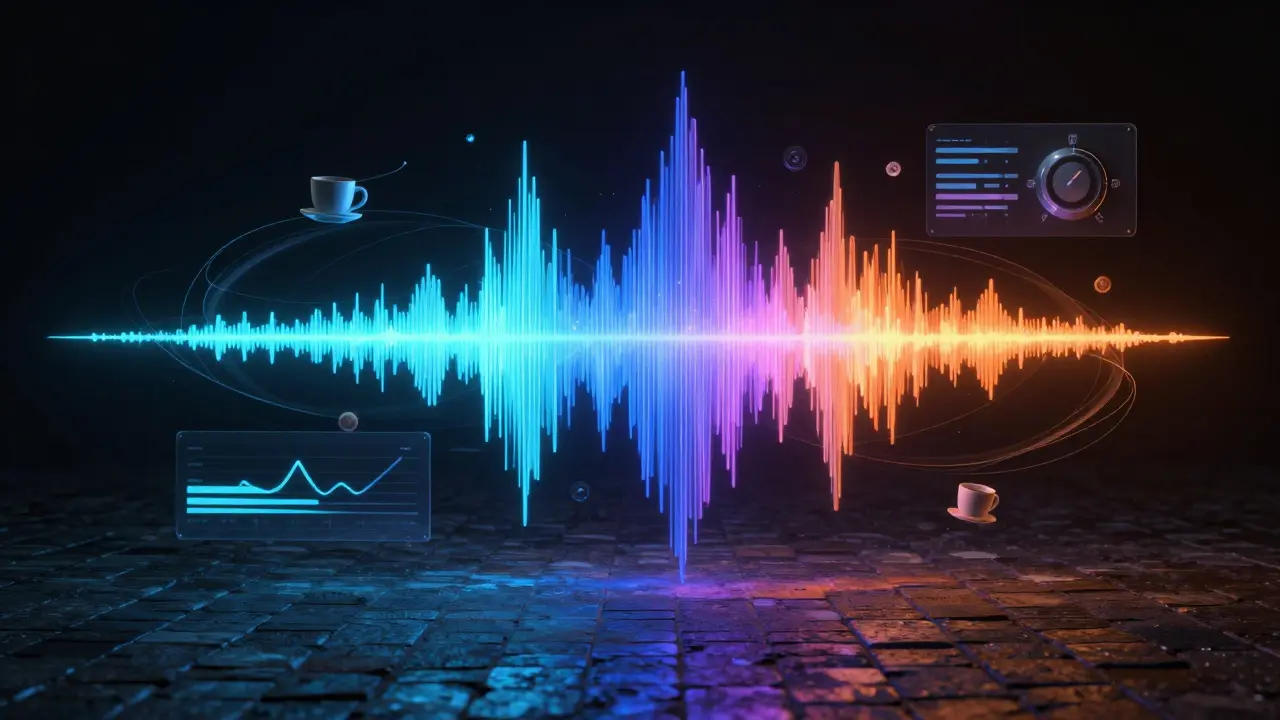
If you're creating a narrative podcast, you can't rely on voice alone. Sound design is what turns a monologue into an experience. This involves layering Ambient Sound (the background noise of a location) and SFX (Short for Sound Effects) to provide context. If you mention a busy cafe in Paris, adding a faint layer of clinking cups and distant chatter immediately transports the listener.
The key here is subtlety. If the sound effects are too loud, they become a distraction. Use "ducking"-a technique where the background music automatically drops in volume whenever the narrator speaks. This ensures that the information remains the focus while the music maintains the emotional energy of the scene.
Distribution and Technical Standards
Once your mix is finished, you can't just export a random WAV file and upload it. You need to adhere to loudness standards. If your show is too quiet, listeners will switch to another podcast; if it's too loud, the audio will distort. The industry standard for podcasts is generally -16 LUFS for stereo files and -19 LUFS for mono.
You'll need to choose a Podcast Host, which is a service that stores your audio files and generates an RSS feed to distribute them to platforms like Spotify and Apple Podcasts. Using a host ensures you have analytics to see where your listeners are coming from and allows you to manage your episodes in one central place.
Do I need a professional studio to start?
No. Most successful podcasts start in "improvised" studios. The most important factor is reducing echo. A room with heavy curtains, a rug, and bookshelves is often better than a cheap, empty office. Focus on acoustic treatment and a decent dynamic microphone before investing in a dedicated studio space.
What is the difference between a USB and XLR microphone?
USB microphones plug directly into your computer and are great for beginners. XLR microphones require an audio interface to function. XLR is the professional standard because it allows for better preamps, more control over the signal, and the ability to record multiple microphones into one interface simultaneously.
How long does it take to edit one hour of audio?
For a highly polished show, the rule of thumb is a 3:1 or 4:1 ratio. This means one hour of finished audio may take three to four hours to edit, including removing "umms," balancing levels, adding music, and exporting. Using templates in your DAW can significantly reduce this time.
What is 'Clipping' and how do I avoid it?
Clipping occurs when your audio signal is too loud for the hardware or software to handle, resulting in a distorted, "crunchy" sound. To avoid this, use gain staging: set your levels so that the loudest peaks of your voice hit around -6dB to -12dB on your meter. Never let the meter hit 0dB (the red zone).
Which DAW is best for beginners?
Audacity is the most common starting point because it is free and open-source. However, if you want a more professional trajectory, Reaper is highly recommended due to its low cost and immense power. Adobe Audition is preferred by those who need advanced noise reduction and spectral editing tools.
Next Steps for Your Audio Journey
If you're just starting, don't get paralyzed by gear lust. Start by recording a few "pilot" episodes using whatever you have. Focus on your delivery and your script first. Once you have a rhythm, move into the technical side by implementing one new tool at a time-first a pop filter, then a basic EQ, and eventually a compressor.
For those who have already mastered the basics, the next step is exploring advanced sound design. Try recreating a scene from a movie using only audio. Experiment with binaural recording or spatial audio to create an immersive experience for your listeners. The goal is to stop thinking about "recording a conversation" and start thinking about "creating a sonic environment."
Comments
Megan Ellaby
the closet thing is laaaaegendary lol. i tried it last week and it actually worked way better then my cheap foam panels!
E Jones
It is all a giant ruse to get us buying these specific brands of interfaces while the deep-state signals are being beamed directly into our skulls via these 'industry standard' microphones. You think a Shure SM7B is just a mic? Please. It is a receiver for the frequencies they use to keep the masses docile and dreaming of a digital utopia while the real architecture of control is built in the shadows of some windowless basement in Virginia where the air is thick with the smell of ozone and old government secrets. Wake up people because the 'noise gate' is actually a filter to remove the sounds of the entities living in the walls!
James Boggs
I find the advice on LUFS standards very practical. Thank you.
Lissa Veldhuis
honestly most people are just too lazy to learn the actual physics of sound and think a fancy mic is some magical pixie dust that fixes their boring personality anyway... just use a high pass filter and stop whining about the hum of your crusty old pc
selma souza
The lack of adherence to standard capitalization in the provided table is abhorrent. One should expect a guide on professional production to exhibit professional orthography.
Frank Piccolo
Typical American gear obsession. Just buy a cheap mic and talk. Who cares about LUFS?
Barbara & Greg
The pursuit of sonic perfection is a vanity. We must ask ourselves if the obsession with technical fidelity merely serves to mask a void of actual substance in the content being delivered to the masses.
David Smith
This is just so overwhelming. Why does everything have to be so complicated just to record a conversation? It's honestly a tragedy that we can't just hit record and have it sound good without a degree in engineering.
Addison Smart
While I understand the frustration with technical barriers, we should remember that these standards exist to ensure that listeners from all different backgrounds and using various hardware can have a consistent experience, and it is really the responsibility of the creator to meet the audience halfway by providing a clean, accessible signal that doesn't fatigue the ear over long periods of time.