


You know your subject inside out. You’ve spent years mastering the material, grading papers, and answering questions in a physical classroom. But the moment you hit "record" or go live on Zoom, something shifts. Your voice sounds thin. Your eyes dart around. The energy that filled a room of thirty students vanishes into the void of a webcam lens. This isn’t a lack of knowledge; it’s a gap in on-camera presence. It is the specific skill set required to translate human connection through a digital interface.
Most instructors treat video like a lecture hall with no seats. They talk at the screen rather than to a person. The result? Students zone out within ninety seconds. Research from institutions like Penn State and various ed-tech platforms suggests that student retention drops significantly when instructors fail to maintain visual and vocal variety. You don’t need to be a Hollywood actor. You just need to understand how the camera works and how to hack its limitations. Here is how you build a presence that keeps learners watching, even when they’re in their pajamas at 2 AM.
The Lens Is Not a Person (But Treat It Like One)
The biggest mistake new video instructors make is looking at themselves. When you glance at your own face on the monitor, you break eye contact with the viewer. To the student, it looks like you’re distracted or insecure. The fix is simple but uncomfortable: look directly into the lens.
Eye Contact in video is an illusion created by aligning your gaze with the glass circle of the lens. When you do this, students feel seen. It creates a parasocial connection where the learner feels you are speaking specifically to them. If you struggle with this, stick a small arrow or a picture of a friendly face right next to the lens. It tricks your brain into making "eye contact."
- The Glance Rule: Look at the lens for key points and transitions. Glance at your notes only briefly.
- Head Movement: Keep your head relatively still. Excessive nodding or tilting can induce motion sickness in viewers or make you appear nervous.
- Blink Rate: Nerves make us blink faster. Consciously slow your blinks down to mimic calm confidence.
Vocal Variety Beats Visual Flashiness
Students can forgive bad lighting. They cannot forgive a monotone delivery. In a physical classroom, you use volume and pauses to signal importance. On camera, these tools must be exaggerated slightly because the medium flattens audio dynamics. A whisper might get lost in compression algorithms; a shout might clip the microphone.
Think about your Vocal Modulation, which refers to changes in pitch, pace, and tone used to convey meaning and emotion. If you speak at one speed for ten minutes, your brain treats it as background noise. Break it up. Speed up during lists or rapid-fire facts. Slow down when introducing complex concepts. Pause after asking a rhetorical question to let the answer sink in.
| Technique | Purpose | Execution Tip |
|---|---|---|
| Strategic Pausing | Cognitive processing time | Wait 3 full seconds after stating a key definition. |
| Pitch Variation | Maintain attention | Raise pitch slightly for questions; lower it for conclusions. |
| Volume Dynamics | Emphasize importance | Drop volume slightly for secrets or crucial warnings. |
Framing and Body Language Matter More Than You Think
Your body language communicates trustworthiness before you say a word. If you sit stiffly behind a desk, you look distant. If you slouch, you look bored. The ideal frame for instructional video is the "medium close-up." This means showing your head, shoulders, and part of your chest. This framing mimics the distance of a conversation across a table.
Open Posture involves uncrossed arms and visible hands. Hands are powerful tools. Gesturing helps students follow your logic. When you count off points on your fingers, the visual cue reinforces the auditory information. However, keep gestures below the frame line if possible, or bring them into view deliberately. Flailing arms outside the frame create subconscious anxiety for the viewer.
Sit closer to the camera than you think you should. Most webcams have wide-angle lenses that distort faces if you are too far back, making noses look larger and features smaller. Moving two feet closer normalizes your appearance and increases intimacy.
Lighting: The Silent Confidence Builder
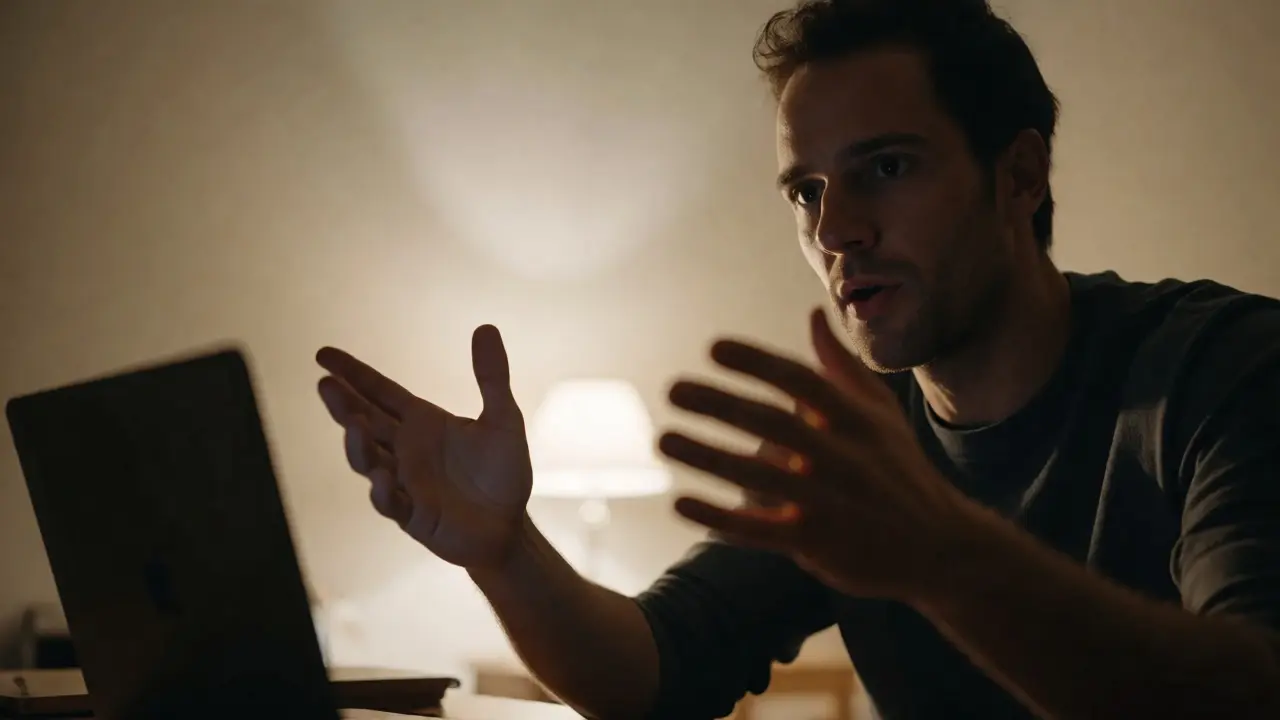
Bad lighting makes you look tired or unprofessional, regardless of what you’re wearing. You don’t need expensive studio lights. You need directionality. Face a window if you can. Natural light is flattering and free. If you record at night, place a lamp behind your laptop, shining toward your face, not away from it.
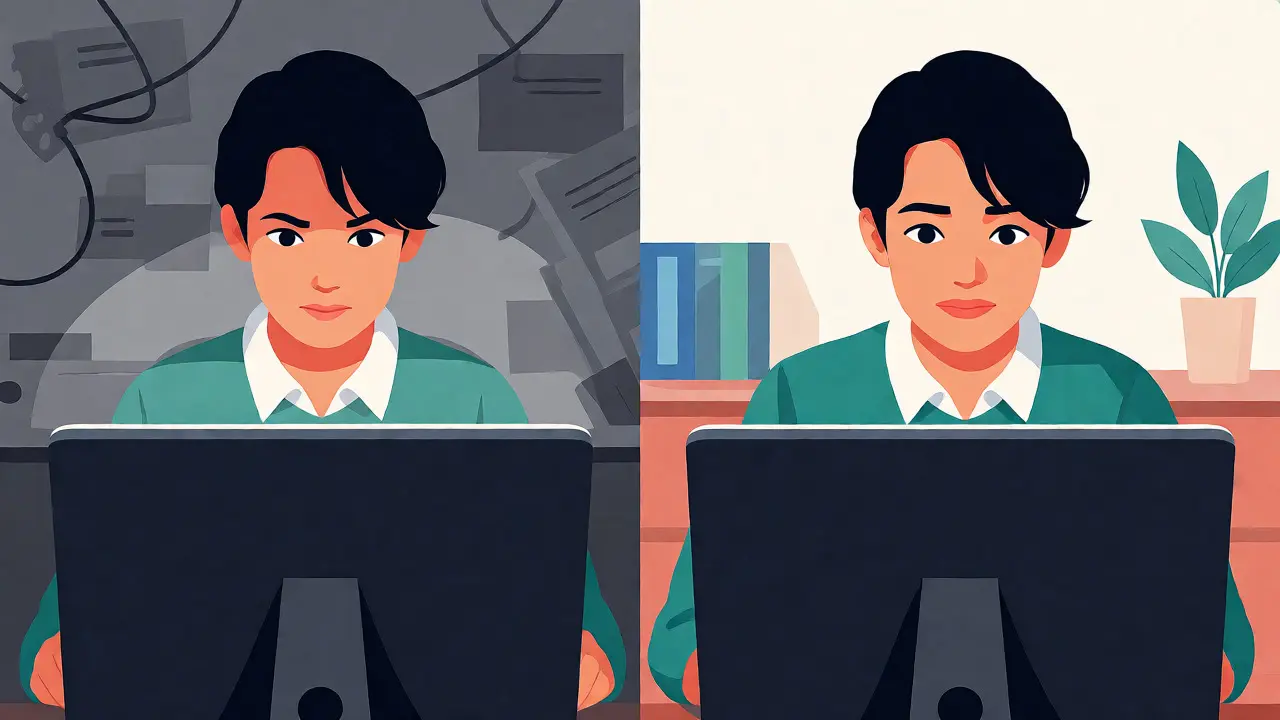
Avoid backlighting. If there is a bright window behind you, your face will turn into a silhouette. If you must have a window behind you, use curtains to diffuse the light or increase your camera exposure manually. Consistency is key. If you change your setup daily, your students’ brains have to adjust every time. A consistent, well-lit environment signals professionalism and reduces cognitive load for the learner.
Overcoming the "Awkward Silence" of Editing
One reason instructors hate recording is the fear of mistakes. In a live class, if you stumble over words, you correct yourself and move on. In video, silence feels heavy. This leads to over-editing, which kills flow. Or worse, it leads to perfectionism paralysis, where you never publish because take #47 wasn’t perfect.
Adopt the "good enough" standard. Minor stumbles add authenticity. Students connect with humans, not robots. If you misspeak, pause, smile, and repeat the sentence. Edit out the error later if necessary, but don’t stop the recording. Flow is more important than perfection. Use jump cuts sparingly. Too many jump cuts make the video feel choppy and disjointed. Aim for longer takes-30 to 60 seconds-to maintain momentum.
Engagement Hooks Beyond Content
Presence isn’t just about how you look; it’s about how you invite participation. Since you can’t see students’ faces in real-time (unless using interactive platforms), you must simulate interaction. Ask questions and leave space for answers. Say, "Write that down," or "Pause here and reflect."
Direct Address uses second-person pronouns like "you" and "your" to create immediacy. Instead of saying, "The theory states that...", say, "You’ll notice that the theory states..." This subtle shift pulls the student into the narrative. It transforms passive listening into active mental participation.
Technical Setup That Supports Performance
Your tech should disappear. If your audio crackles or your video freezes, your presence shatters. Invest in a decent external microphone. The built-in mic on laptops captures room echo and keyboard clicks. A USB condenser mic, positioned six inches from your mouth, isolates your voice and makes you sound authoritative.
- Camera Position: Eye-level. Looking down at a laptop makes you look dominant but distant; looking up makes you look vulnerable. Eye level is neutral and respectful.
- Background: Clean but not sterile. A bookshelf or plant adds depth without distracting. Avoid busy patterns that cause moiré effects on video.
- Connection: Hardwire your internet if possible. Wi-Fi fluctuations cause pixelation, which breaks immersion.
Practice Makes Permanent
No one nails their first video. Record short clips-two minutes max-and watch them back. Cringe is part of the process. Notice your verbal tics. Do you say "um" every five seconds? Do you touch your hair? Awareness is the first step to correction. Over time, these habits fade, and your natural personality emerges through the lens.
Remember, the goal isn’t to become a TV presenter. The goal is to remove the barriers between your expertise and the student’s understanding. On-camera presence is simply clarity amplified. Once you master the basics of eye contact, vocal variety, and framing, you stop worrying about the camera and start focusing on the teaching. And that’s when the magic happens.
How long should instructional videos be?
Shorter is generally better for retention. Aim for 5-10 minutes per concept. If a topic requires 20 minutes, break it into three distinct videos. This allows students to pause and process information without feeling overwhelmed by a marathon session.
What if I hate hearing my own voice?
Almost everyone does. This is due to bone conduction differences when you hear yourself versus how others hear you. Trust the recording. If it sounds clear and pleasant to others, it is fine. Focus on content and pacing rather than timbre. Most listeners adapt quickly to your voice.
Do I need professional lighting equipment?
No. A ring light costs under $50 and solves most issues. Alternatively, facing a window provides excellent free light. The key is avoiding shadows on your face. Consistency matters more than high-end gear.
How do I handle interruptions while recording?
Plan for them. Leave 10 seconds of silence after an interruption so you can cut cleanly in editing. Inform household members of your recording schedule. If you are doing live sessions, mute your microphone when not speaking to prevent background noise from disrupting the flow.
Is it okay to read from a script?
Reading verbatim often sounds robotic. Use bullet points instead of full sentences. This forces you to speak naturally while keeping structure. If you must use a teleprompter, practice reading it aloud beforehand to ensure your eye movement doesn't scan left-to-right visibly.