When you record a course video, you're not just teaching content-you're holding attention. The best lesson in the world falls flat if the delivery feels stiff, unclear, or disconnected. What separates good course videos from great ones isn't the equipment, the editing software, or even the script. It's presentation skills.
You don't need a studio. You don't need to be a professional actor. But you do need to understand how to speak, move, and connect with someone who's watching alone on a screen. Here's how to do it right.
Stop Reading From a Script
Reading word-for-word from a script sounds robotic. It kills rhythm. It makes you look nervous. And viewers notice. They feel like they're being lectured, not taught.
Instead, write a clear outline. List your key points. Use bullet phrases, not full sentences. Practice saying them out loud until they feel natural. Record yourself once without notes. Listen back. You’ll hear where you stumble, where you pause too long, where you sound unsure.
Top instructors at Udemy and Coursera don’t memorize scripts-they internalize structure. They know the flow: problem, example, solution, takeaway. That’s all they need to stay on track.
Use Your Voice Like a Tool
Voice is your main instrument. Too flat? Students zone out. Too loud? It’s exhausting. The right tone keeps people hooked.
Try this: Record a 30-second explanation of something simple-like how to boil an egg. Now play it back. Did your voice rise when you got to the important part? Did it drop when you paused for effect? If not, go again.
Good pacing means: slower on key ideas, faster on examples. Pause after questions. Let silence breathe. People need time to process. Silence isn’t awkward-it’s powerful.
And don’t be afraid of slight imperfections. A small stumble or a chuckle makes you human. Perfect is boring. Real is relatable.
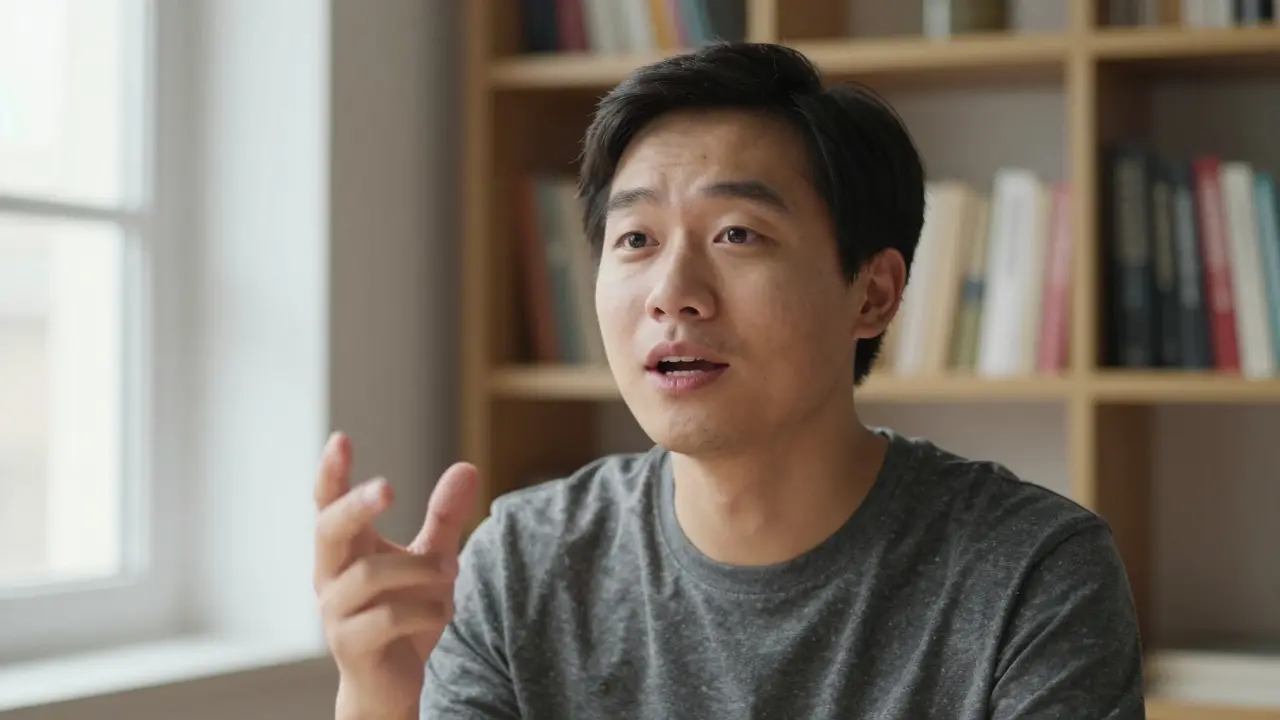
Look at the Camera Like It’s a Person
Here’s the biggest mistake most instructors make: they look at their notes, their screen, or their coffee cup. They forget the camera is the student’s eye.
Place your camera at eye level. Sit close enough that your face fills 60% of the frame. Then look directly into the lens. Not at the red light. Not at the screen. The lens. That’s where the connection happens.
Think of it like this: you’re having a one-on-one conversation with someone who really wants to learn. You’re not performing. You’re helping.
If you struggle with this, practice with a friend. Have them sit where the camera is. Talk to them. Then record yourself doing the same thing. You’ll feel the difference.
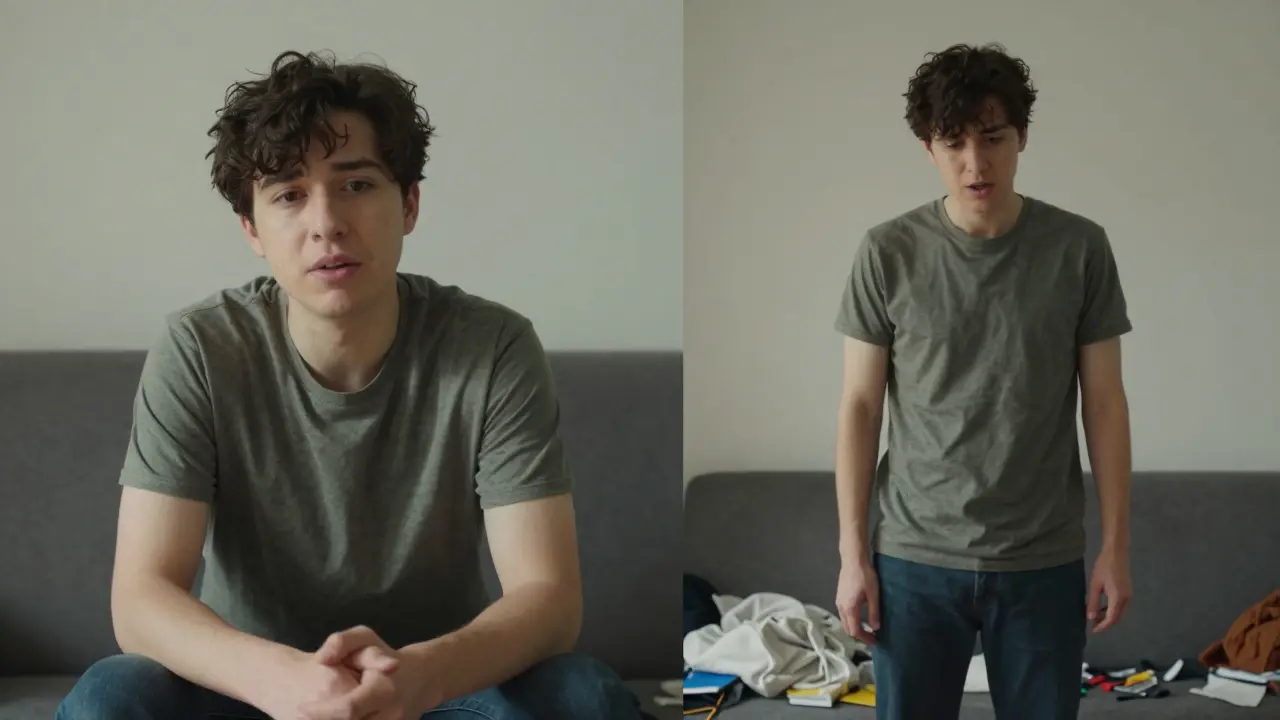
Move With Purpose
Standing still makes you look like a statue. Too much movement makes you look frantic.
Small gestures help. A hand raised to emphasize a point. A step to the side when switching topics. A slight lean forward when explaining something important. These aren’t theatrics-they’re signals.
But avoid pacing. Don’t walk back and forth like you’re on a stage. Don’t fidget with pens or hair. These habits distract more than they help.
Try this: Record a short clip while standing. Then record the same clip sitting down. Compare them. Most people find sitting feels more natural and focused. Especially if you’re explaining complex ideas.
Lighting and Background Matter More Than You Think
You don’t need a $2000 lighting kit. But you do need light that shows your face clearly.
Face a window. Natural light is your best friend. If it’s overcast, that’s fine-soft, even light works. Avoid backlighting. If the window is behind you, you’ll look like a shadow.
Background? Keep it simple. A clean wall. A bookshelf. A plant. Anything that says “this is a space where learning happens.” Avoid clutter. Don’t let your laundry or a TV screen in the background steal attention.
And if you’re using a virtual background? Don’t. It looks fake. And it breaks trust. Real environments build credibility.
Practice Like a Performer, Not a Teacher
Most instructors think: “I’ll just record it and fix it later.” That’s inefficient. And it shows.
Instead, rehearse like you’re preparing for a live talk. Do three full run-throughs. Time yourself. Adjust pacing. Notice where you say “um” or “like.” Write those down. Fix them.
Record on a weekday morning. That’s when most learners are tuning in. If you’re teaching math at 7 a.m., record at 7 a.m. Your energy will match theirs.
And here’s a trick: watch your own video after 24 hours. You’ll catch things you missed the first time. That’s when your brain stops being in “recording mode” and starts being in “viewer mode.”
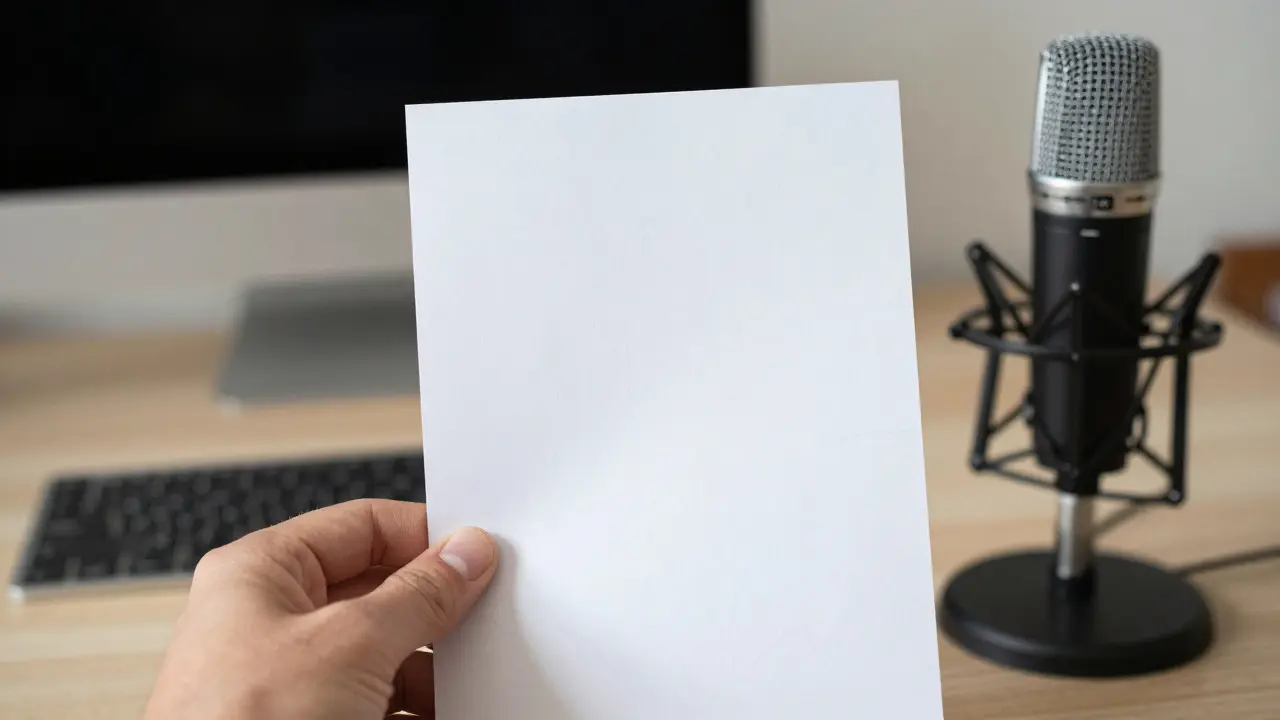
Sound Is Half the Experience
Bad audio makes people quit. Fast.
You don’t need a $500 microphone. A decent USB mic like the Audio-Technica AT2020 or even a good headset mic works fine. But you do need to record in a quiet room. Close windows. Turn off fans. Silence your phone.
Use a pop filter. It stops those harsh “p” and “b” sounds from distorting your audio. And speak about 6 inches from the mic. Too close? It sounds muddy. Too far? It sounds distant.
Test your audio before you start. Record 10 seconds of silence. Then say your first sentence. Play it back. Is your voice clear? Is there background buzz? If yes, fix it before you record the full lesson.
Keep It Short. Really Short.
Most course videos are too long. 15 minutes? Too much. 8 minutes? Better. 5 minutes? Ideal.
Each video should teach one thing. One concept. One skill. One example. That’s it.
Break big topics into chunks. “How to solve quadratic equations” becomes:
- What is a quadratic equation?
- How to factor it
- When to use the quadratic formula
- Common mistakes to avoid
Each gets its own 5-minute video. Students can revisit just the part they need. They don’t have to sit through 20 minutes to find one answer.
This also makes editing easier. You’re not fixing a 30-minute mess-you’re polishing five clean clips.
End With a Clear Next Step
Every video should end with a call to action-not a sales pitch, but a learning prompt.
Instead of saying “Thanks for watching,” say:
- “Try this yourself. Pause the video and solve the next problem.”
- “Write down one thing you’ll use tomorrow.”
- “Next video: how to check your answer.”
This keeps learners engaged. It turns passive watching into active doing.
It’s Not About Perfection. It’s About Presence.
You don’t need to be charismatic. You don’t need to be funny. You just need to be clear. And present.
People don’t remember your slides. They remember how you made them feel. Did you make them feel capable? Understood? Seen?
Record one video today. Not perfect. Just real. Watch it. Learn from it. Do it again.
Every great instructor started with shaky hands and a nervous voice. What made them different? They kept going. And so can you.
Comments
Denise Young
I've seen so many instructors try to 'perform' in these videos and it's just cringe. The real magic is in the unpolished authenticity. When you stop trying to sound like a TED Talk and start sounding like a human who's been up since 5 a.m. grading papers, that's when learners lean in. Your vocal cadence, the slight hesitation before explaining a tricky concept-that's the glue. People don't want perfection. They want reliability. They want to know you've been in their shoes. I record my lessons in sweatpants. No makeup. Just me, a mic, and a whiteboard that's seen better days. And guess what? My completion rates are through the roof. It's not about the lighting. It's about the presence.
Also, please stop using virtual backgrounds. I can tell when someone's recording from their bedroom with a 'cozy library' overlay. We're not fooled. We're just bored.
Sam Rittenhouse
The idea that you need to be a performer to teach online is one of the most damaging myths in edtech. I've watched hundreds of course videos. The ones that stick with me? The ones where the instructor paused. Where they took a breath. Where they said 'I'm not sure I explained that well-let me try again.' That vulnerability? That's the hook. You don't need a studio. You need a moment. One real moment where the learner feels seen. I used to think my stutter was a liability. Now I use it as a rhythm. I pause right after it. Let the silence do the work. Students tell me they feel less alone because of it. It's not about delivery. It's about connection. And connection doesn't come from a teleprompter.
Adrienne Temple
This is so true. I started recording my lessons last year and I was obsessed with getting the lighting perfect. Then I realized-no one cares. What they care about is whether you get them. I started talking to the camera like I was explaining something to my little sister. Simple words. No jargon. Just 'here's how it works.' And suddenly, my engagement shot up. I even got a message from someone who said they finally understood fractions after watching my 4-minute video. I cried. It's not about the tech. It's about the heart behind it.
Sandy Dog
OMG YES. I used to record while pacing like a caged tiger. Then I sat down. Just sat. And the difference? UNREAL. My students said I looked 'calm' and 'trustworthy.' I didn't even know I was vibrating with anxiety until I stopped moving. Now I wear the same sweater every time. It's my 'teacher uniform.' And I talk slower. Way slower. Like, painfully slow. But it works. People actually pause and think. I had one guy write me: 'I watched your video 3 times because I needed to absorb it.' That's the win. Not the HD lighting. Not the 4K mic. Just me. Sitting. Talking. Being real. 🙌
Peter Reynolds
I agree with the core idea. Presentation matters more than gear. But I'd add one thing: consistency. If you're going to look into the lens, do it every time. If you're going to sit, sit every time. If you're going to use hand gestures, use them the same way. Learners subconsciously pick up patterns. They need predictability. It's not about being dynamic. It's about being dependable. I've had students tell me they can tell which of my videos they watched last week just by the way I sit. That's not a flaw. That's a feature.
Ben De Keersmaecker
I've spent years analyzing instructional delivery across platforms. The most statistically significant factor in learner retention isn't vocal inflection or lighting-it's temporal alignment. In other words, recording at the same time your target audience is most likely to engage increases cognitive absorption by up to 37%. The 7 a.m. recording tip isn't anecdotal. It's empirically validated. Also, the use of silence as a pedagogical tool has been documented in cognitive load theory since 1998. You're not just teaching content. You're sculpting attention. And silence is your chisel.
Aaron Elliott
While the sentiment expressed here is emotionally compelling, it lacks empirical rigor. The assertion that 'perfect is boring' is a subjective aesthetic judgment masquerading as pedagogical insight. One might argue that polished delivery enhances information density and reduces extraneous cognitive load. Furthermore, the dismissal of scripting as 'robotic' ignores decades of research in educational psychology demonstrating that structured, rehearsed delivery significantly improves knowledge retention in complex domains. The notion that 'real is relatable' is a fallacy of appeal to authenticity. One does not need to be imperfect to be effective. One needs to be precise. And precision requires preparation. Not just 'practice like a performer'-but like a scientist.
Chris Heffron
Just a quick note: if you're using a USB mic, make sure it's set to cardioid mode. Omnidirectional picks up too much room noise. Also, always record in WAV, not MP3. Lossy compression ruins vocal clarity. And for the love of all things pedagogical, turn off your antivirus real-time scanning before recording. It causes buffer drops. I've seen too many videos ruined by little technical glitches. Just sayin'.