

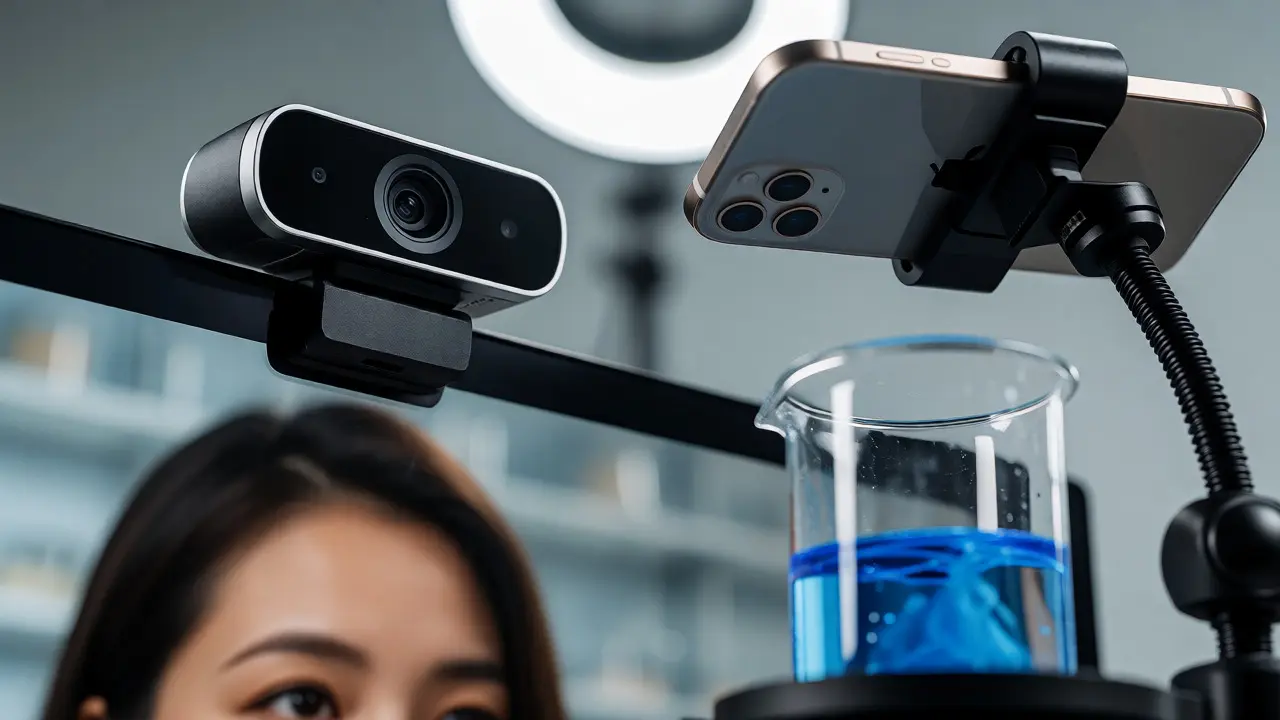
You know that feeling when you're teaching a chemistry experiment online, and the student on Zoom asks, "Wait, did you just add the acid or the base?" You can't see the reaction clearly because your single webcam is pointed at your face, not the beaker. This is the classic problem of virtual labs using single-camera setups. It kills engagement and confuses students who need visual proof of what's happening in the flask.
Switching to a multi-camera view solves this instantly. But how do you actually set it up without spending thousands on broadcast gear? Do you need three separate computers? Can you use your smartphone? Let's break down exactly how to configure multiple angles for your online classes so your students feel like they are standing right next to the microscope.
Why One Camera Isn't Enough for Lab Work
In a physical classroom, students move around the bench. They lean in. They look over each other's shoulders. In a virtual setting, if you only show your face, you lose all spatial context. A multi-camera setup replicates that physical presence by offering different perspectives simultaneously.
Think about the jobs-to-be-done here. Students need to see:
- The Instructor's Face: For connection and instruction clarity.
- The Hands: To see precise movements, like pipetting or soldering.
- The Result: The actual change in color, temperature, or structure.
If you try to pan one camera around, you create motion sickness and confusion. Static, simultaneous views are better. Most modern video conferencing platforms like Zoom, Microsoft Teams, and OBS Studio support multiple video inputs natively. You don't need to edit videos after the fact; you can stream live from two or three sources at once.
Hardware Options: What Cameras Should You Use?
You might think you need professional camcorders. You don't. Here is a realistic breakdown of hardware tiers based on budget and quality needs.
| Camera Type | Best For | Cost Estimate (USD) | Pros | Cons |
|---|---|---|---|---|
| Webcam | Instructor View | $50 - $150 | Plug-and-play, good enough for faces | Poor macro detail, fixed angle |
| DSLR/Mirrorless | High-Quality Hand/Detail View | $600+ (body + lens) | Excellent depth of field, interchangeable lenses | Requires capture card, bulky |
| Smartphone | Overhead/Detail View | $0 (if owned) | Free, high resolution, easy apps | Battery drain, overheating risks |
| Action Cam (GoPro) | Wide Angle/Bench View | $200 - $400 | Durable, wide field of view | Fisheye distortion, no optical zoom |
For most educators, the sweet spot is combining a decent webcam for yourself with a smartphone or a dedicated overhead document camera for the workbench. If you have an older iPhone or Android phone lying around, it likely shoots 4K video, which is sharper than many webcams.
Software Solutions: How to Combine Feeds
Once you have the cameras, you need software to stitch them together. There are two main approaches: platform-native features and third-party broadcasting software.
Platform-Native Features
Zoom has a feature called "Share Advanced Video." When you click Share Screen, you can select "Video" instead of a window. Then, under options, you can choose a second camera source. This is the easiest method. However, it often limits you to two streams (your face and one other). If you need three views, this gets tricky.
OBS Studio (Open Broadcaster Software)
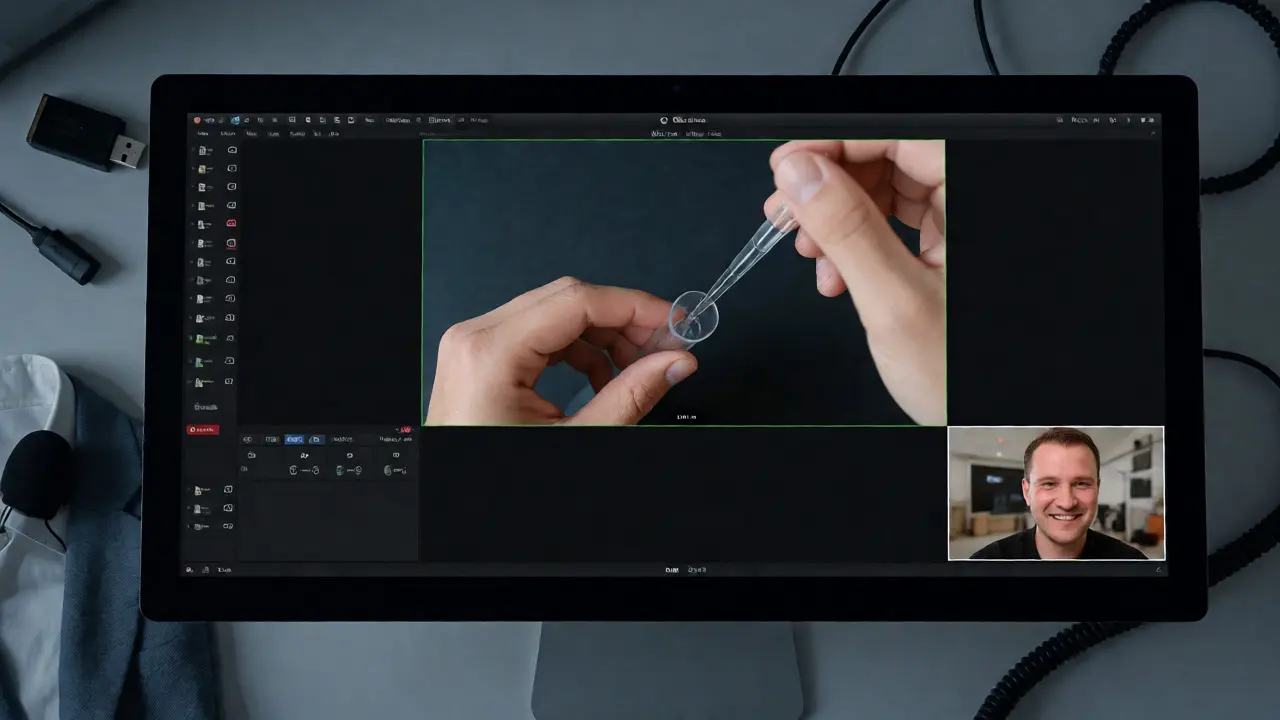
This is where the magic happens for serious virtual labs. OBS Studio is free, open-source software that lets you create a "scene." Think of a scene as a digital canvas. You can drag your webcam into the top left corner. Drag your overhead camera into the center. Add a picture-in-picture of a microscope feed in the bottom right.
Then, you use a "Virtual Camera" plugin to send that entire composite image to Zoom or Teams. Your students see one clean, professional-looking frame, but you control every pixel. It takes about 30 minutes to learn the basics, but the payoff is huge.
Step-by-Step Setup Guide
Let's walk through a practical scenario: Teaching a biology dissection or a chemistry titration. We will use a laptop, a USB webcam, and an iPhone mounted on a stand.
- Position the Main Camera: Place your USB webcam on top of your monitor. Frame yourself from the chest up. Ensure good lighting hits your face, not just the room behind you.
- Set Up the Detail Camera: Mount your iPhone on a flexible arm or a tripod directly above your workspace. Point it straight down at the table. This is your "overhead" view. Use a stand that allows fine adjustments so you can zoom in slightly if needed.
- Connect Devices: Plug the webcam into your computer via USB. Connect the iPhone to the same Wi-Fi network or use a cable if your software supports wired iOS connections (like EpocCam or Camo).
- Install OBS Studio: Download and install OBS. Create a new profile named "Lab Class."
- Add Sources: Click "+" in the Sources box. Select "Video Capture Device" and name it "Face Cam." Select your USB webcam. Repeat for the iPhone (using the appropriate driver or app bridge).
- Arrange the Layout: Resize the Face Cam to take up 20% of the screen in the corner. Stretch the Overhead Cam to fill the rest of the background. Make sure the overhead view isn't cropped awkwardly.
- Start Virtual Camera: In OBS, click "Start Virtual Camera." Open Zoom or Teams. In your video settings, select "OBS Virtual Camera" as your webcam.
Now, when you join a meeting, you aren't just sending a raw video feed. You are sending a produced broadcast. You can even add text overlays like "Step 1: Add Solution" directly onto the video stream using OBS Text sources.
Lighting and Audio: The Hidden Killers
A blurry video is annoying. Bad audio is unusable. When you split attention between two cameras, lighting becomes critical because shadows shift depending on where you place your hands.
Lighting Tip: Avoid overhead fluorescent lights alone. They cast unflattering shadows under the eyes and make colors look sickly. Use a simple ring light or a softbox positioned at 45 degrees to illuminate the workspace evenly. If you are doing chemistry, accurate color representation matters. A blue-shifted white balance will make a yellow solution look green.
Audio Tip: If you move away from your laptop to reach a shelf, your built-in microphone picks up echo and distance noise. Use a lapel mic (lavalier) clipped to your shirt. It stays close to your mouth regardless of where you are in the frame. If you are using OBS, you can also add a separate audio source for the environment sound-like the fizz of a reaction-if you have a second mic placed near the experiment.
Troubleshooting Common Issues
Things will go wrong during a live class. Here are the most frequent glitches and quick fixes.
- Sync Delay: Sometimes the audio doesn't match the video lips. This is common with wireless phone cameras. Switch to a wired connection (USB) for the phone to eliminate latency. If you must use Wi-Fi, enable "Low Latency Mode" in your camera app if available.
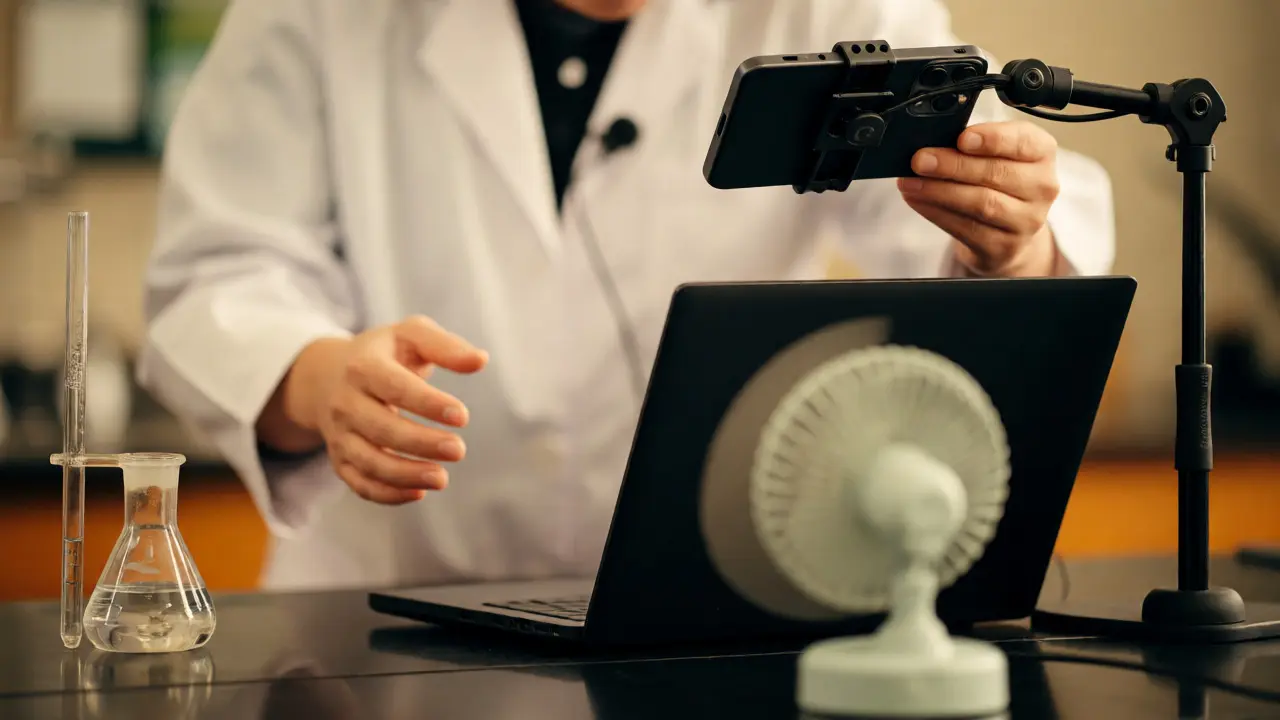
- Overheating Phones: iPhones get hot when recording video while charging. Remove the case. Turn off auto-lock. Keep a small fan blowing on the phone if you are running long sessions.
- CPU Spike: Running OBS plus Zoom plus browser tabs can freeze older laptops. Close unused browser tabs. In OBS settings, lower the output resolution to 720p if 1080p stutters. Your students care more about smooth motion than crisp pixels.
- Focus Hunting: Smartphone cameras constantly refocus. Lock the exposure and focus on your phone before starting. On iPhone, tap and hold on the subject until "AE/AF LOCK" appears. This prevents the image from pulsing in brightness when you move your hand.
Engaging Students with Multi-Cam Views
Having the tech ready is half the battle. Using it effectively is the other half. Don't just leave both windows static. Direct attention.
Say things like, "I'm switching my focus to the overhead camera now so you can see the precipitate forming." Give students agency. Ask them, "Which angle helps you understand this better?" Some students prefer seeing your face for reassurance; others want pure observation of the data. You can even let students request a "close-up mode" by typing in the chat, prompting you to zoom the digital crop in OBS.
Also, consider pre-recording complex steps. If a reaction takes ten minutes, don't force students to watch a blank screen. Record the time-lapse beforehand and play it back in OBS as a media source while you discuss the theory live. This keeps the pace dynamic.
Do I need a capture card to use a DSLR camera?
Yes, usually. Most DSLRs output HDMI, which computers cannot read directly via USB for live video. You need a cheap USB capture card (like Elgato Cam Link or generic alternatives) to convert the HDMI signal into a USB webcam signal your computer recognizes.
Can I use two webcams on one computer?
Absolutely. As long as your computer has enough USB ports (or a hub) and sufficient processing power, you can plug in multiple webcams. Windows and macOS recognize them as separate devices, allowing you to select each one individually in software like OBS or Zoom.
How much bandwidth does a multi-camera stream require?
If you are sending a single composed video feed via OBS, it uses roughly the same bandwidth as a standard 1080p Zoom call (about 1.5-3 Mbps upload). If you share multiple raw video streams separately, bandwidth usage doubles or triples. Composing in OBS is more efficient.
What is the best free software for multi-camera editing live?
OBS Studio is the industry standard for free, live multi-camera composition. It runs on Windows, Mac, and Linux. Alternatives include vMix (paid) or StreamYard (web-based), but OBS offers the most flexibility for educational setups without subscription fees.
How do I prevent my phone from sleeping during a lecture?
Turn off auto-lock in your phone's display settings. Additionally, keep the phone plugged into a charger. Some apps, like EpocCam or DroidCam, have settings to prevent sleep mode while active. Keeping the screen brightness low also reduces heat and battery drain.