

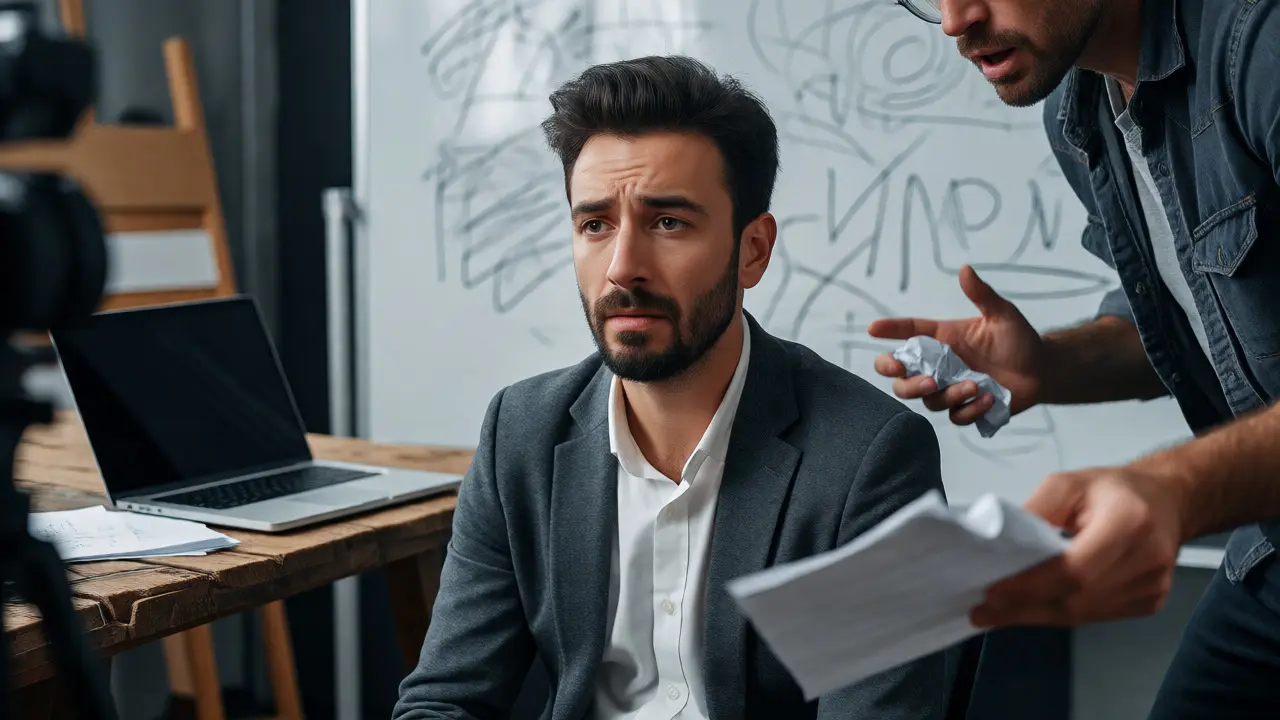
You’ve got the script. You’ve got the subject matter expert (SME) sitting across from you, eager to share their knowledge. But when you hit record, things go sideways. The presenter looks at the camera like a deer in headlights, the graphics don’t match what they’re saying, and the final edit takes three times longer than it should. Sound familiar? This is usually because you skipped the storyboard.
Storyboards are not just for Hollywood directors or animators making Saturday morning cartoons. In the world of corporate learning and development, they are your blueprint for efficiency. They bridge the gap between a written script and a finished video, saving you hours in post-production and preventing costly reshoots. If you want your training videos to actually teach something without boring your audience to tears, you need to plan them visually before you press that red button.
Why Storyboarding Saves Your Sanity (And Budget)
Think about the last time you tried to assemble IKEA furniture without the instructions. You probably ended up with one extra screw and a wobbly table. A storyboard is the instruction manual for your video production team. Without it, everyone has a different idea of what the final product looks like. The graphic designer thinks you want a sleek modern look; the videographer thinks you want a handheld documentary style; the SME thinks you want a lecture hall vibe.
When you skip this step, you pay for it later. Reshoots are expensive. Changing audio after the video is edited can be a nightmare if the visuals don’t sync. By mapping out every shot, transition, and graphic beforehand, you identify problems while they are still cheap to fix on paper. A change to a drawing costs nothing. A change to a filmed scene costs money, time, and morale.
Beyond logistics, storyboarding forces clarity. When you have to draw a stick figure explaining a complex compliance regulation, you quickly realize if the concept is too dense. It highlights where you need more examples or simpler language. It turns abstract ideas into concrete visual plans.
The Anatomy of an Effective Training Video Storyboard
A good storyboard isn’t just a comic strip. For training videos, it needs specific data points to be useful. You don’t need to be an artist-stick figures work perfectly fine as long as the intent is clear. Here is what each panel needs:
- Visual Description: What is on screen? Is it a talking head? A screen recording? An animated chart? Be specific. "Person talks" is bad. "Instructor gestures to a pie chart showing sales growth" is good.
- Audio/Narration: Paste the exact script segment here. Don’t summarize it. If there’s music or sound effects, note them. Timing matters.
- On-Screen Text/Graphics: List any bullet points, lower-thirds (names/titles), or callouts. Specify fonts or colors if brand guidelines are strict.
- Duration: Estimate how long this shot lasts. This helps you keep the total runtime realistic.
- Technical Notes: Camera angle (close-up, wide), lighting cues, or props needed.
By including these elements, you create a single source of truth. Your editor knows exactly which clip goes where. Your animator knows when to trigger the animation. Your instructor knows when to pause for effect.
| Element | Purpose | Example Entry |
|---|---|---|
| Panel Number | Reference for communication | Scene 1, Shot 3 |
| Visual Sketch | Layout and composition guide | [Sketch of instructor pointing left] |
| Audio Script | Timing and content verification | "As you can see in Q3..." |
| Graphics/Text | Overlay specifications | Text overlay: 'Q3 Growth +15%' |
| Notes | Production requirements | Use B-roll of office floor |
Choosing the Right Template for Your Project
Not all training videos are created equal, so your storyboard template shouldn’t be either. Using a rigid template for a creative explainer video will stifle your process, while using a loose sketchbook for a technical software demo will cause chaos.
For Software Demos and screen-capture tutorials, use a two-column layout. One column for the UI state (what the user sees on screen) and one for the narration. These videos rely heavily on precise timing between clicks and voiceovers. You don’t need fancy drawings; you need screenshots or wireframes of the interface.
For Live-Action Interviews and soft skills training, focus on emotional beats and setting. Use a standard four-panel grid. Include notes on body language and environmental details. Does the employee look confident? Are they standing or sitting? These subtle cues affect how learners perceive authority and relatability.
For Animated Explainers and conceptual overviews, you need detailed visual descriptions. Since you aren’t filming real people, every pixel must be planned. Use templates that allow space for color palettes and motion notes (e.g., "graph bars grow upwards").
Best Practices for Drafting Your Storyboard
Once you pick your template, follow these rules to make the drafting process smooth and effective.
Keep It Simple, Stupid (KISS)
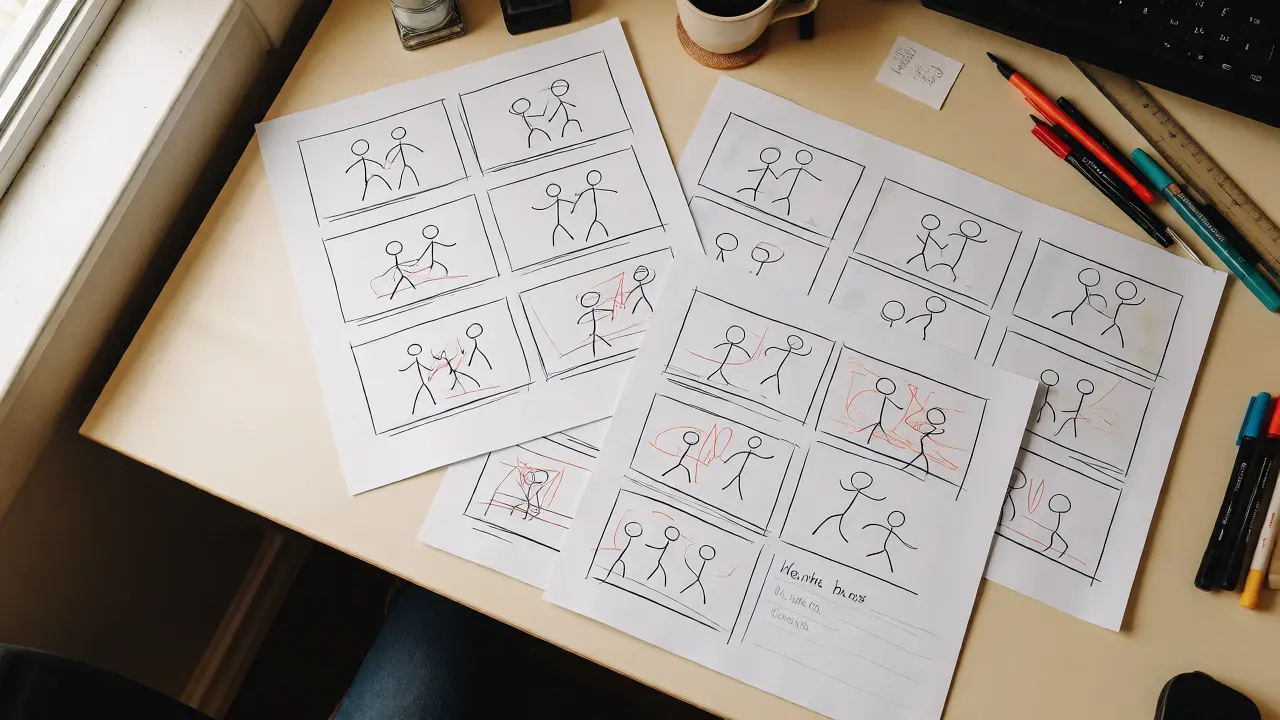
Don’t try to be Michelangelo. Your stakeholders don’t care about shading; they care about understanding the flow. If you spend two hours drawing perfect faces, you’ll hate doing the next ten panels. Stick figures, boxes, and arrows are your friends. The goal is communication, not art.
Focus on the Learner’s Journey
Each panel should answer the question: "What does the learner need to know right now?" Avoid clutter. If a slide has five bullet points and a complex diagram, split it into two or three panels. Cognitive load theory suggests that breaking information into chunks improves retention. Your storyboard is the place to enforce those chunks.
Plan for Transitions Early
Hard cuts can feel jarring in educational content. Note in your storyboard where you want fades, wipes, or animated transitions. For example, if moving from "Problem" to "Solution," a swipe transition might visually reinforce the shift. Adding these notes prevents the editor from guessing and ensures the pacing feels natural.
Get Feedback Before Production
Show the storyboard to your SME, your project manager, and ideally, a representative learner. Ask them: "Does this sequence make sense?" Often, you’ll find gaps in logic that were invisible in the text script. Maybe the jump from Step 2 to Step 4 is confusing. Fixing it now takes five minutes. Fixing it after filming takes days.
Digital vs. Analog: Which Tool Should You Use?
There’s no one-size-fits-all answer here. It depends on your team’s workflow and collaboration needs.
Analog (Paper & Whiteboards): Great for initial brainstorming. There’s something freeing about scribbling on paper. It encourages quick iteration and reduces attachment to perfection. Use this phase to get the big picture down. Tools like Post-it notes on a wall are excellent for rearranging scenes easily.
Digital (Software): Essential for finalizing and sharing. Digital tools allow for version control, easy updates, and integration with other platforms. If your team is remote, digital is non-negotiable. Popular options include dedicated storyboard apps like Boords or Storyboarder, but simple tools like PowerPoint, Keynote, or even Figma work well if you set up a master slide template.
A hybrid approach often works best. Start rough on paper or a whiteboard to map the narrative arc. Then, transfer the key shots into a digital template for precision and distribution. This balances speed with accuracy.
Common Pitfalls to Avoid
Even experienced creators make mistakes. Watch out for these traps:
- Over-scripting the Visuals: Don’t describe every tiny movement. "Hand moves up" is unnecessary unless it’s critical to the plot. Focus on major actions.
- Ignoring Audio Cues: Remember, audio drives the video. If you forget to note a pause for laughter or emphasis, the final edit will feel rushed.
- Lack of Consistency: If Panel 1 shows the instructor in a blue shirt and Panel 5 shows them in a green shirt, you have a continuity error. Note wardrobe and location changes explicitly.
- Forgetting Accessibility: Plan for closed captions and alt-text for images. If your storyboard doesn’t account for text-heavy screens, you might end up with captions that cover important visuals.
From Storyboard to Screen: The Handoff
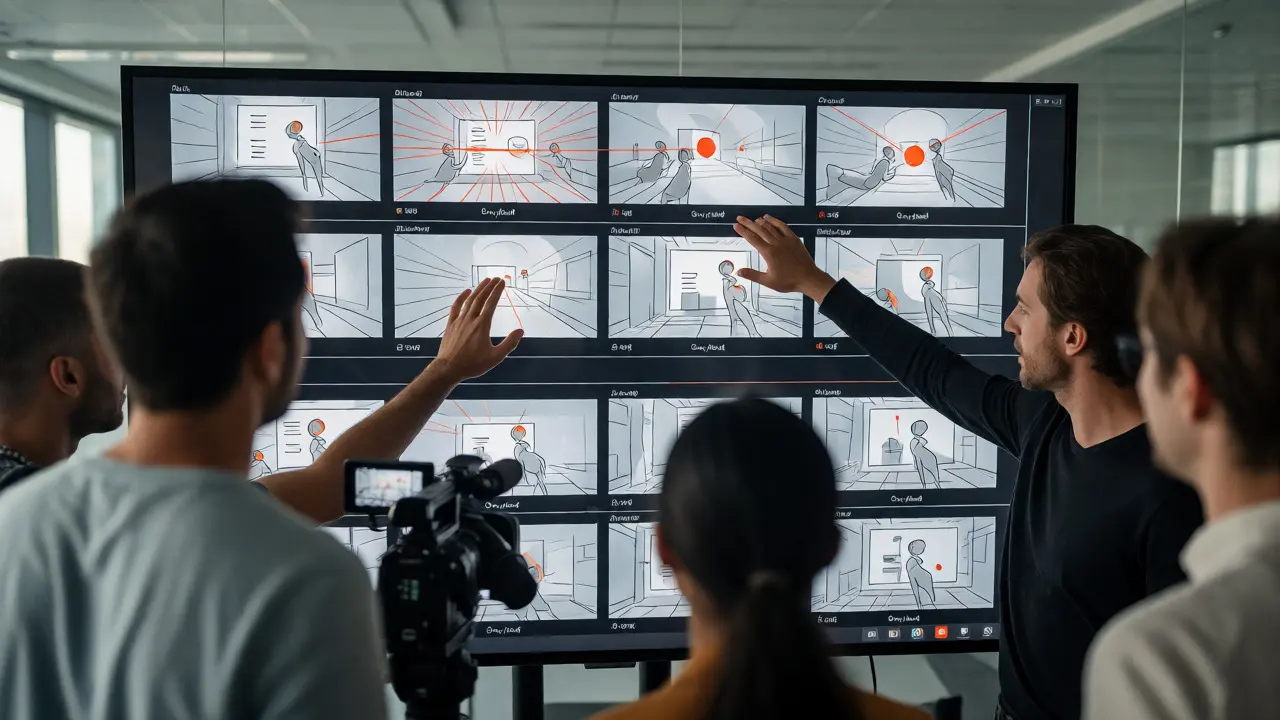
Your storyboard is only useful if the production team uses it. Create a clear handoff process. Export your storyboard as a PDF with high-resolution images. Share it via a cloud folder where editors can leave comments. Hold a kickoff meeting where you walk through the storyboard together. Point out tricky shots or dependencies (e.g., "We need the stock footage of the factory floor before we film the interview").
During production, keep the storyboard handy. On set, refer to it constantly. If the director wants to improvise, check the storyboard to ensure the new take still fits the overall structure. After filming, the storyboard becomes the editing checklist. Editors can tick off each panel as they complete it, ensuring nothing gets missed.
Key Takeaways
- Storyboards save time and money by identifying issues before filming begins.
- Use templates tailored to your video type (software demos vs. live action).
- Keep sketches simple; focus on clarity and flow, not artistic detail.
- Include audio, graphics, and duration estimates in every panel.
- Collaborate digitally for remote teams, but start analog for brainstorming.
Do I really need a storyboard for short videos?
Yes, especially for training videos. Even a 60-second explainer benefits from planning. Without a storyboard, you risk mismatched audio and visuals, poor pacing, and multiple revisions. A simple sketch list is better than no plan at all.
How many frames should be in a storyboard?
It depends on the complexity of the video. As a rule of thumb, aim for one frame per 5-10 seconds of video. A 5-minute training video might have 30-50 frames. Break down complex concepts into multiple frames to avoid overwhelming the viewer.
Can I use AI tools for storyboarding?
Absolutely. AI image generators can help visualize concepts quickly, especially for animated or conceptual videos. However, always review AI-generated images for accuracy and brand consistency. They are great for inspiration but rarely perfect for final production specs without human tweaking.
What is the difference between a script and a storyboard?
A script focuses on the spoken words and narrative structure. A storyboard translates those words into visual sequences. While a script tells you *what* is said, a storyboard shows you *how* it is seen. Both are necessary for effective video production.
Who should be involved in creating the storyboard?
Ideally, the instructional designer, the scriptwriter, and the lead producer. Including the SME ensures content accuracy, while involving the videographer or editor early helps identify technical feasibility issues. Collaboration prevents silos and ensures everyone is aligned.